
How To Replace Dewalt DW733 Planer Blades
Sharp blades are paramount to your planers ability to create smooth flat surfaces. Replacing your blades is a fairly straightforward process. A little time and some attention to detail and you will have a planer that runs like new.
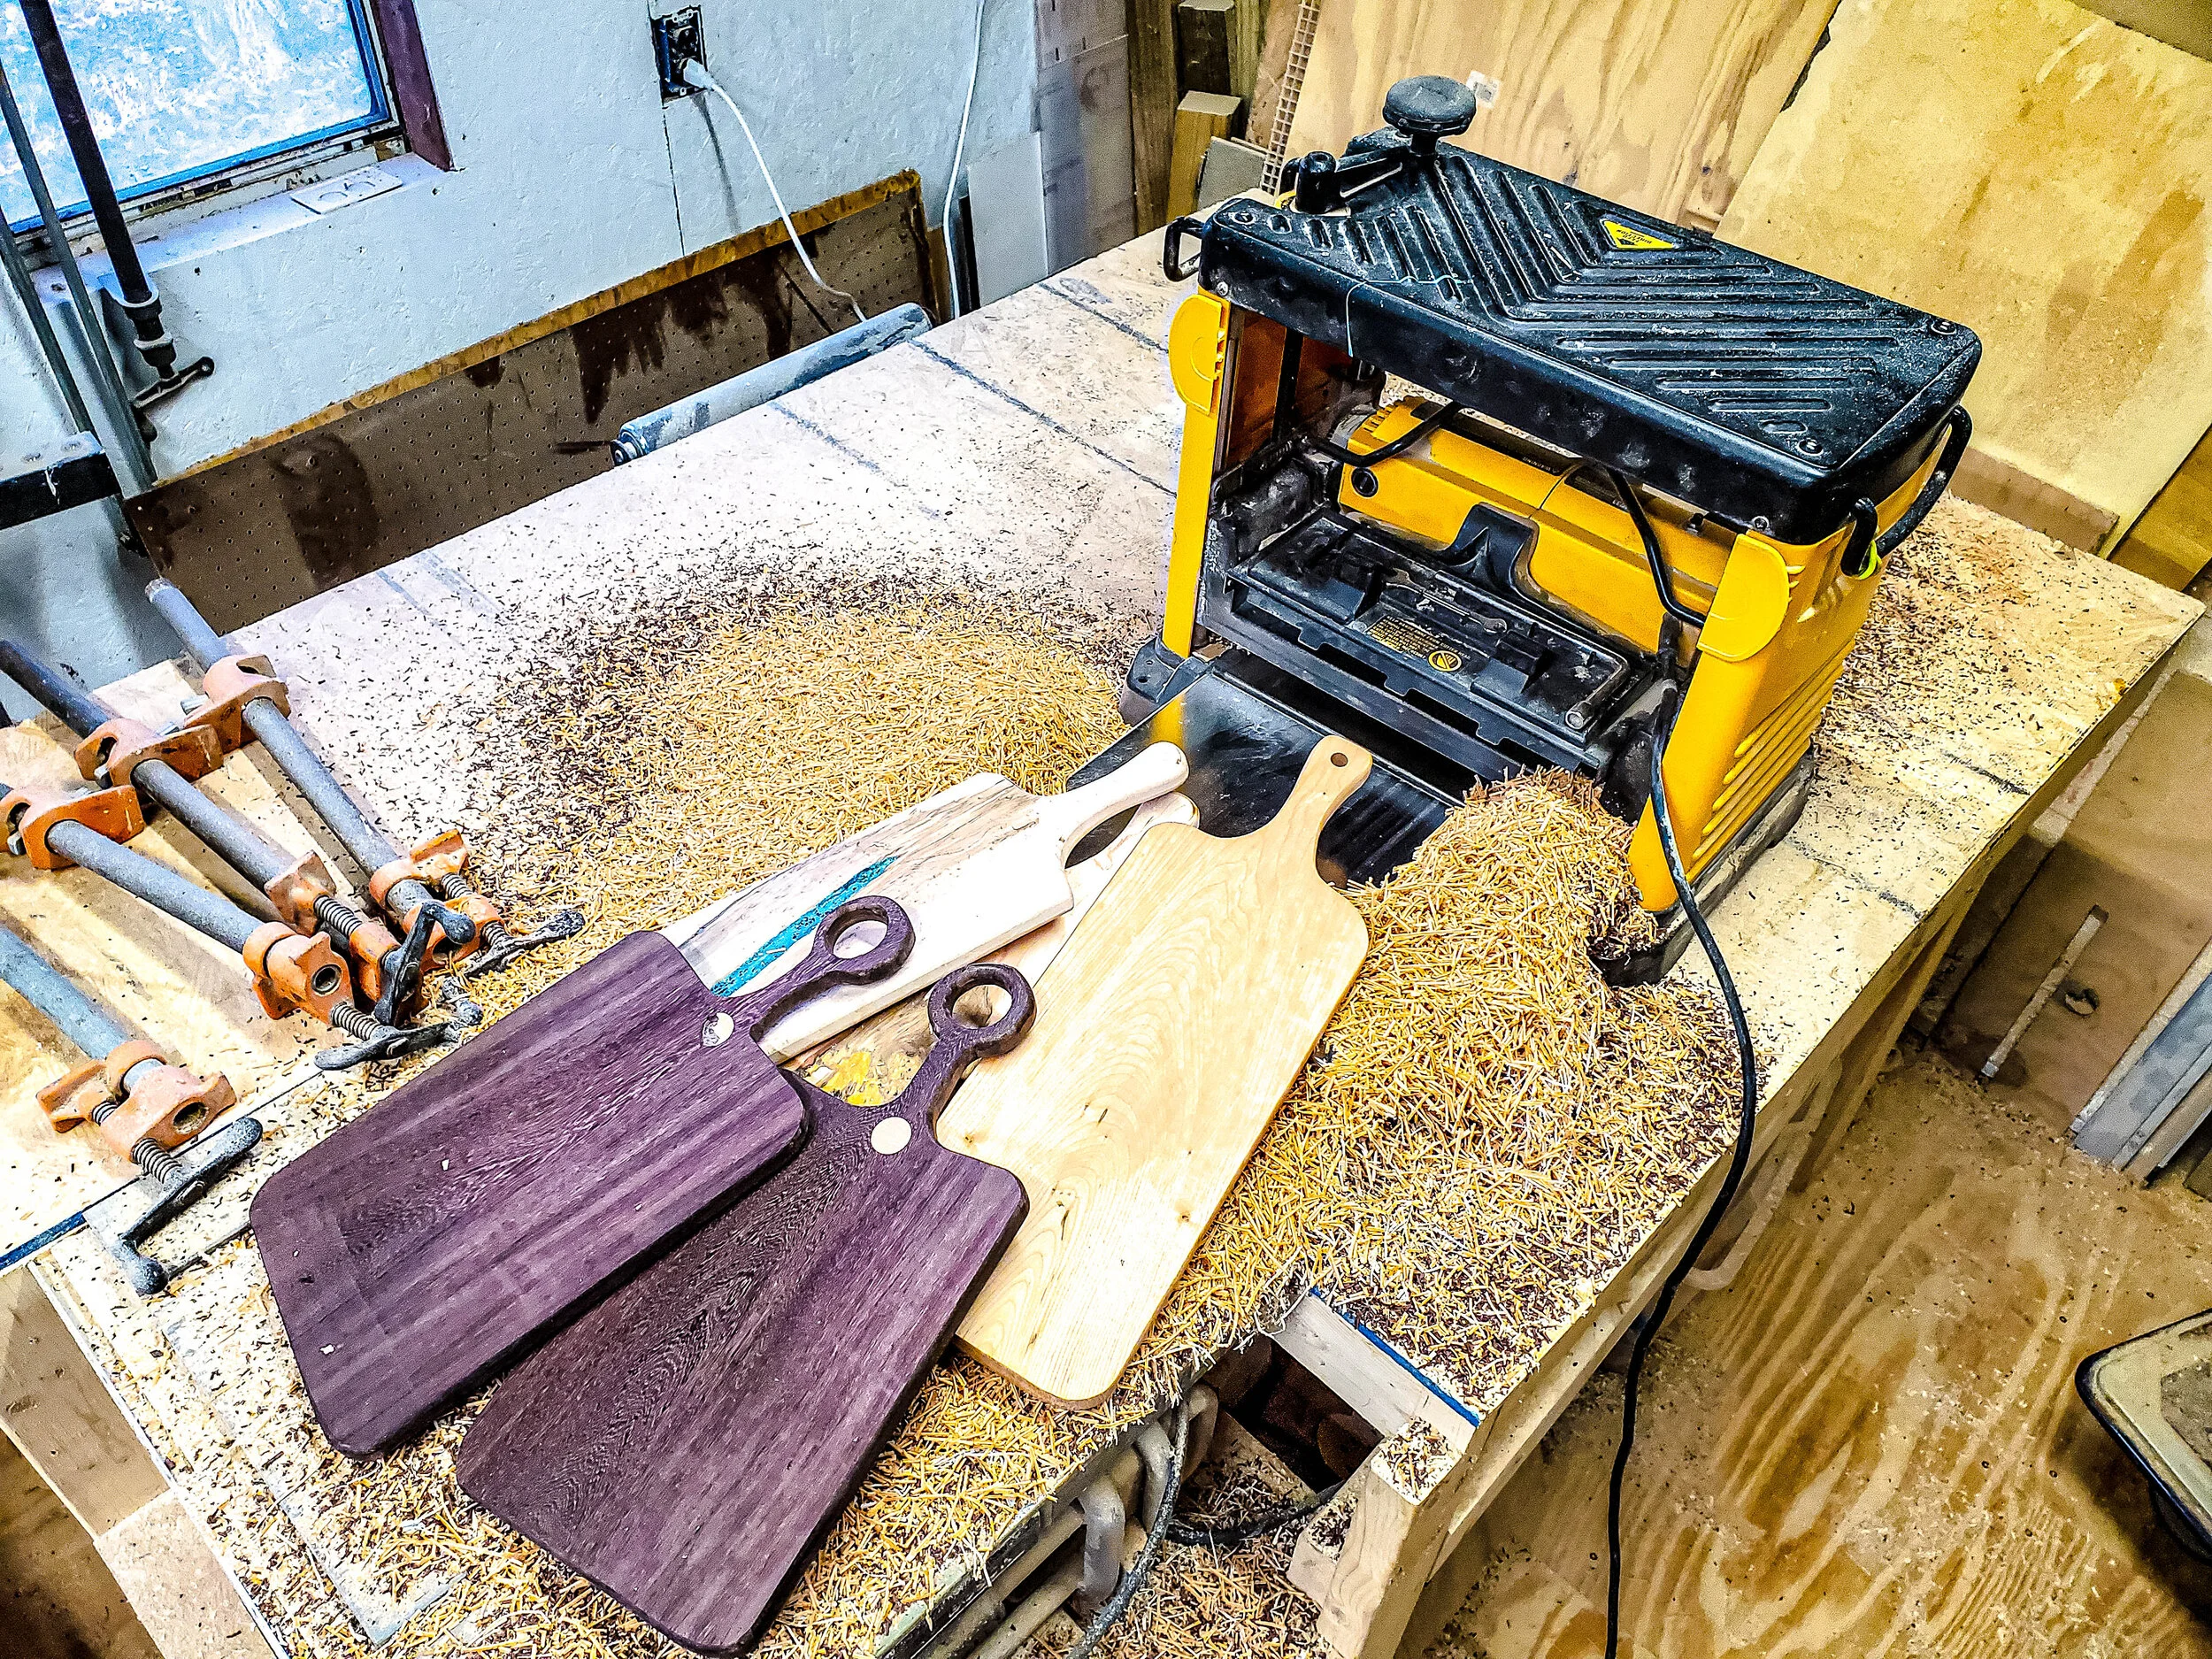
The planer I will be talking about today is the Dewalt DW733. Changing the blades takes about 30 minutes if you are prepared and follow the steps below.
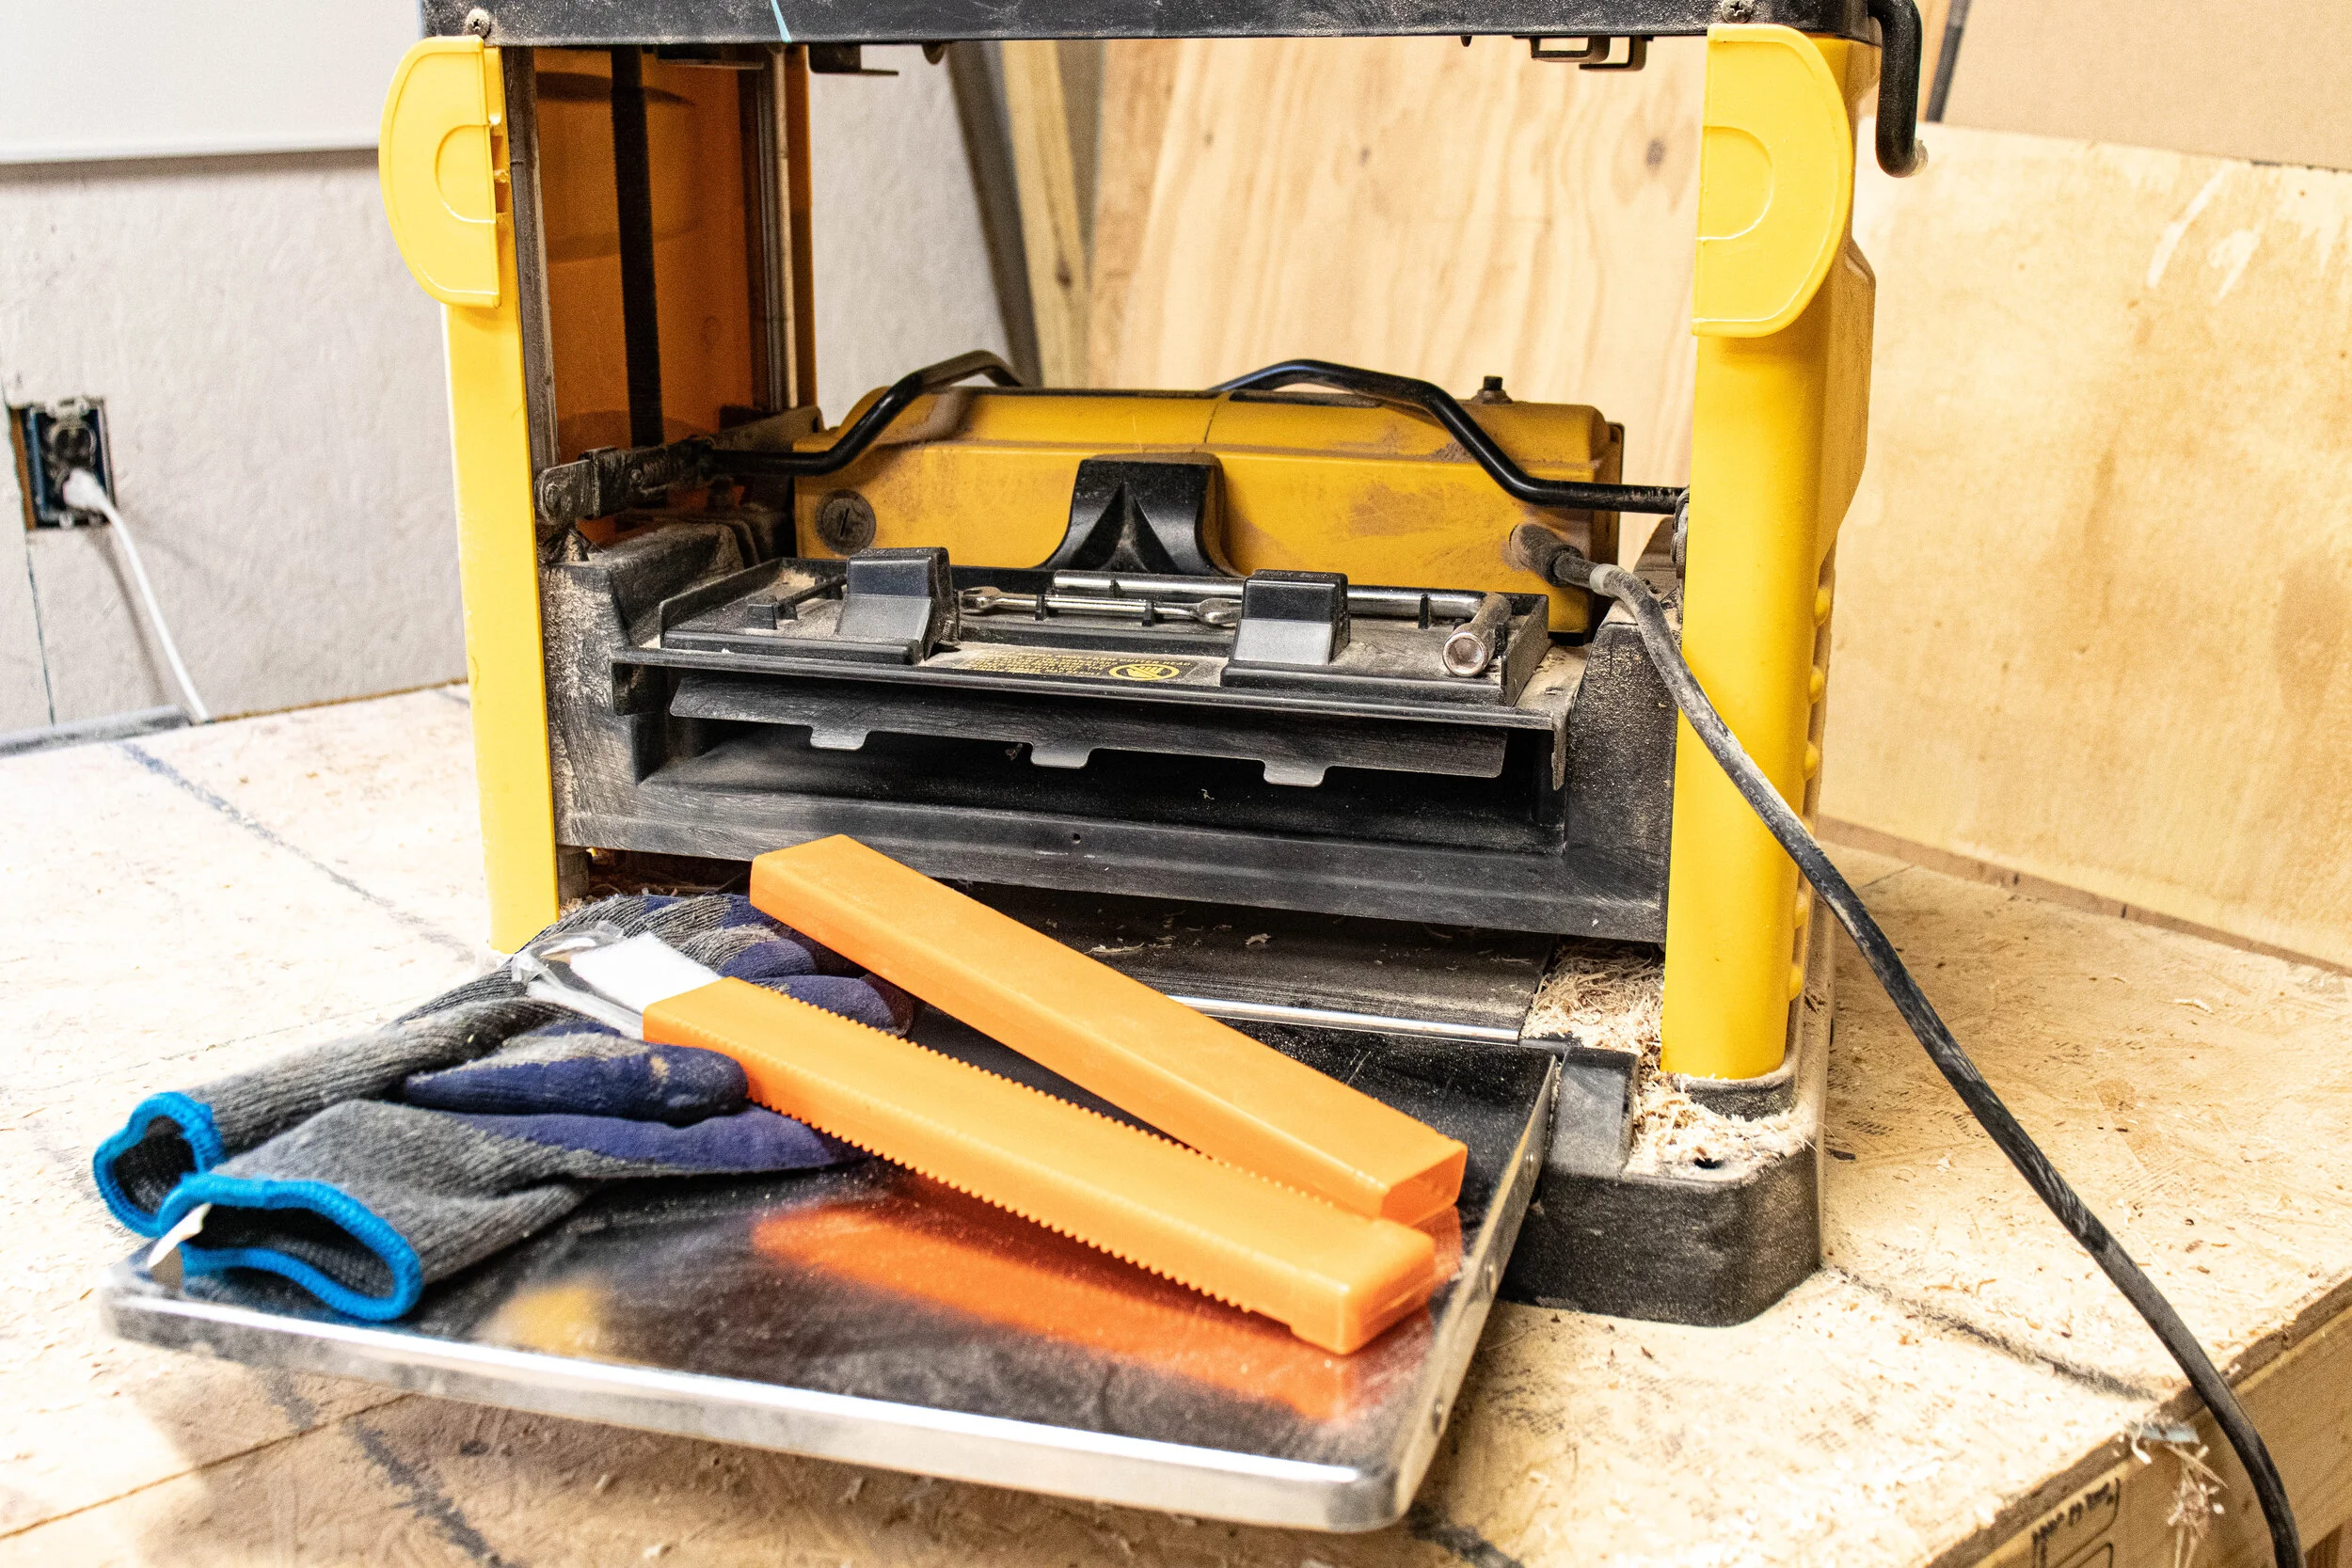
Materials Needed:
Allen wrench (should be on the blade housing cover)
10 mm socket with extension
10 mm Wrench (should be on the blade housing cover)
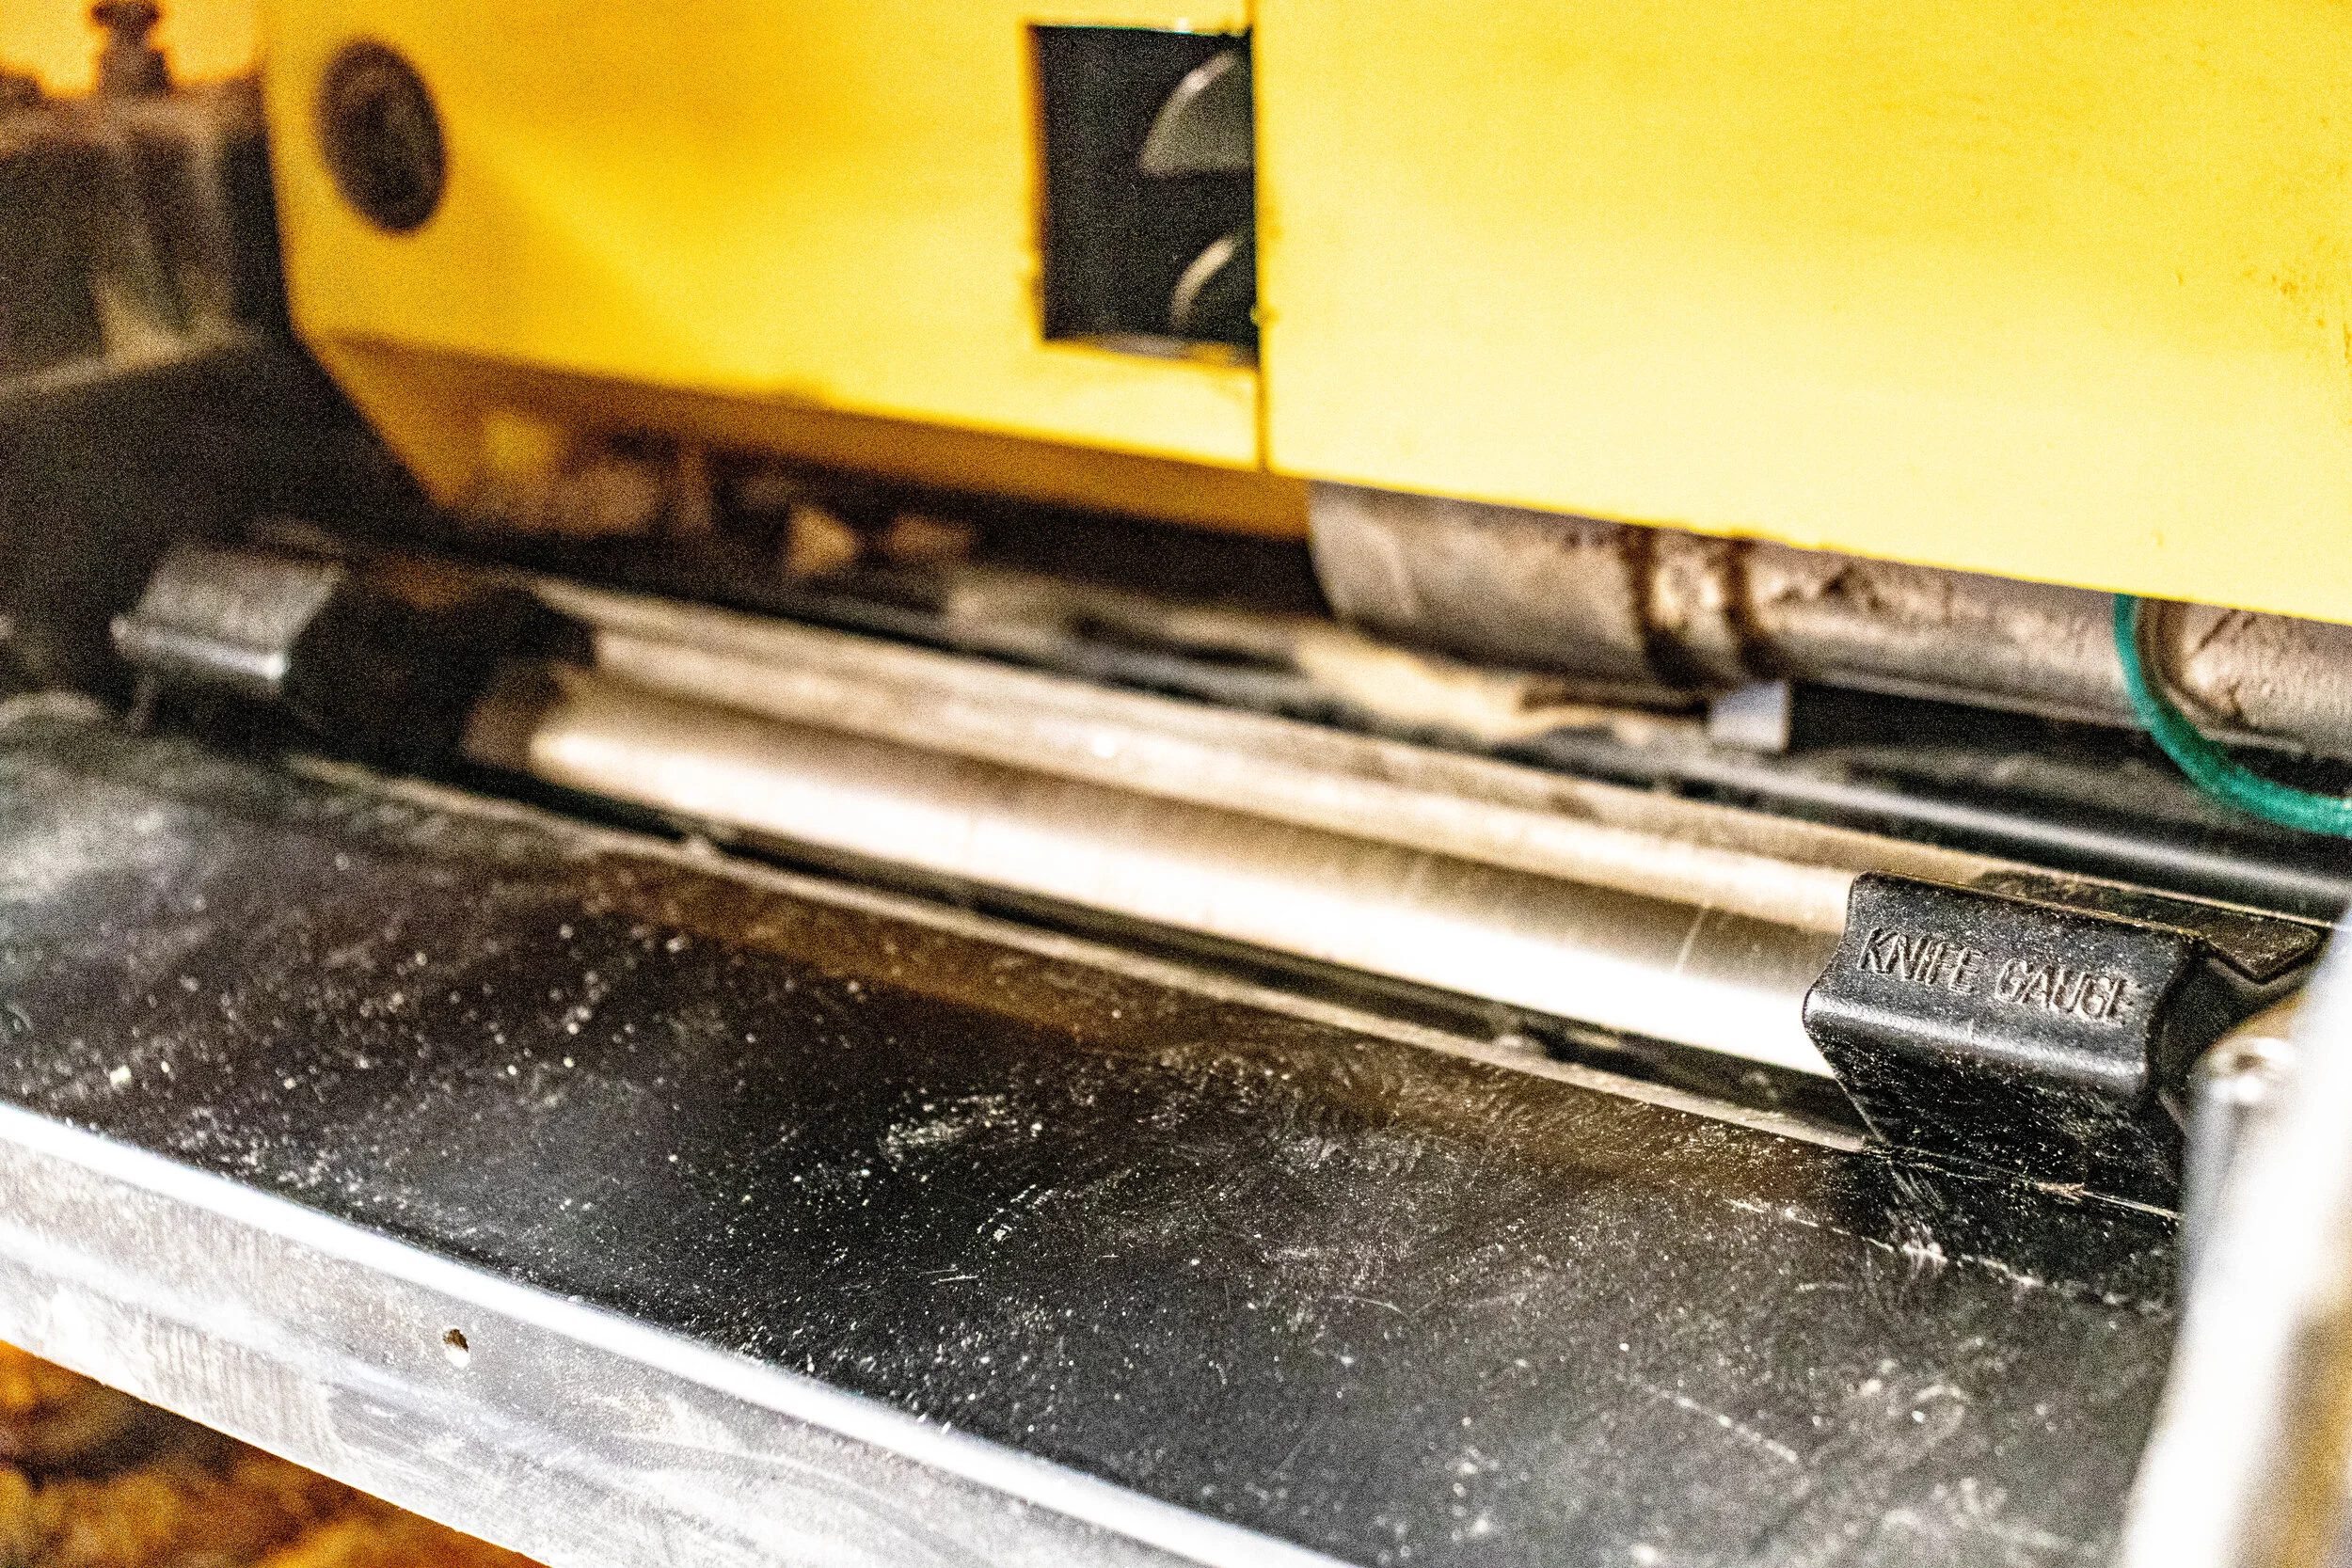
knife gauge (should be on the blade housing cover
gloves (I used these)
scrap piece of wood
Step 1 Disconnect the Power
This is most important. You know what this machine can do to wood. Imagine what it will do to your hand if it turned on by accident. SO PLEASE unplug this machine before beginning servicing this machine.
Step 2 General Maintenance
Grease the 4 slide posts and 2 screw lifts. Lower the deck and grease the 4 posts and 2 large threaded rods. After the rods and threads are greased, then raise the deck and grease the bottom of the 4 rods and 2 threaded rods. Raise and lower the deck a few times until the smoothness commences.
While you are at it, tighten the knob on the top of the machine that raises and lowers the deck. I found mine to be a little loose.

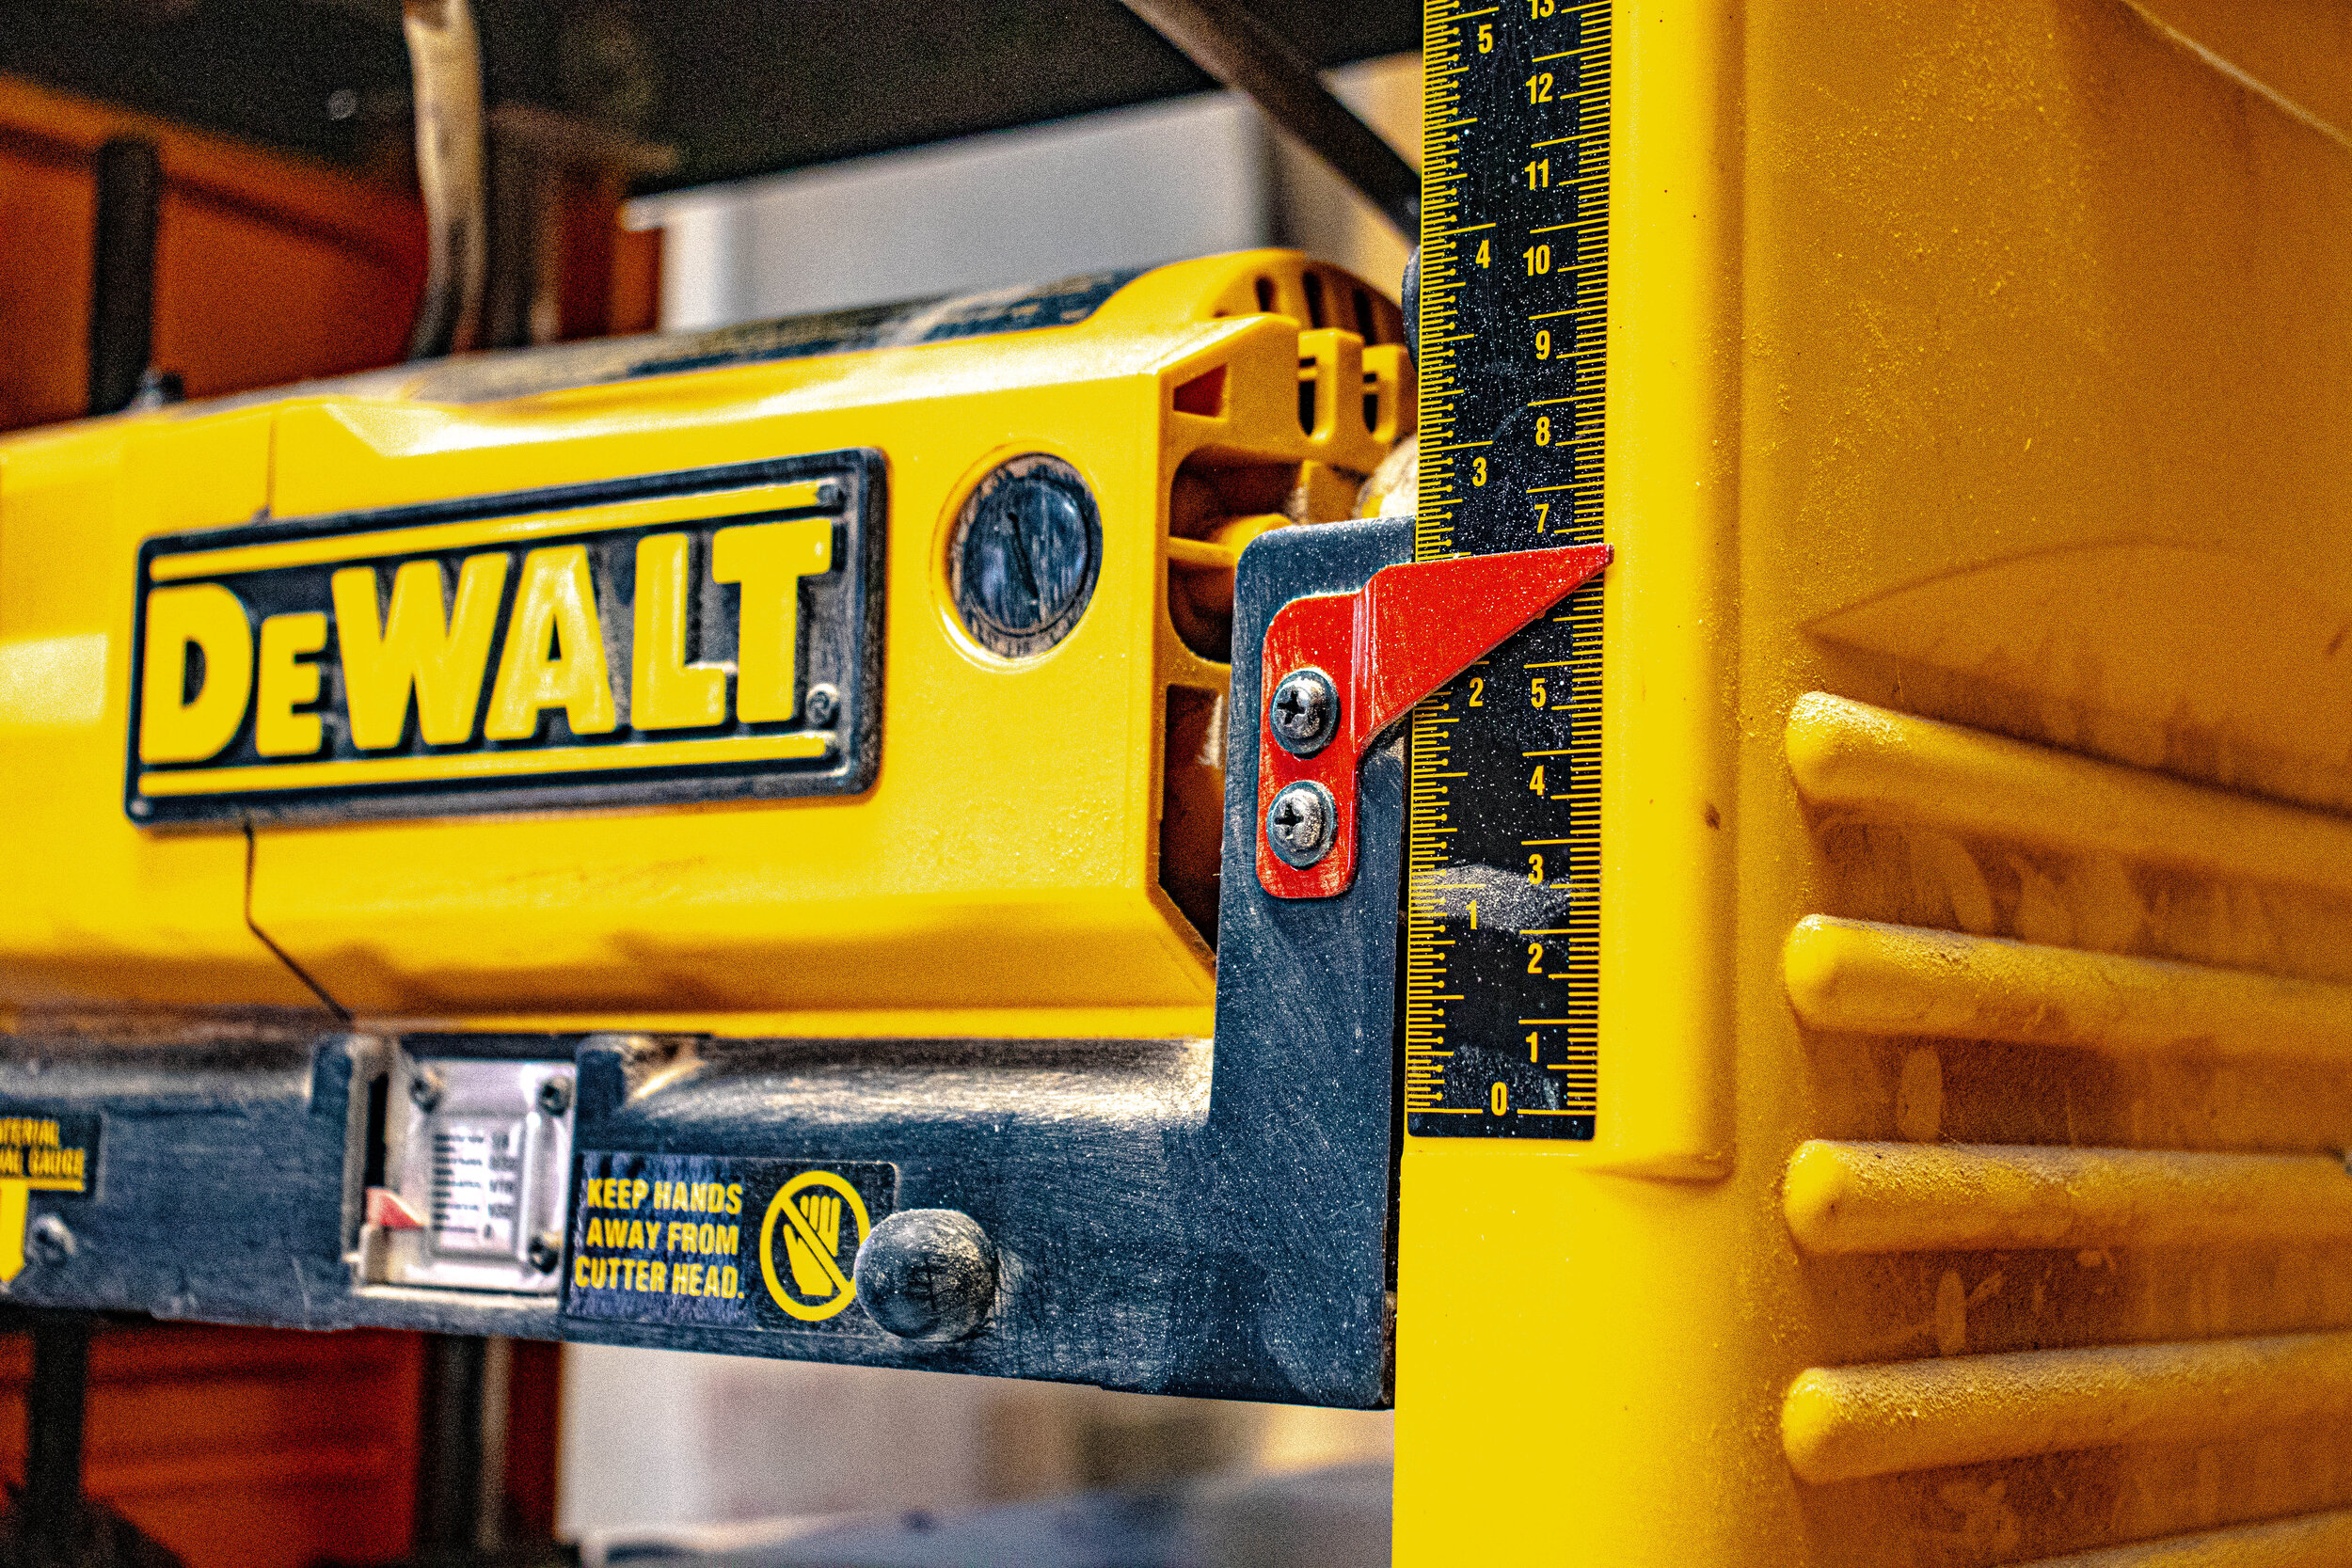
Step 3 Position the Blade Deck
Unlock the blade thickness deck and raise to about 2.5 inches and lock in place. This will allow some room above and below to maneuver and safely work on the machine. Remember to lock the arm in place.
Step 4 Remove the Cutting Head Cover
Remove cutting head cover from the rear of he planer by loosening the Allen screws on each side. There should be an Allen wrench included on the blade cover. Lift off to remove. Set it aside somewhere. Make sure to not lose the Allen screws.


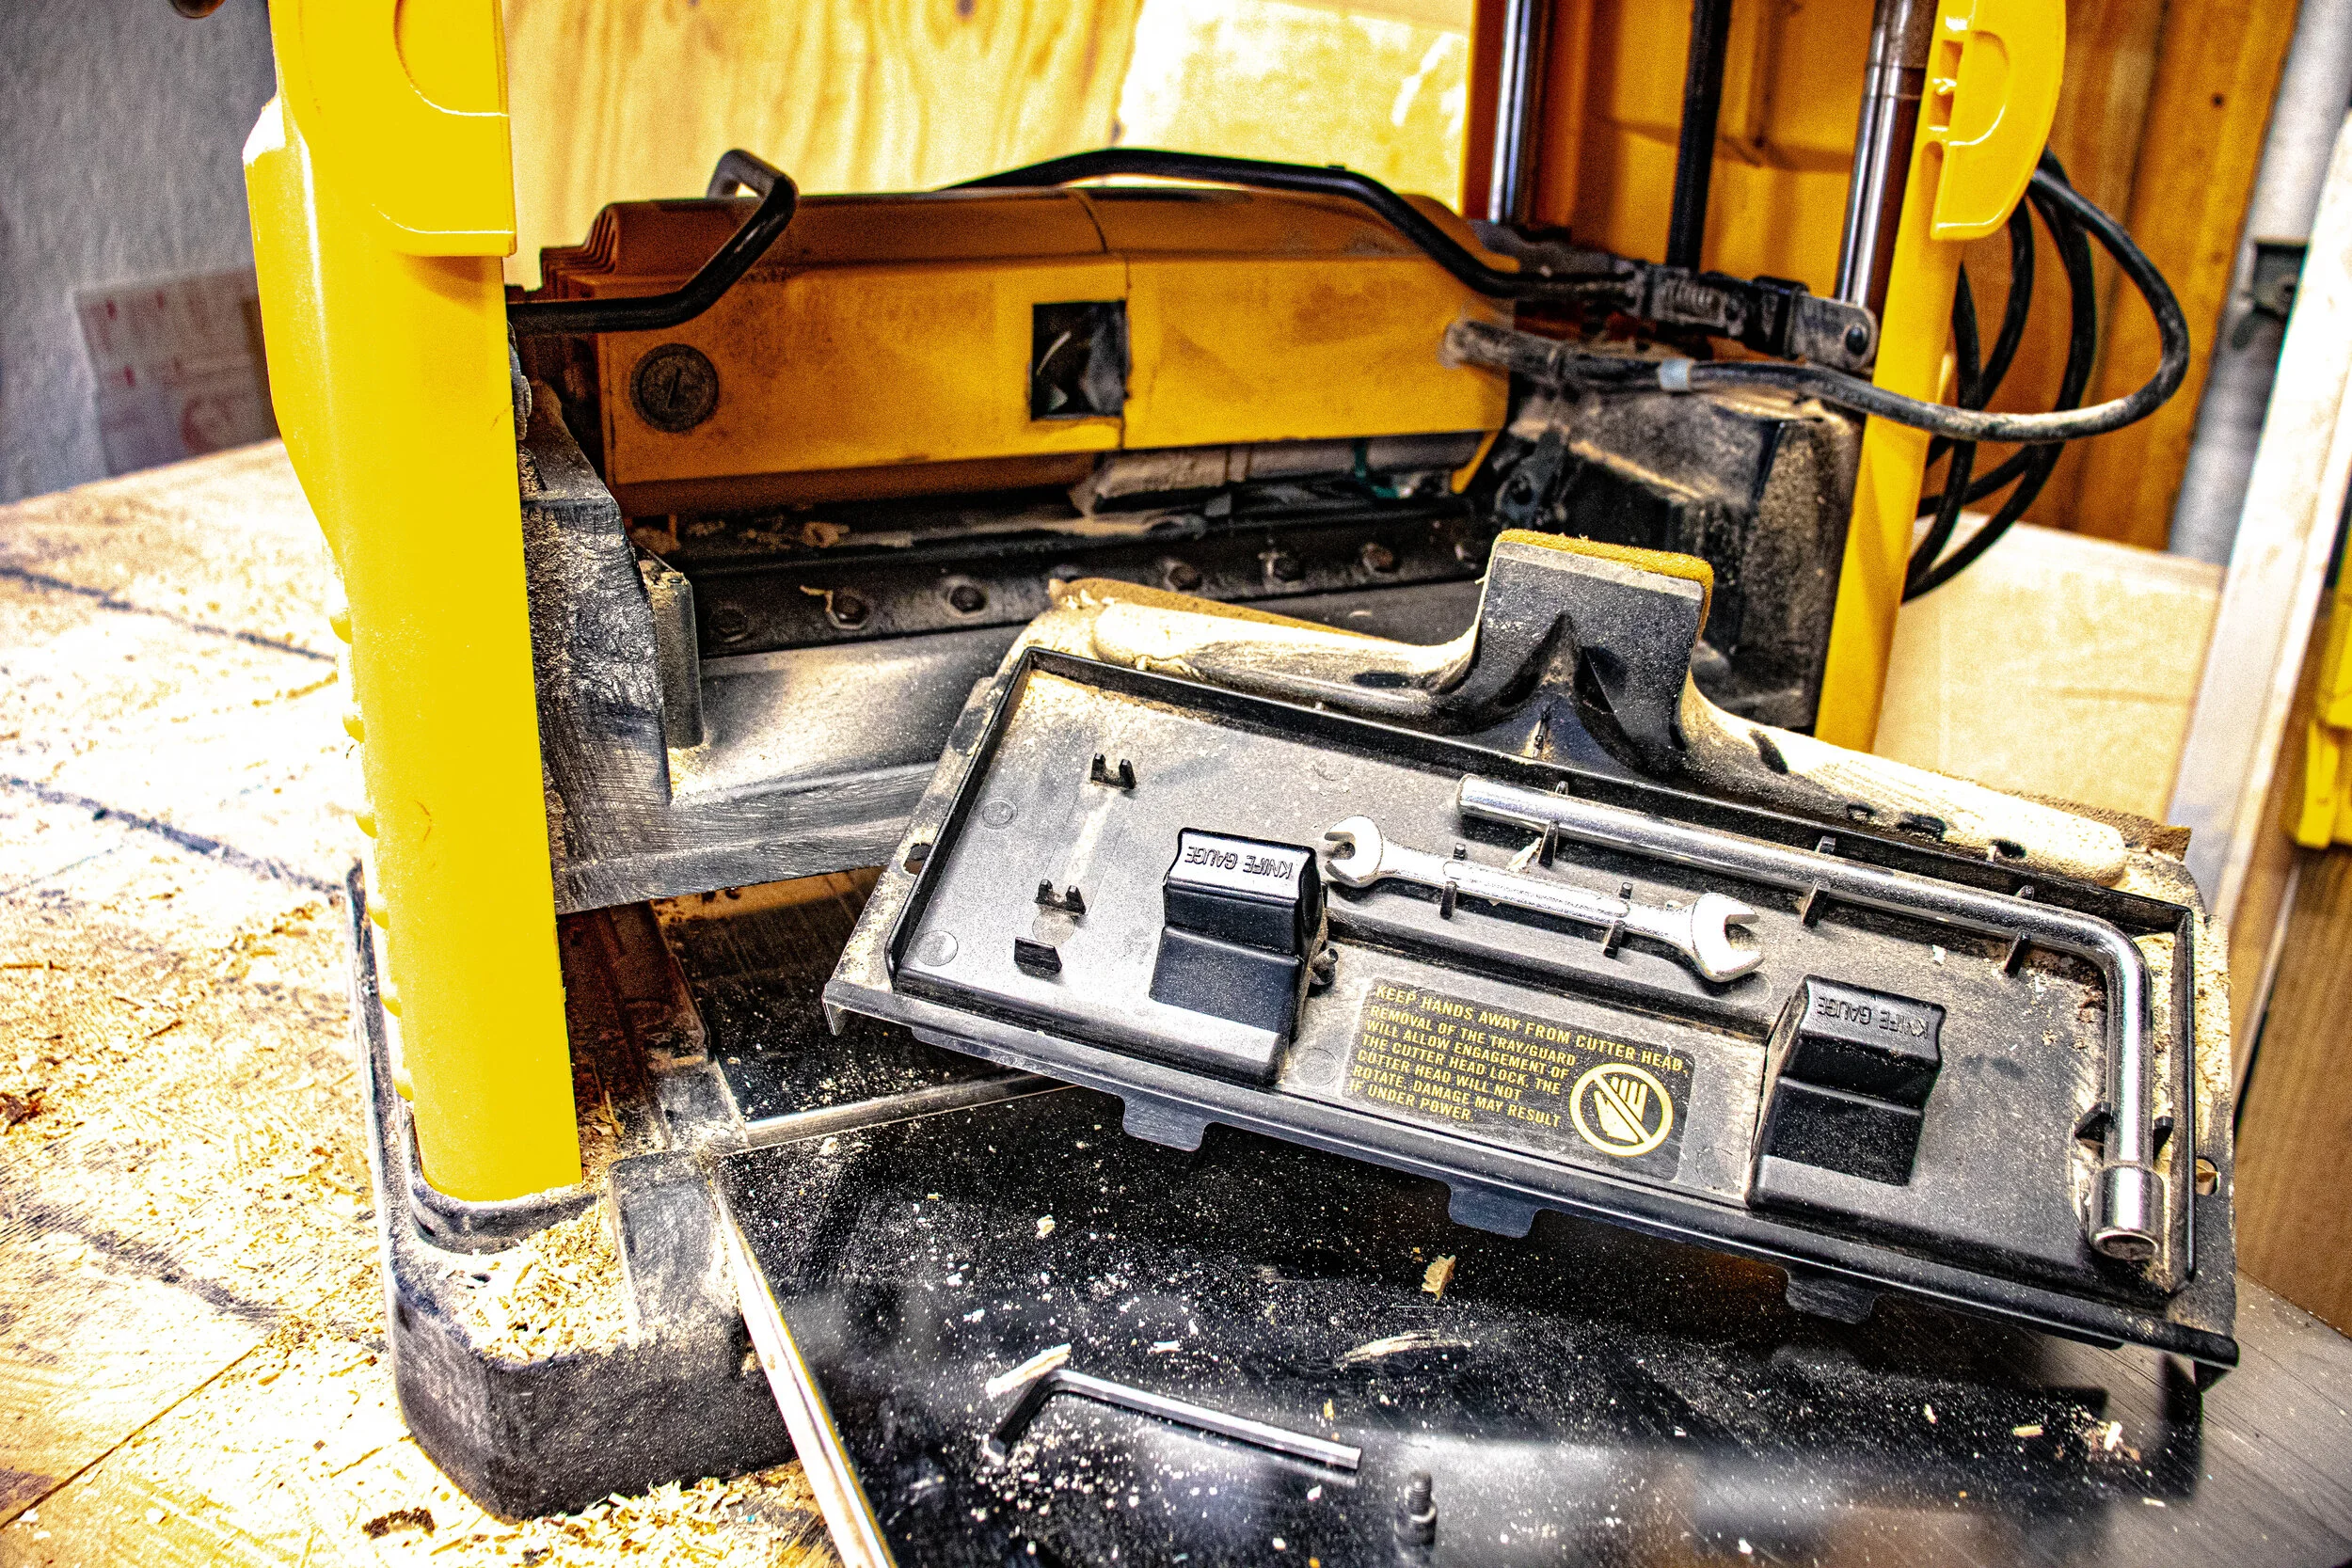
Step 4 Lock Blade Cylinder in Place
Rotate the blade cylinder until the blade bolt heads are accessible and the cylinder locks in place.

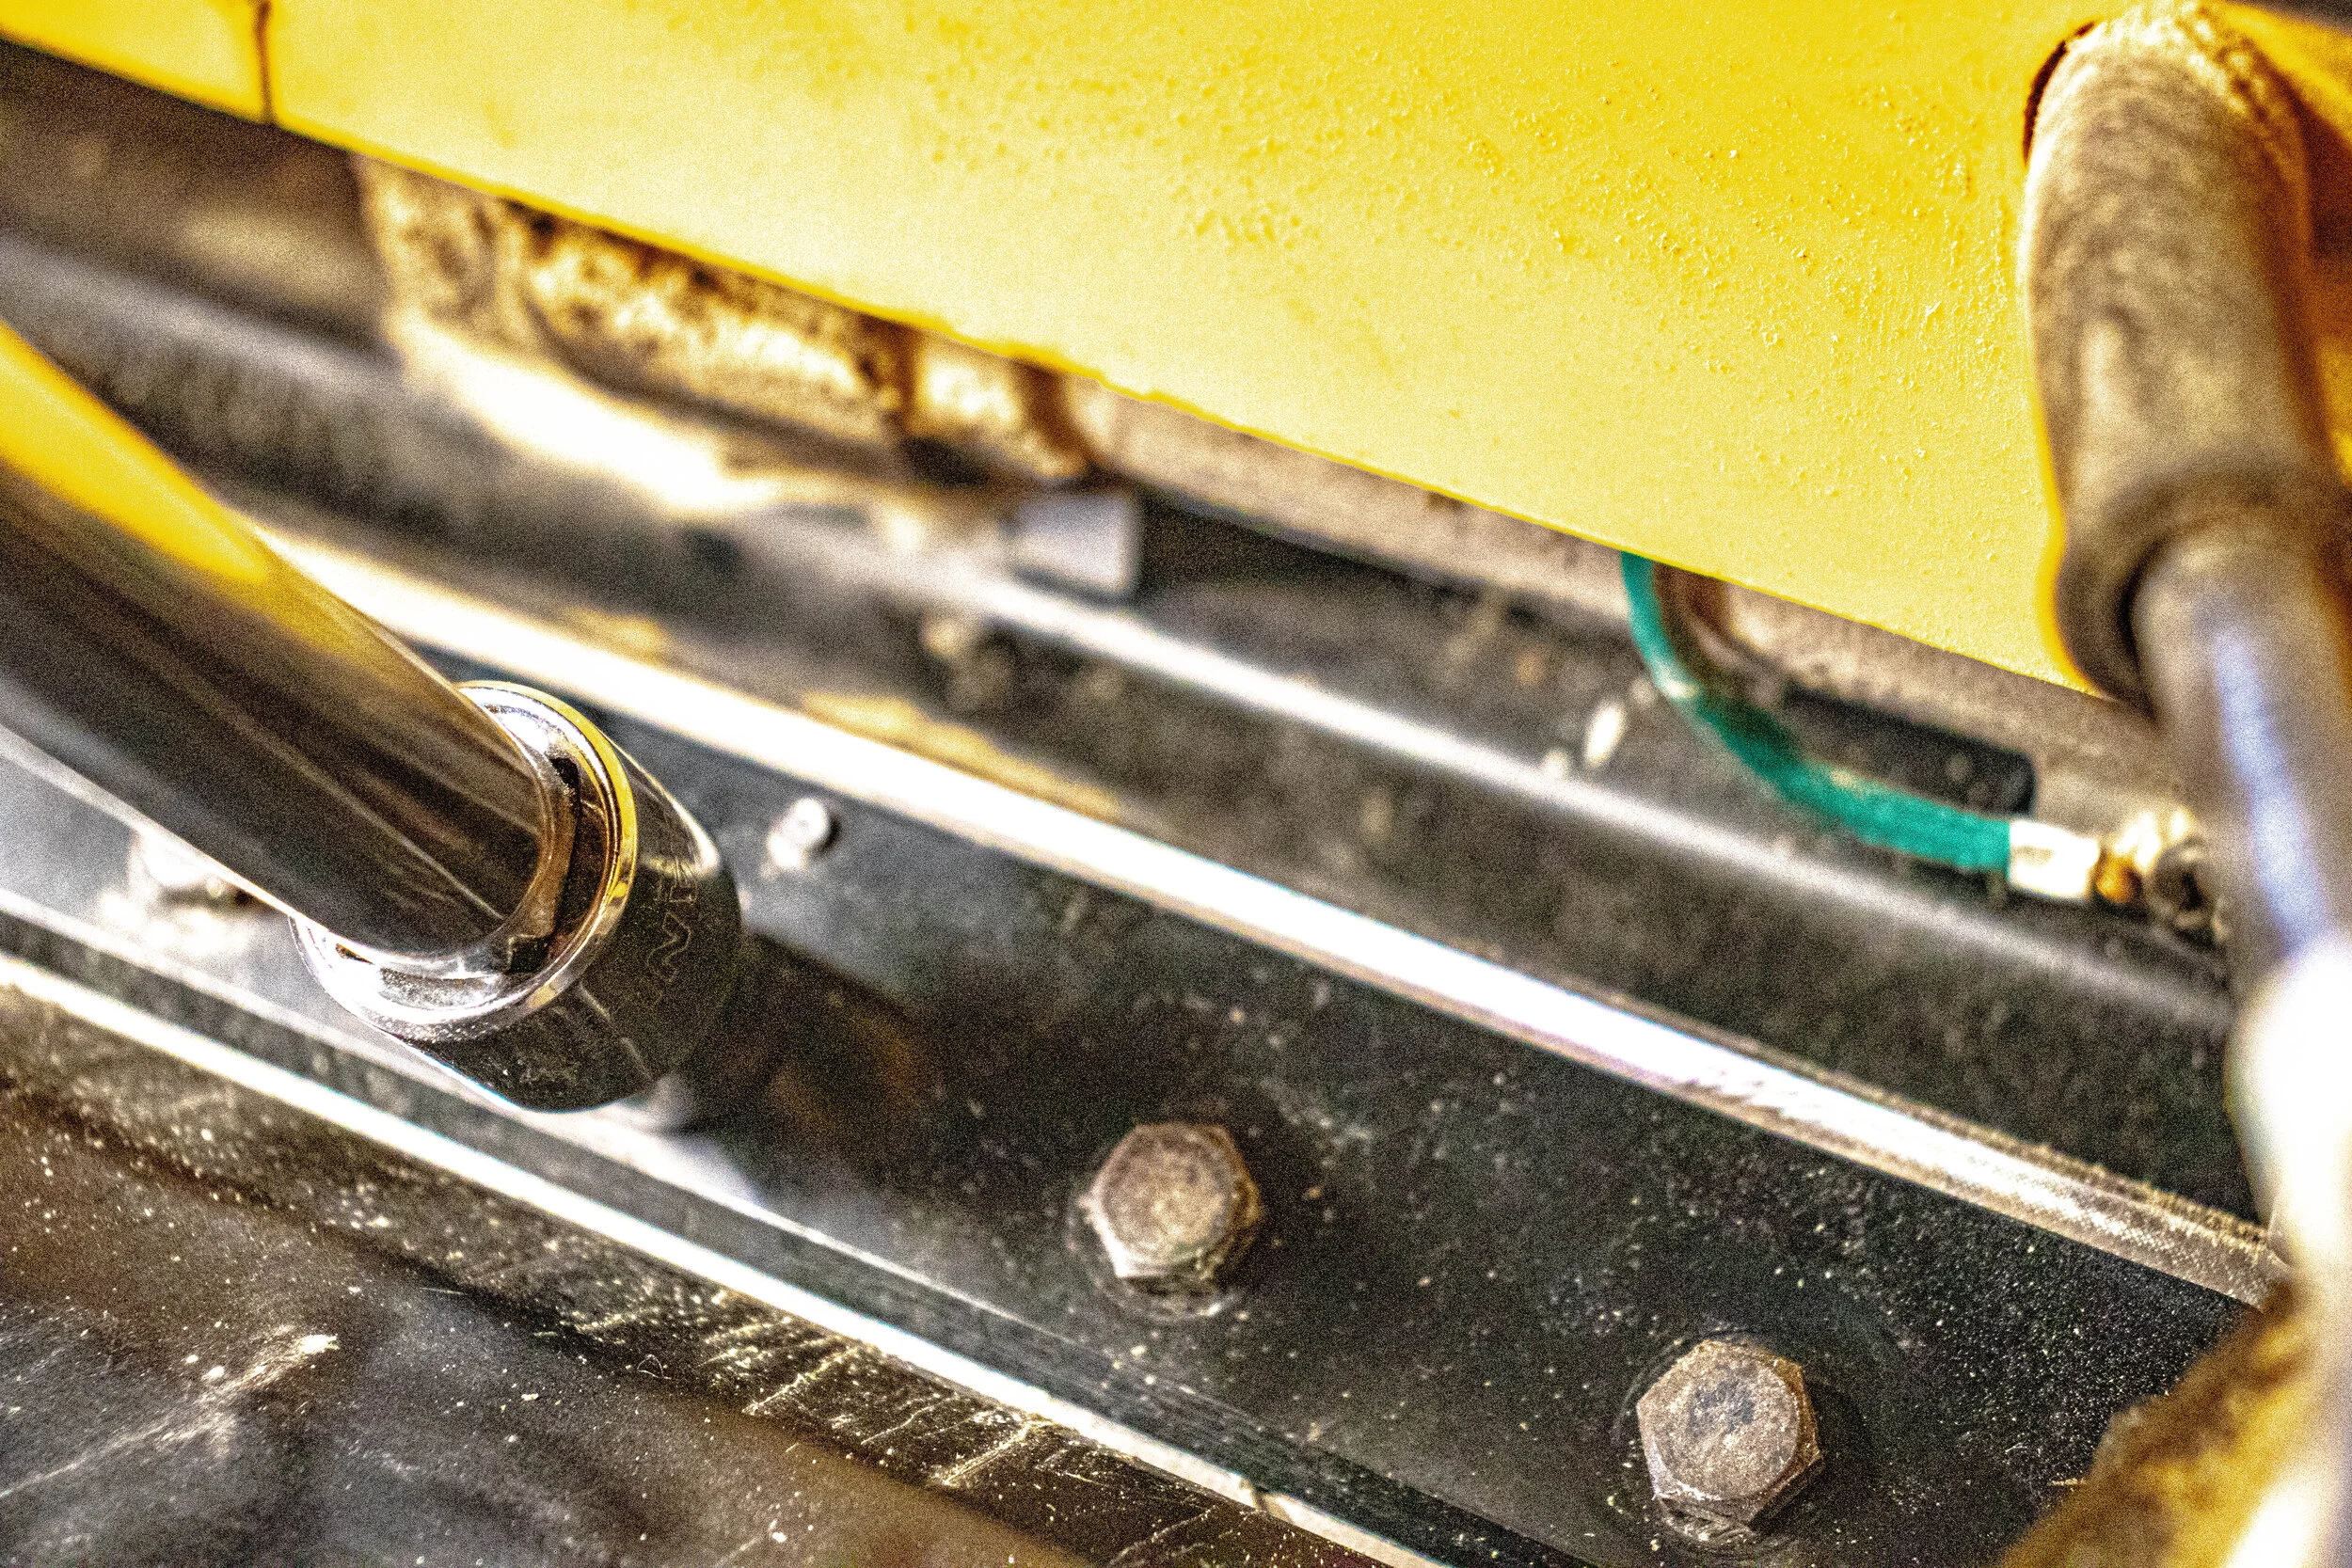
Step 5 Remove Blade Bolts
Using the included 10mm socket wrench or a ratchet wrench, loosen and remove the 8 bolts. Place the bolts somewhere safe. I like to use a magnetic dish. Those bolts wont go anywhere in that dish. They are cheap and come in handy all the time. Now is a great time to put on your gloves. These blades are sharp.

Step 6 Remove Blade Plate
Remove the black blade plate. I like to use compressed air to clean off any dust and residue . Set this aside.
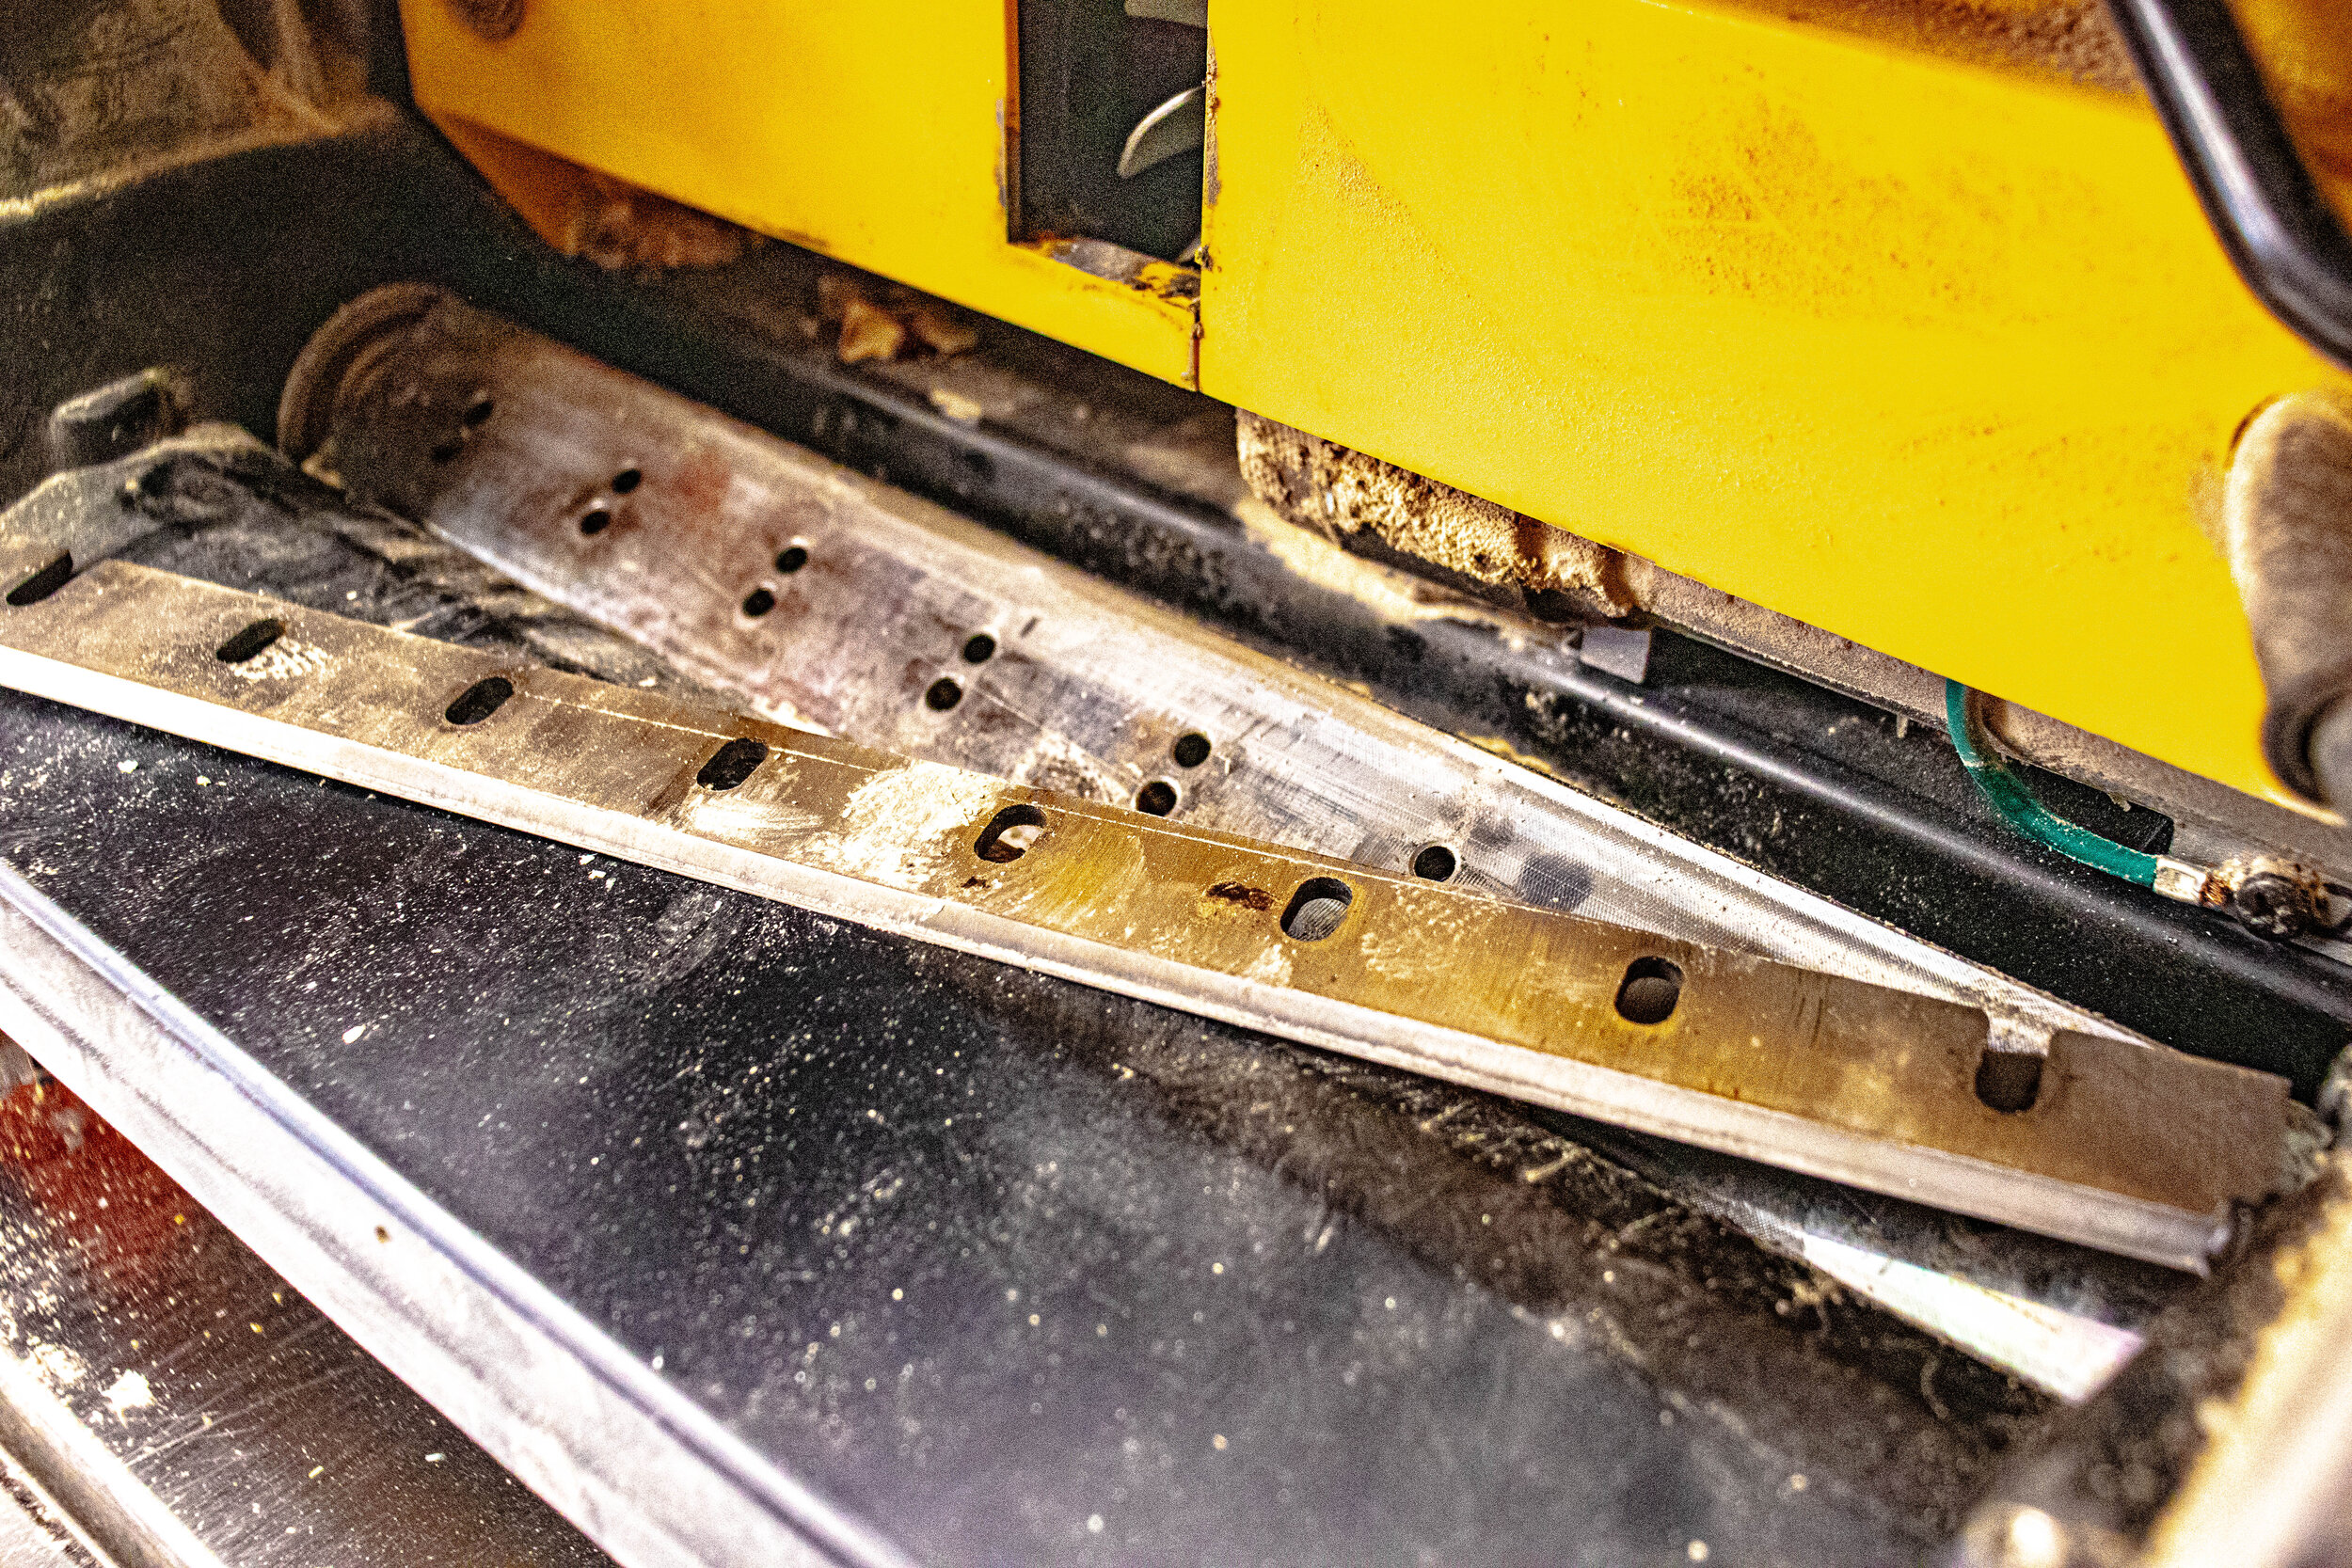
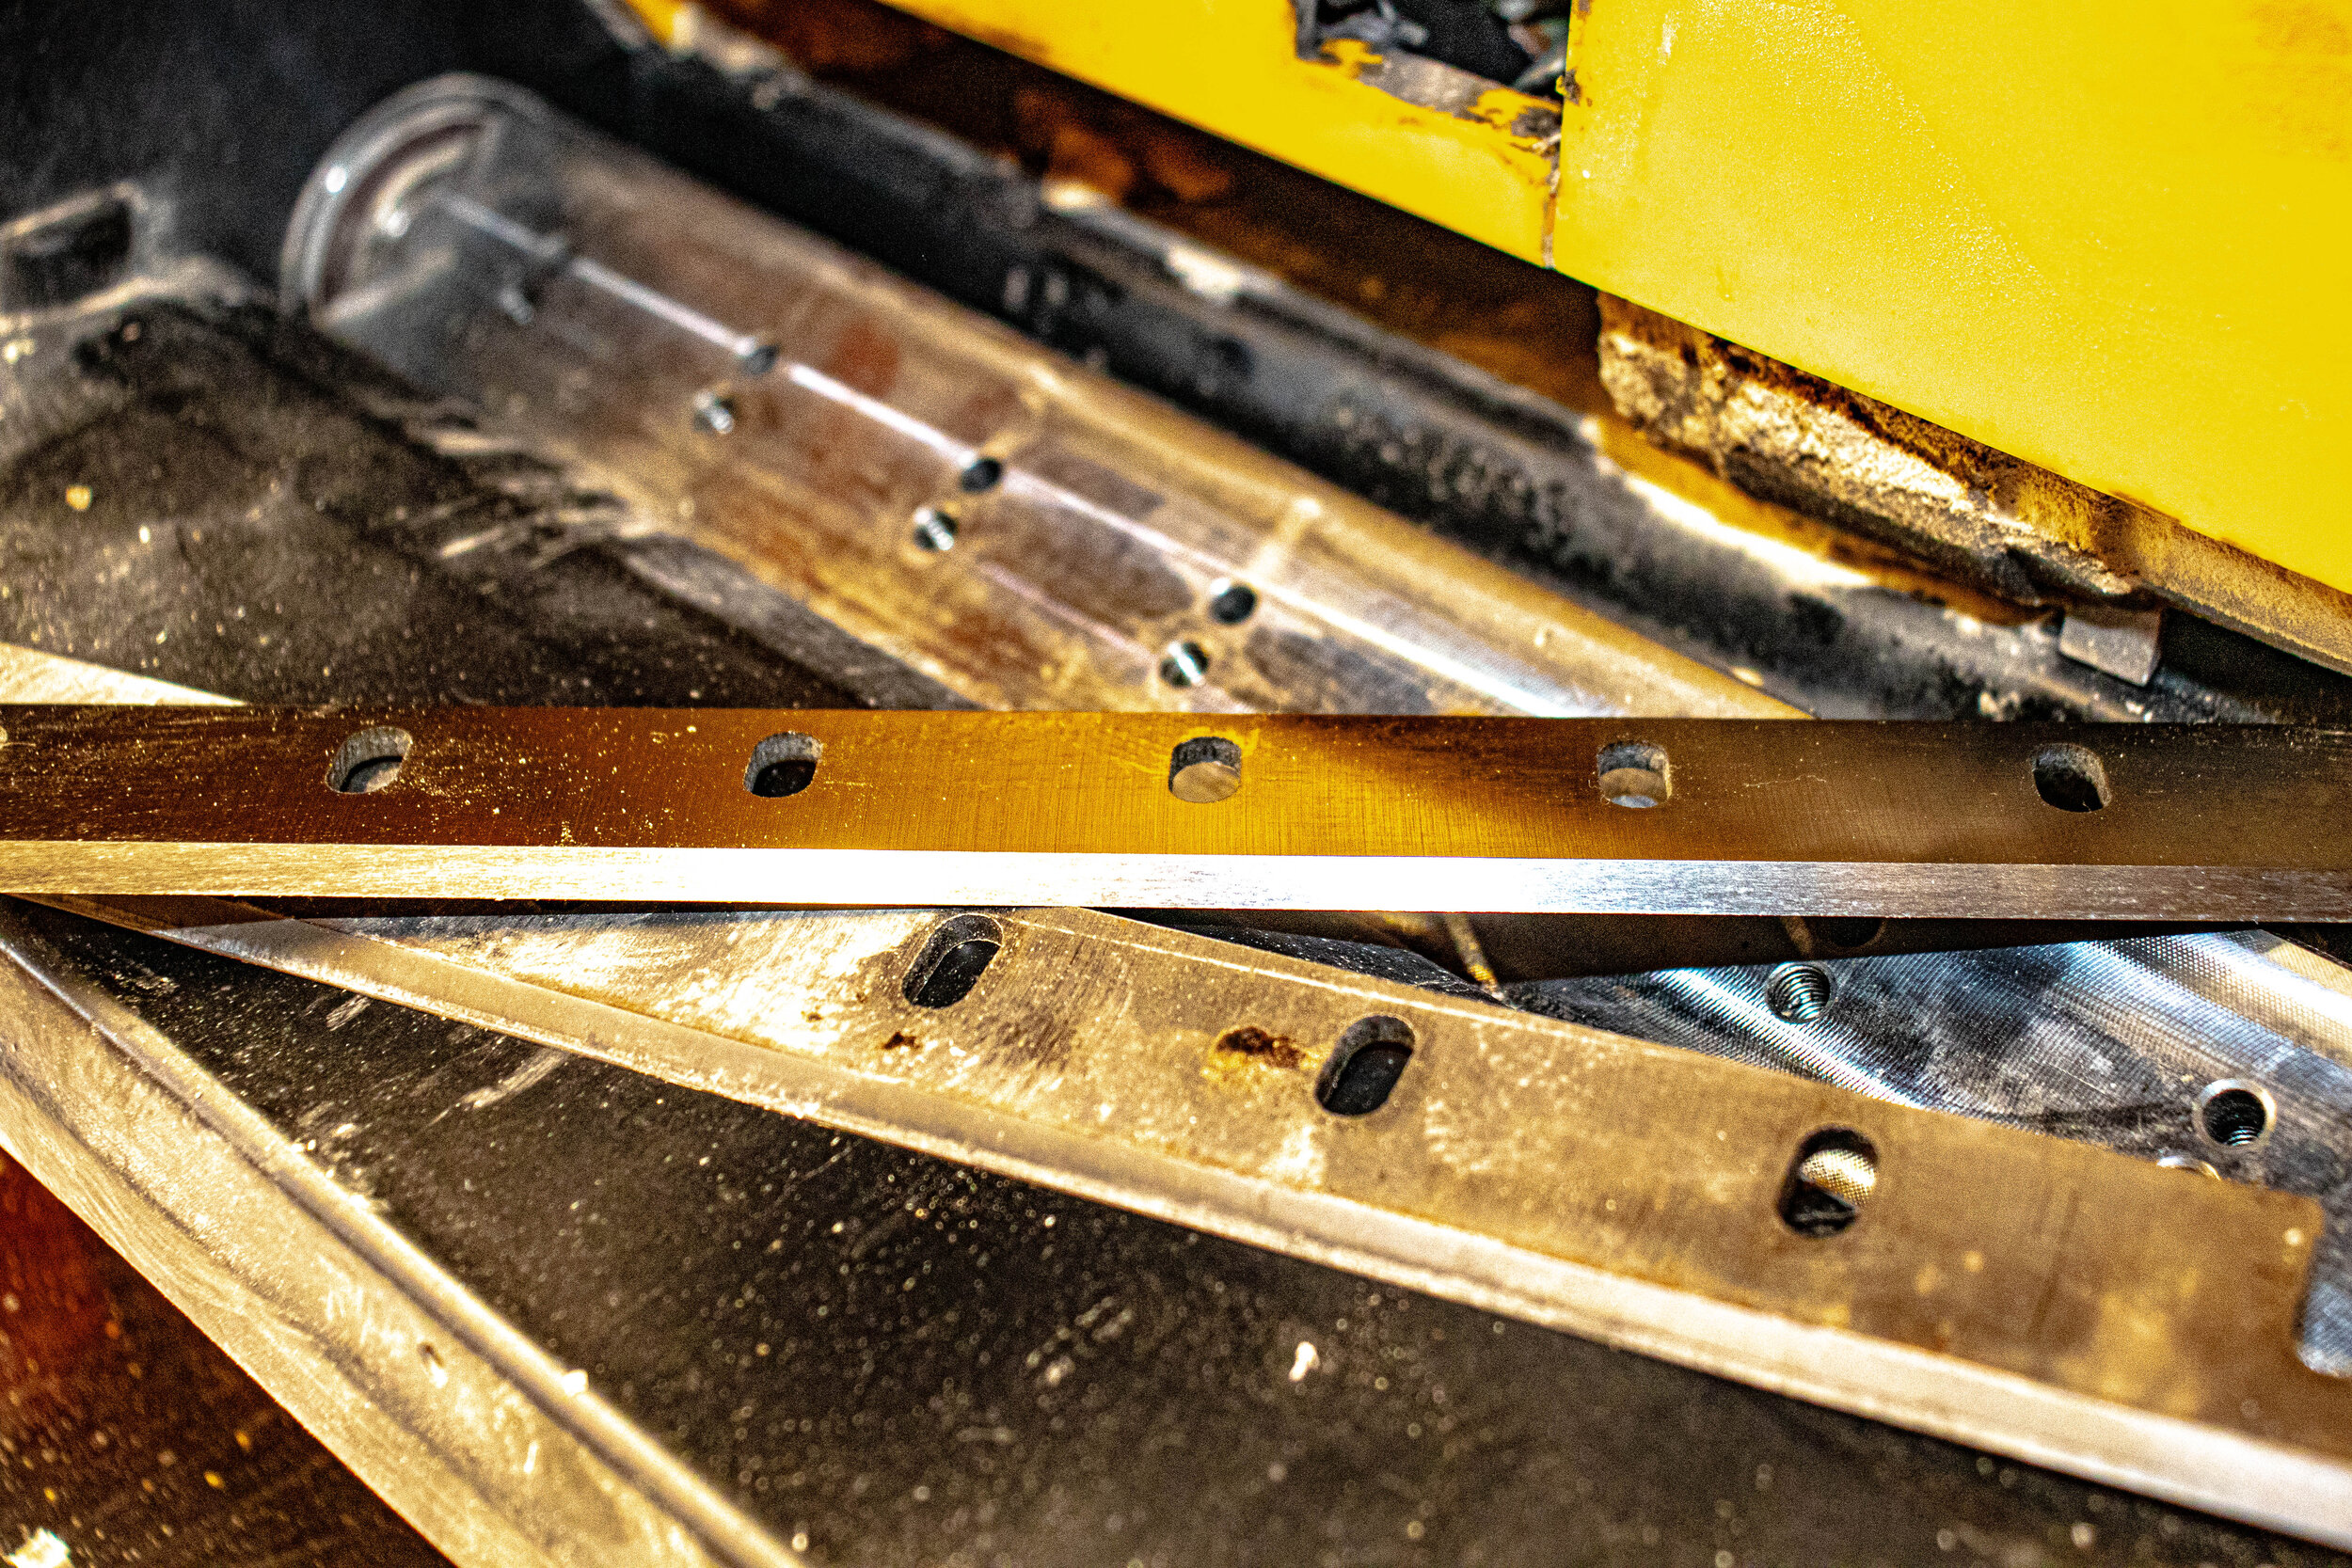
Step 7 Remove the Blade
With your gloves on, carefully remove the blade. These blades are sharp so be careful. Take note of the bevel position. You will be installing the new blade in this same position.
Take a few seconds to clean the revealed blade cylinder.
Step 8 Install New Blade
Now is the time that the new blade will be installed. These blades are SHARP SHARP SHARP. Please use gloves and care. Take the new blade out of its protective packaging. I like to compare the new blade to the old one. It is amazing to see the condition of the old blade. Replace the new blade in the same orientation as the old one into the blade cylinder. If you have the right blades, the holes should match up.
Step 9 Install the Blade Plate
Replace blade plate ensuring the springs engage the blade. To do this, just place the plate above the top of the blade and slide down ensuring the springs are engaged. This spring is designed to push the blade forward to allow for positioning with the knife gauge tool. The plate should lay flat on the blade with no gaps and you should not see the spring in the holes. If any of this occurs this is because the spring is not flush against the back of the blade. To remedy this, remove and reposition so the blade plate is flat and no springs are visible in the holes.
Install the out bolts and hand tighten them. You want to tighten enough to ensure the blade plate stays flat when you let go of it.
Step 10 Tighten Blade Assembly Bolts
Replace the rest of the blade assembly bolts. Tighten just enough so the blade still moves when pushed, but remains in place when left alone.

Step 11 Rotate Blade Cylinder
Locate and use the lever on the right-side to unlock and release blade cylinder. Rotate it until the bottom of blade you just replaced is accessible. Make sure the cylinder clicks, locking into position.

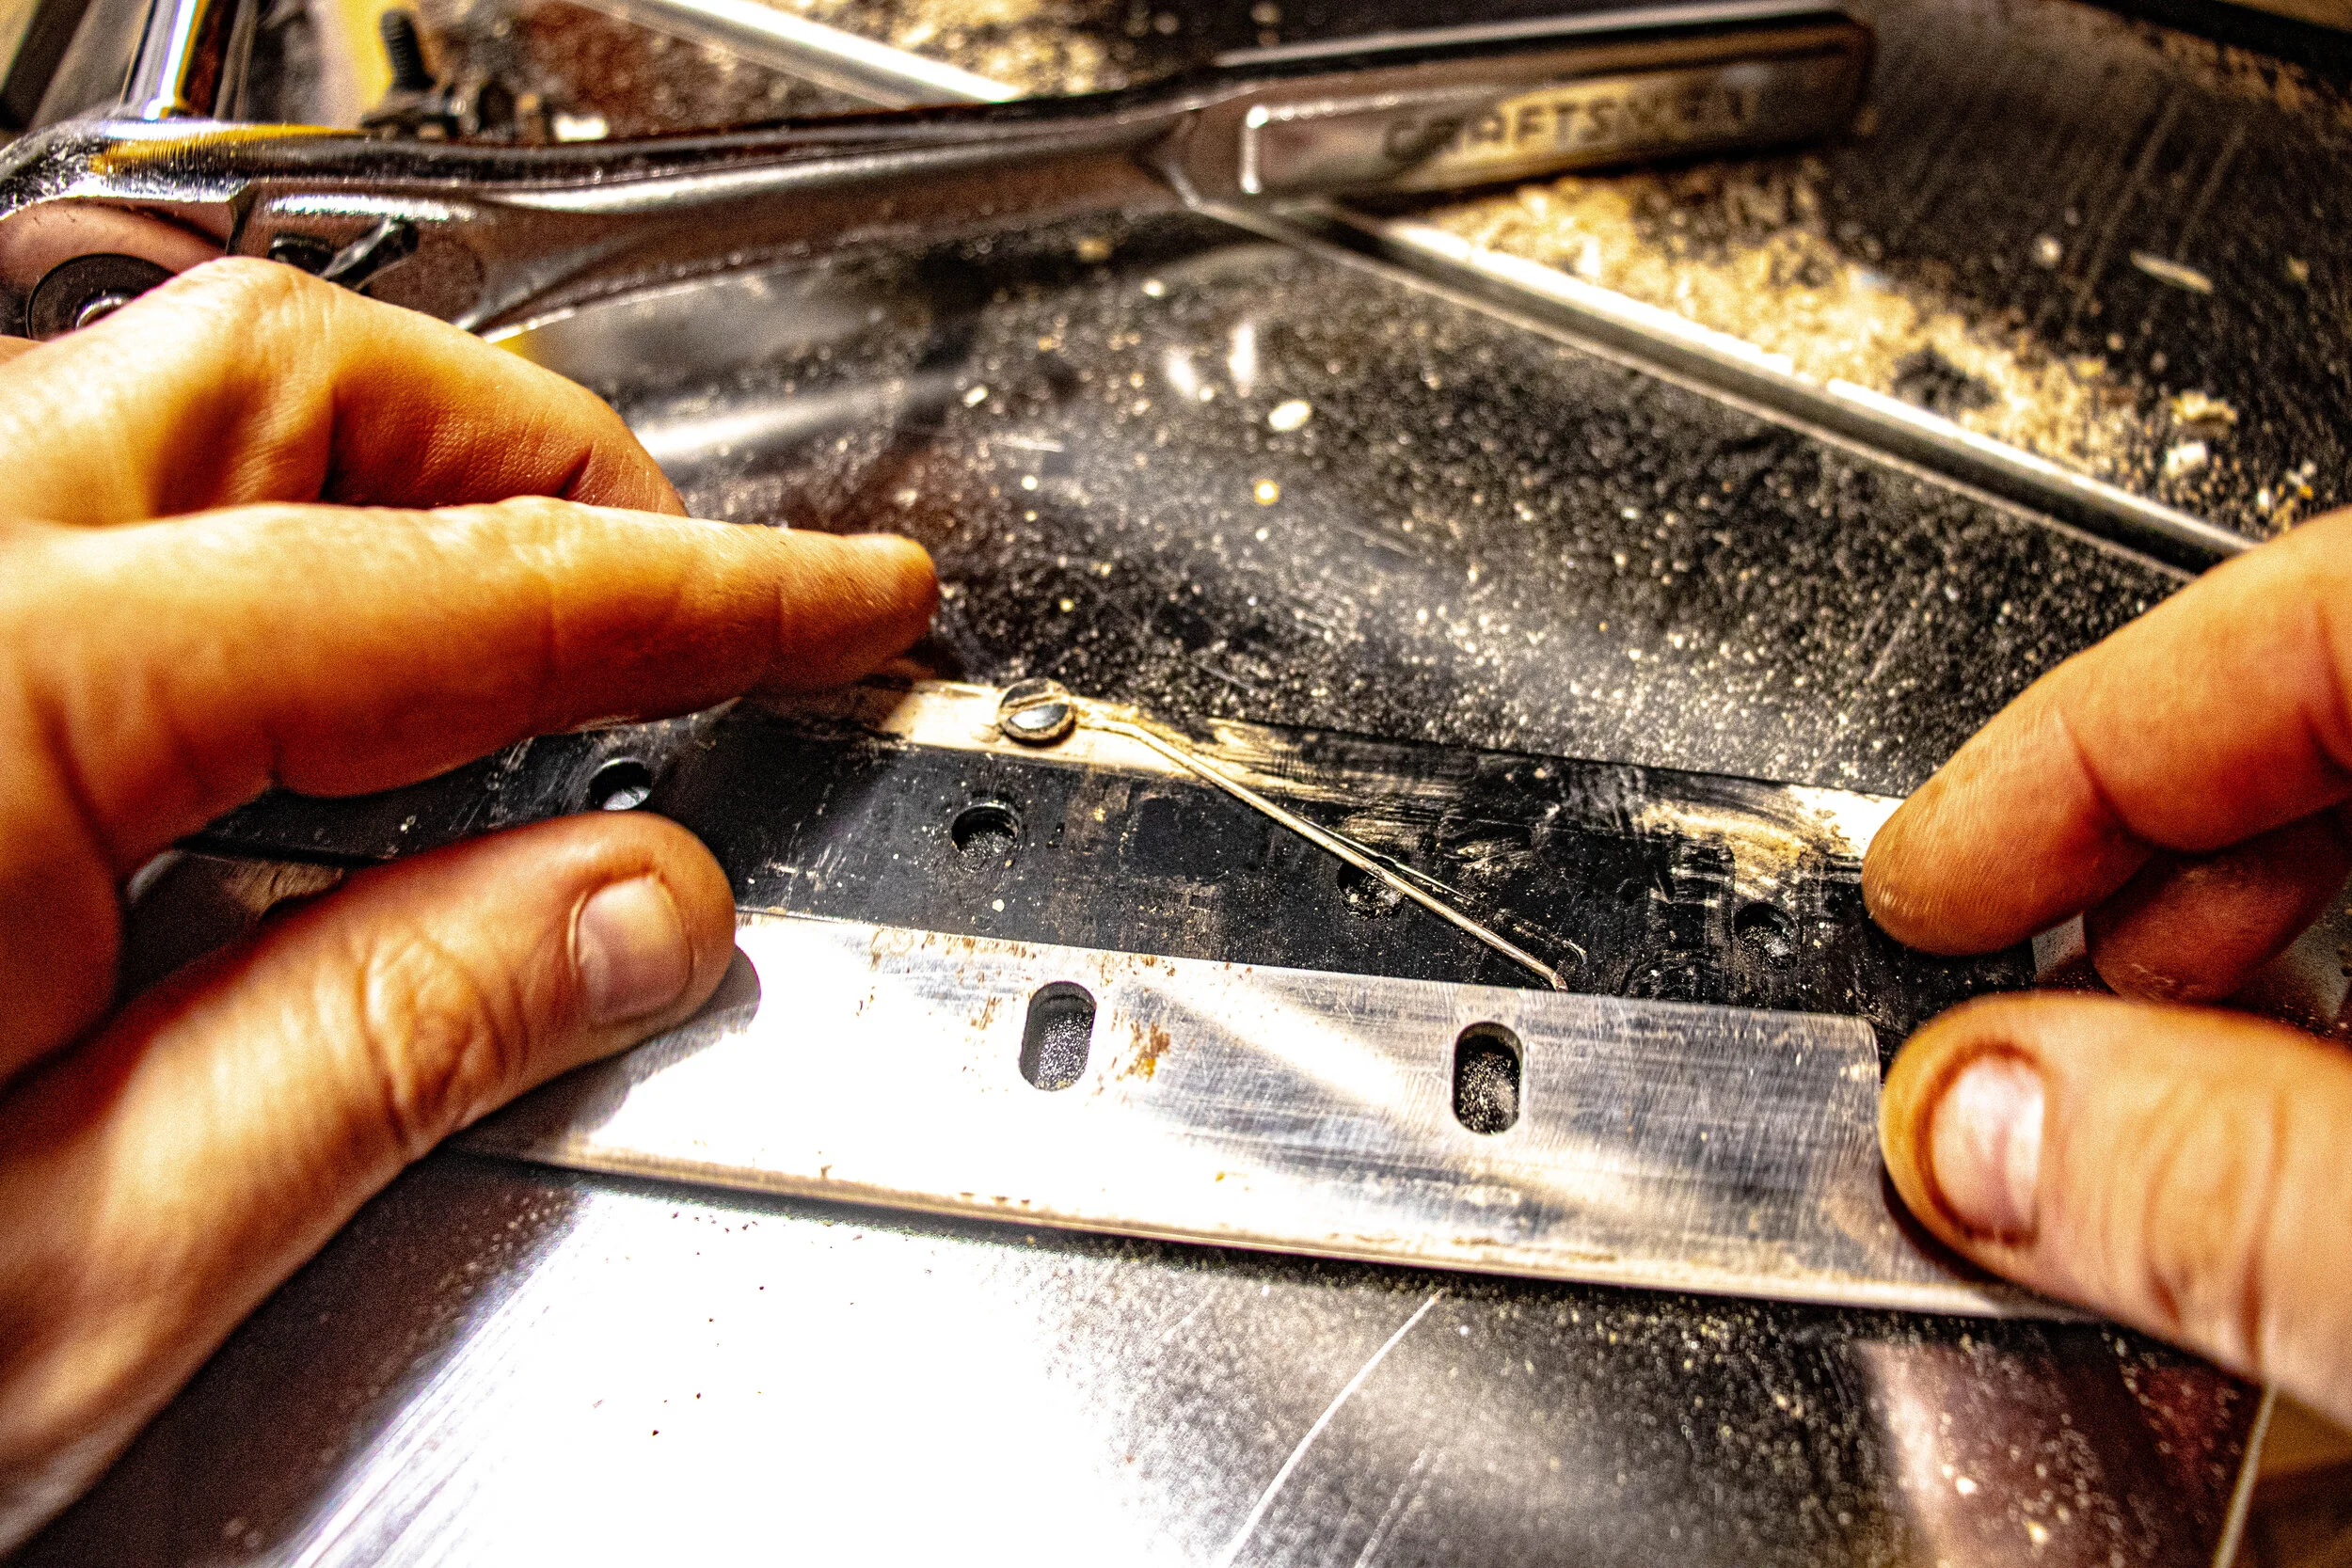
Step 12 Position the Blade
Definitely wear your gloves for this step. This blade is sharp and you will be pushing directly against the blade’s cutting edge. SHARP SHARP SHARP.
Remove the 2 knife gauges from the blade cylinder cover. Use these knife gauges to position the blade. What you want to do is, place each knife gauge at each end of the blade cylinder. Ensure the text on the gauge is right side up. The bottom of the gauge should rest cleanly against the other blade plate. With the gauge in place against the other blade plate, gently push the blade you changed in place with the top of the blade gauge . You want the blade to touch the end of the gauge with the gauge securely against the blade cylinder. Use a piece of wood to assist in pushing the blade in. There should be some resistance due to the blade plate spring pushing the blade forward. Visually inspect that everything is just so.
Repeat this process on the other side. You may need to do this a few times on each side, until both side are equally in place.
Grab the flat 10mm blade wrench from the blade cylinder cover. Use the blade wrench to slowly tighten the outer blade bolts to securing the blade in place.


Step 13 Tighten the Blade Bolts
Using the flat blade wrench, tighten middle bolts and work your way outside. Make them snug. you will be fully tightening them with the socket wrench in a moment.


Step 14 Rotate the Blade Cylinder
Unlock lever and rotate blade cylinder until bolts are exposed and the cylinder locks in place.
Step 15 Tighten the Blade Bolts
Fully tighten all 8 bolts with your 10mm socket wrench.
Unlock the lever and rotate the blade cylinder until the bottom of the blade is exposed. Ensure it locks in place. Use the knife gauges to verify that the blade did not move when securing the bolts. This is important because the blades need to be properly aligned to safely do their removing wood during the planing process.
Step 16 Change the Other Blade
Unlock the lever and rotate cylinder exposing the other blade’s bolts. Repeat steps 5 - 15 to change this new blade.
Step 17 Install Blade Cover
Take the blade cover and put it on the machine. Using the Allen wrench, tighten the screws to secure the blade cover.
Step 18 Take it For a Test Drive
Plug your planer in. Take a piece of wood and run it through the planer to test it out Be sure to stay out of the way.. If there is kickback or heavy sniping or the rollers do not engage, stop immediately. This is because are not adjusted correctly. The blade could have slid out of position because the bolts were not tightened enough, or the blade was not aligned properly in step 12 and 13. To remedy this, simply take a deep breathe and redo steps 4-17 for each blade.
A little secret, I had to repeat this steps 4-17 3 times until the machine planed perfectly. The first test the blades took huge chunks out of the board and shot the wood backwards. Yikes very scary. The second time it happened again. The third time, it planed perfectly!
Step 19 You Did It
Celebrate because you now have a fully serviced planer the moves through hardwood with ease. That was not too bad was it?
Taking time to properly tune your Planer and replace the blades is worth it. Not only will these steps will extend the life of your tool, your wood will come out the other side smooth. The noise this planer produces will be reduced and your blades will cut right through your boards like butter. I highly recommend undertaking this relatively easy task. You will not be disappointed.
Comment below if you have any questions or have some experience to add.
I am happy to help if I can.