
Shed to Woodshop
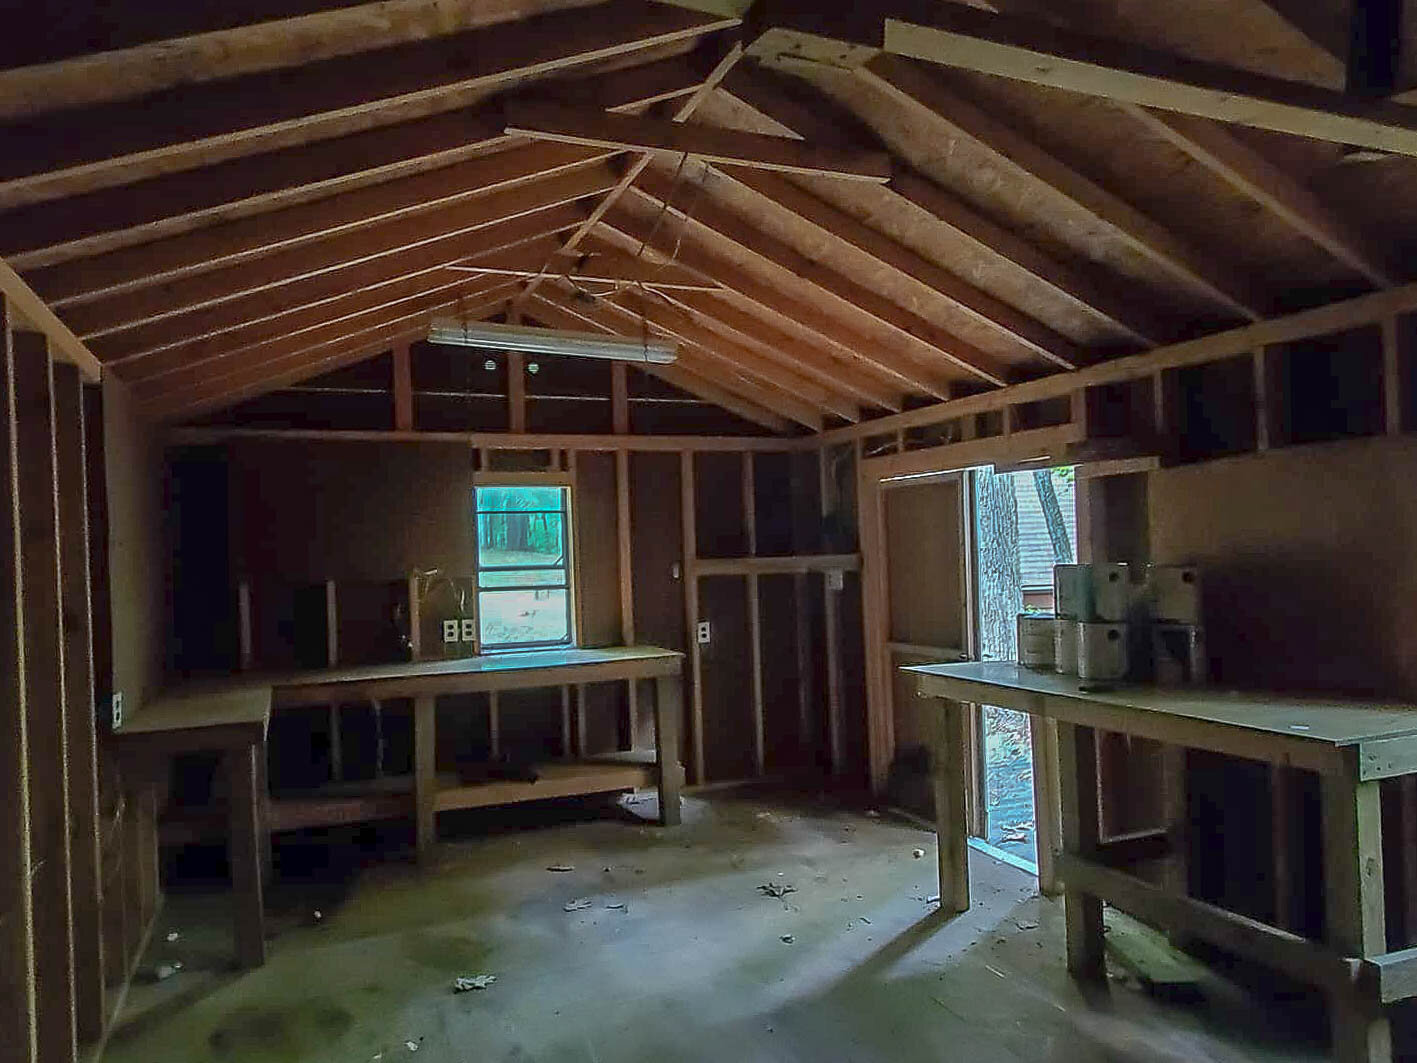
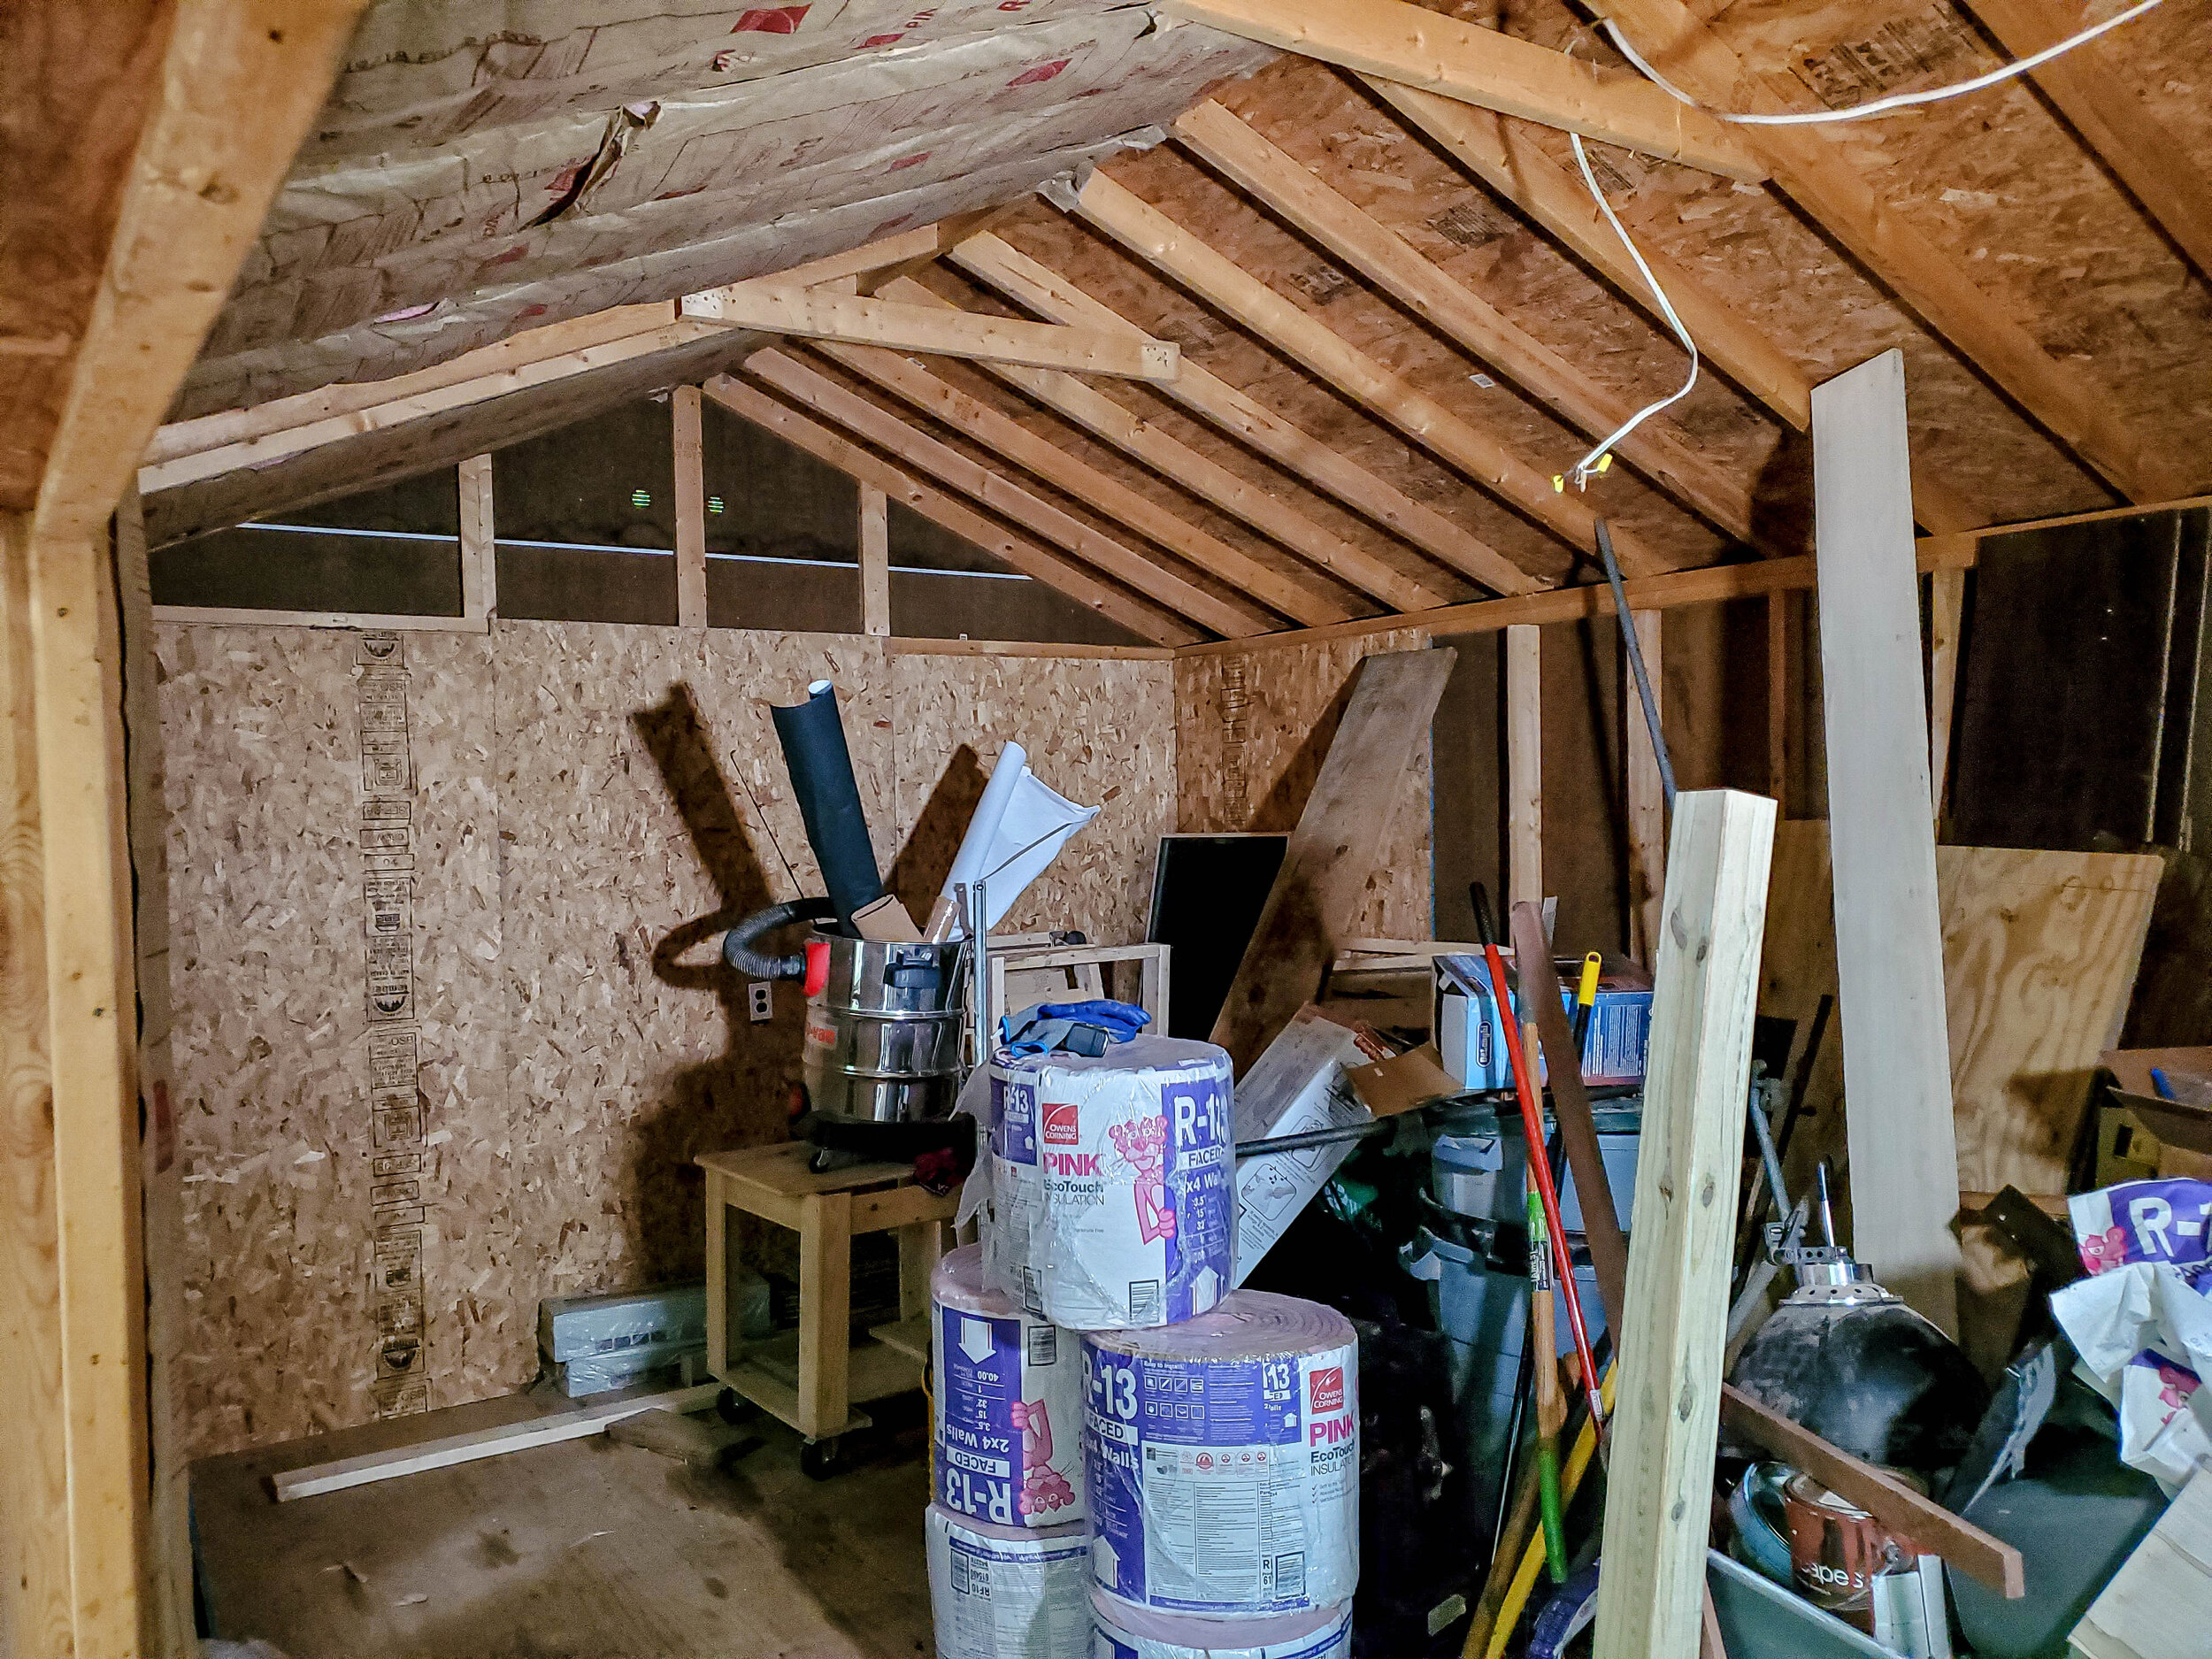
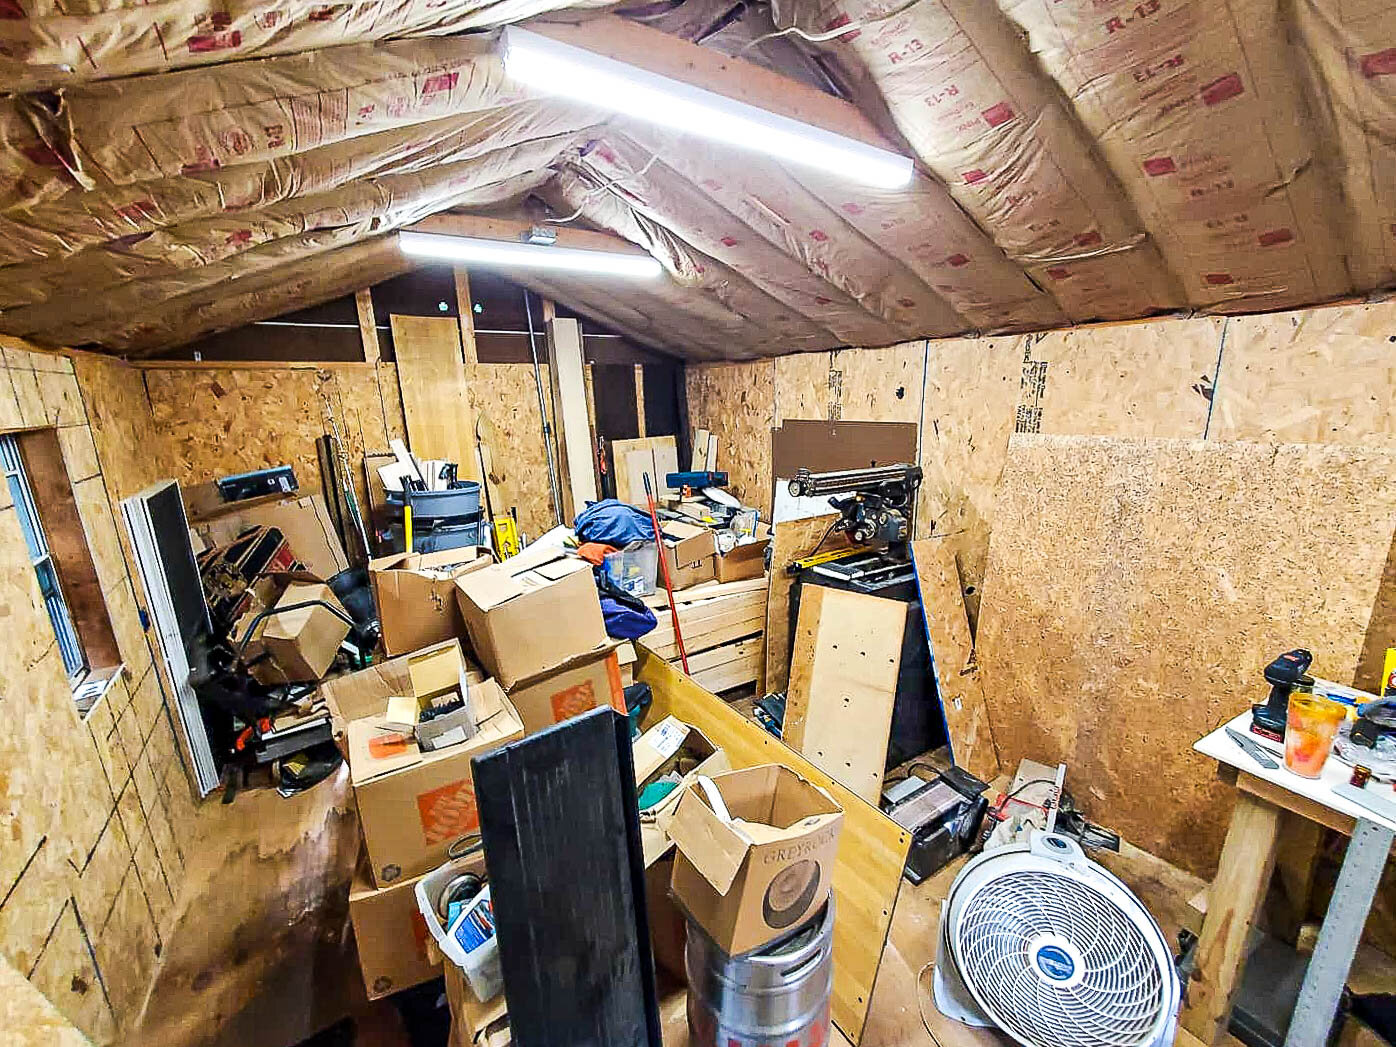
So we moved again. This time to a beautiful wooded landscape with a dedicated shop! This “shop”, a 12 foot by 20 foot shed, would suffice. I knew this dark and damp structure had potential to become the center of operations for SugarTree WoodWerks.
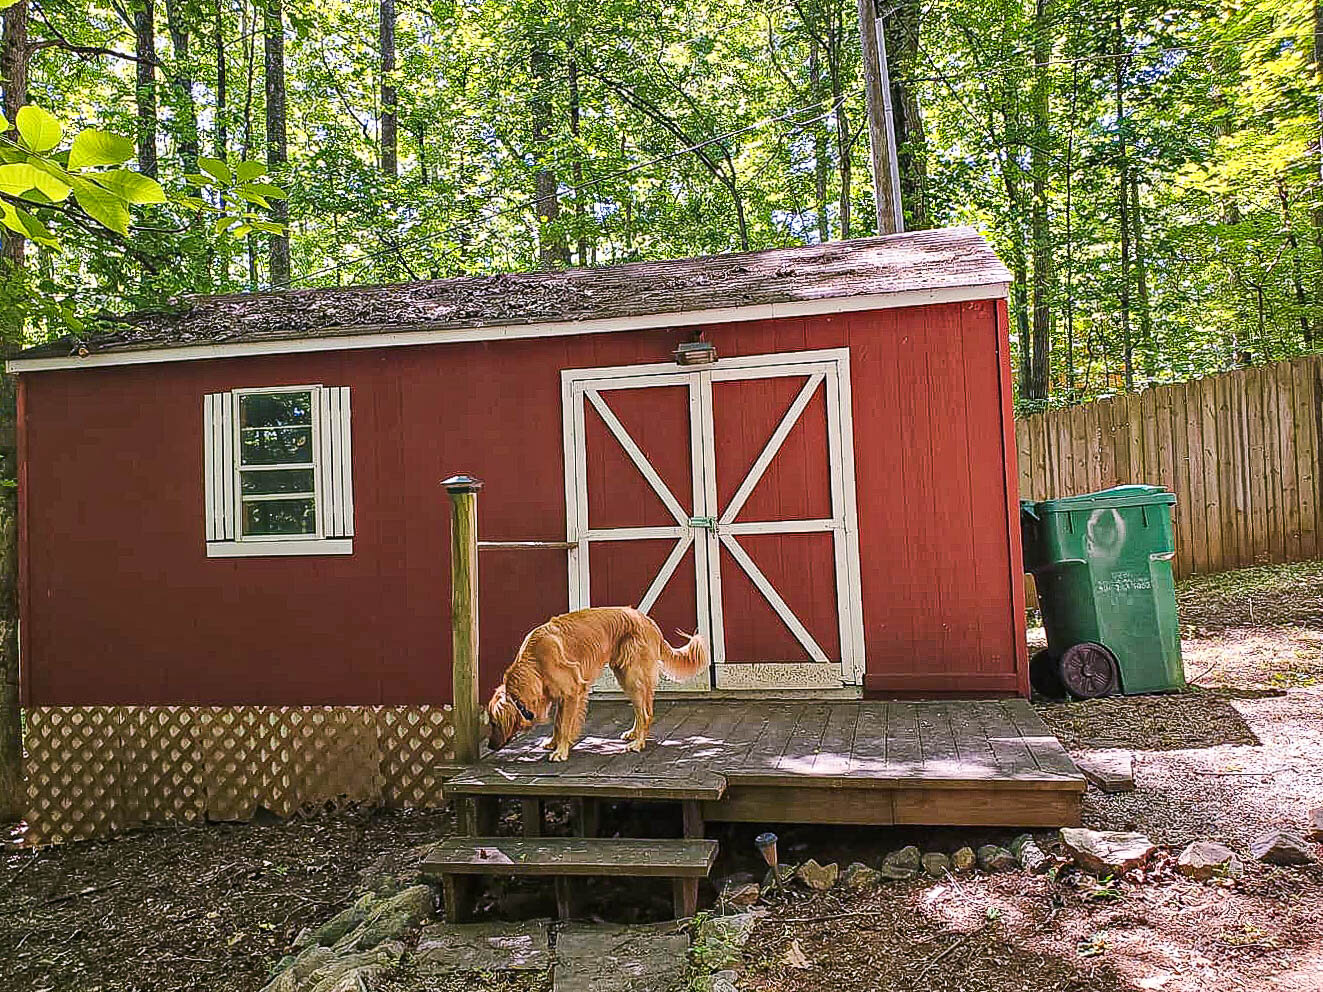
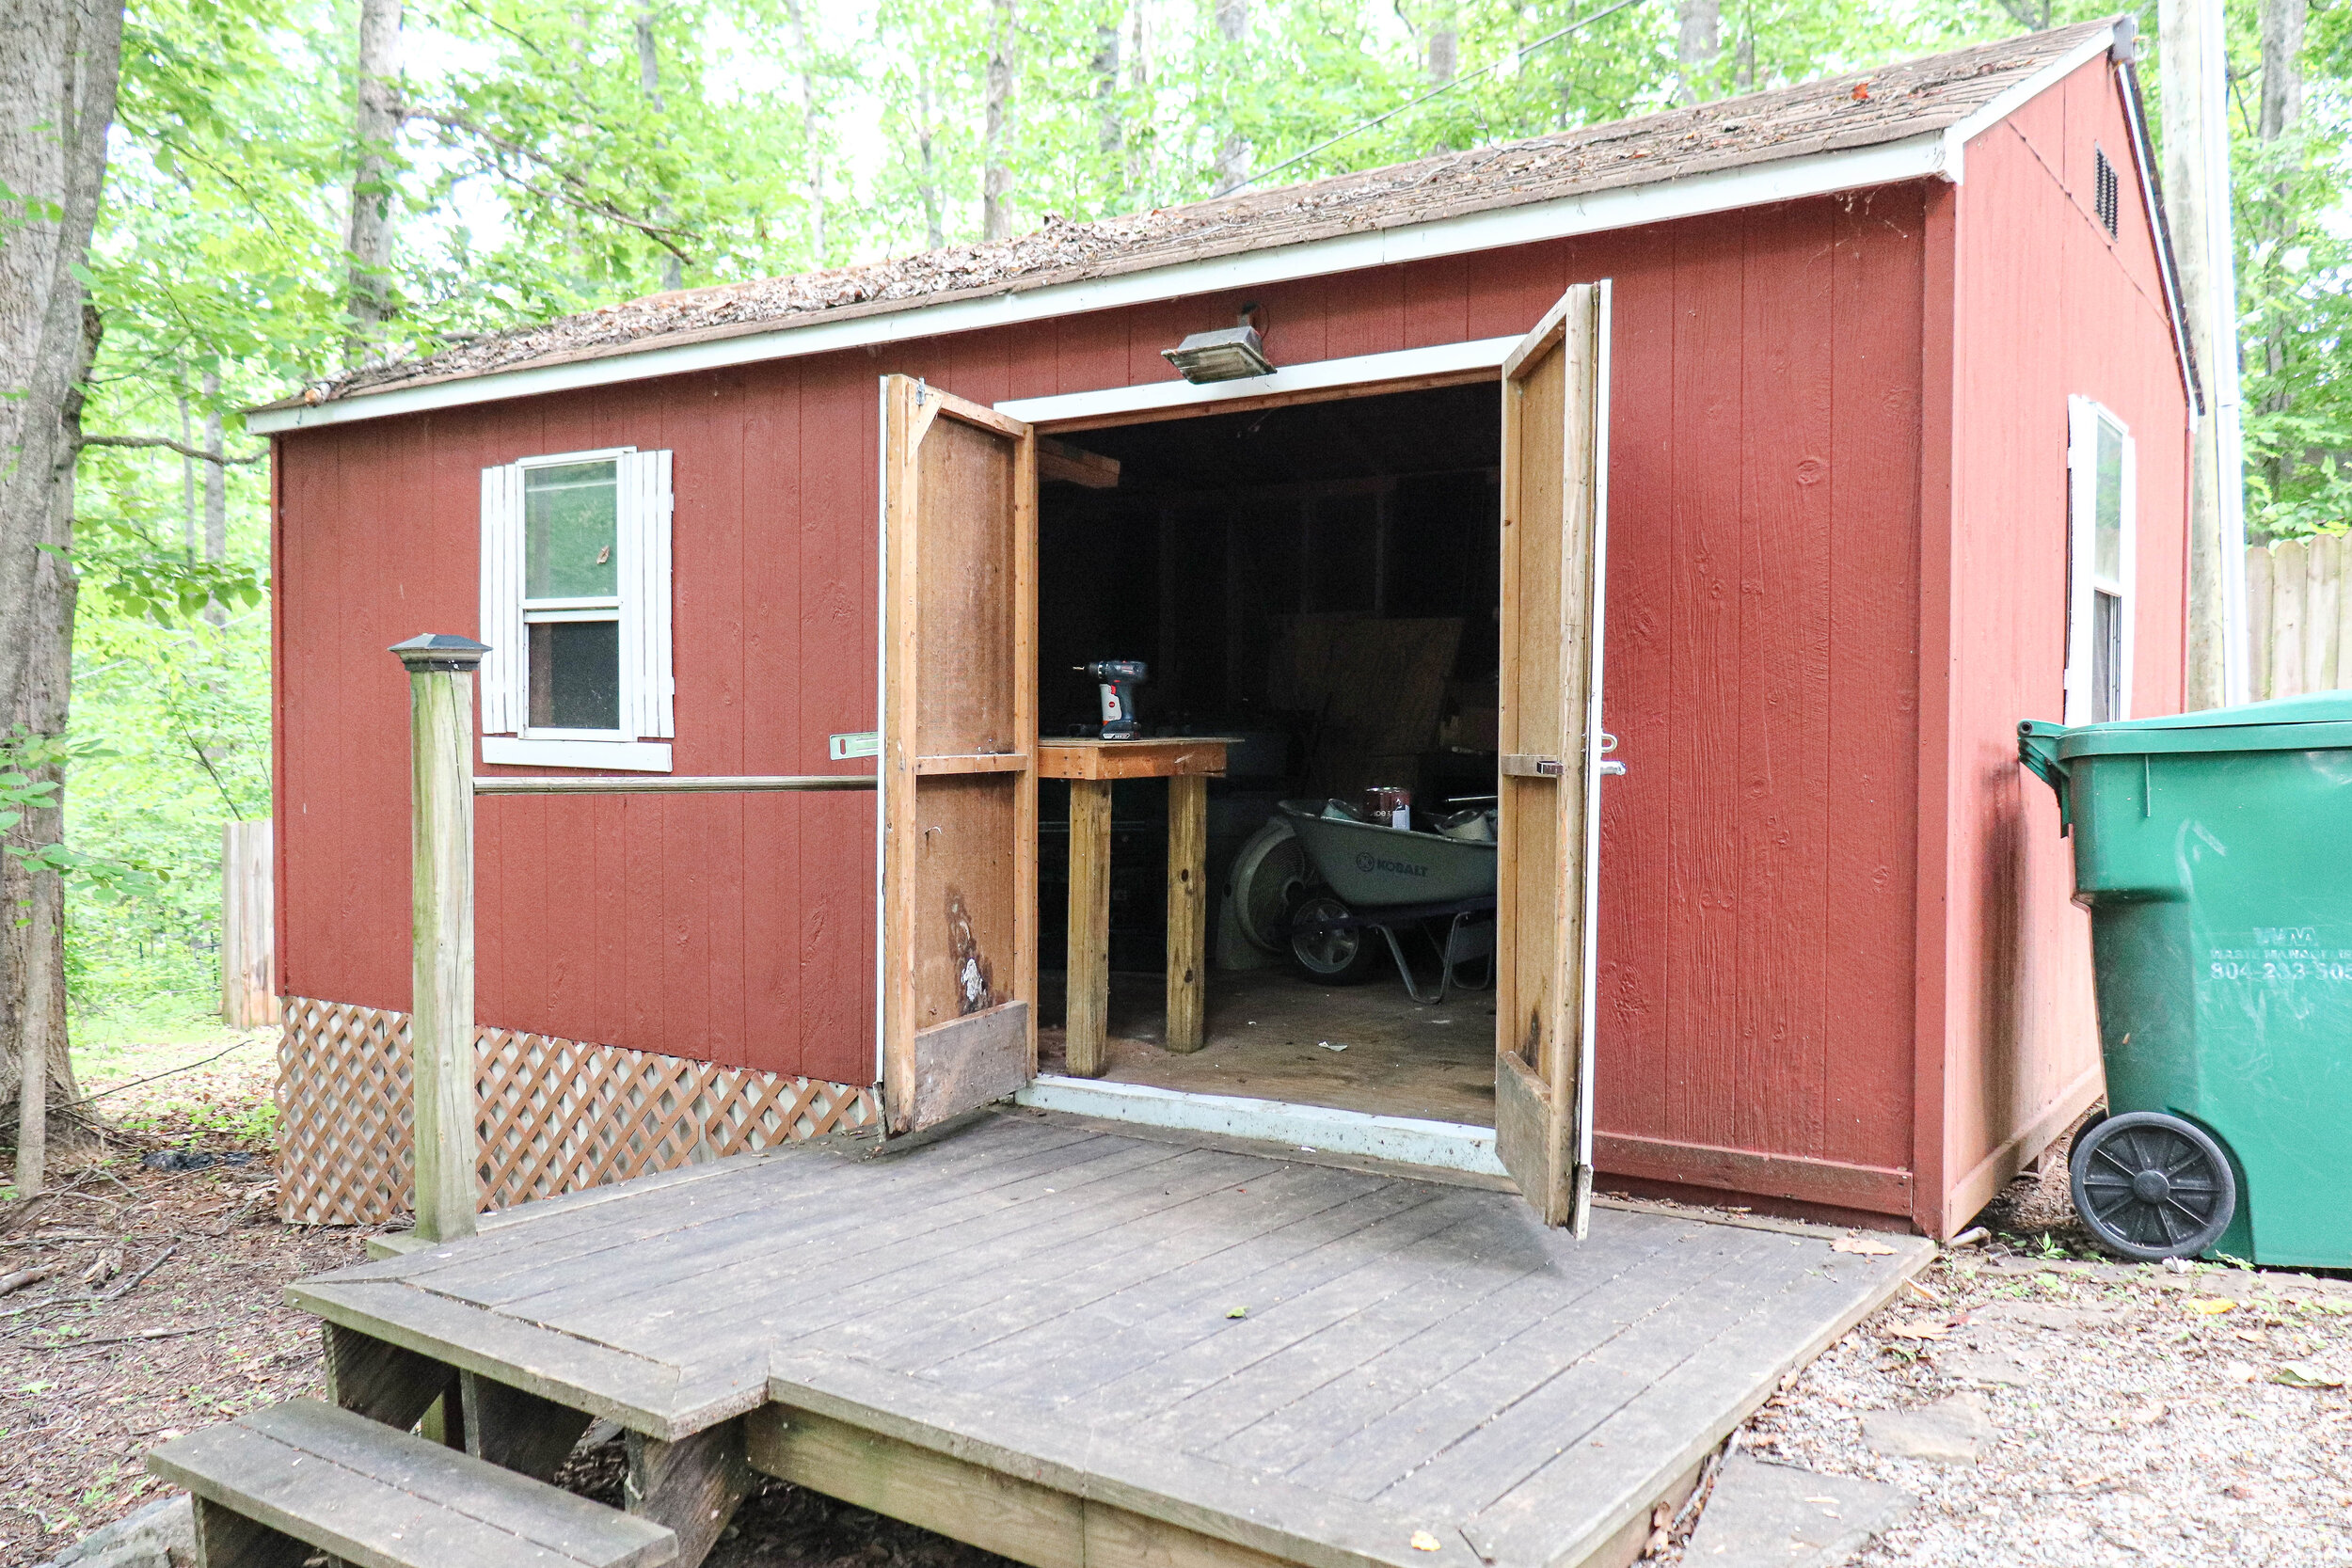
There was a lot of work to be done to get this building into shape. I am not afraid of hard work. There would be 5 phases that would require money time and effort to realize the vision that I have for this place
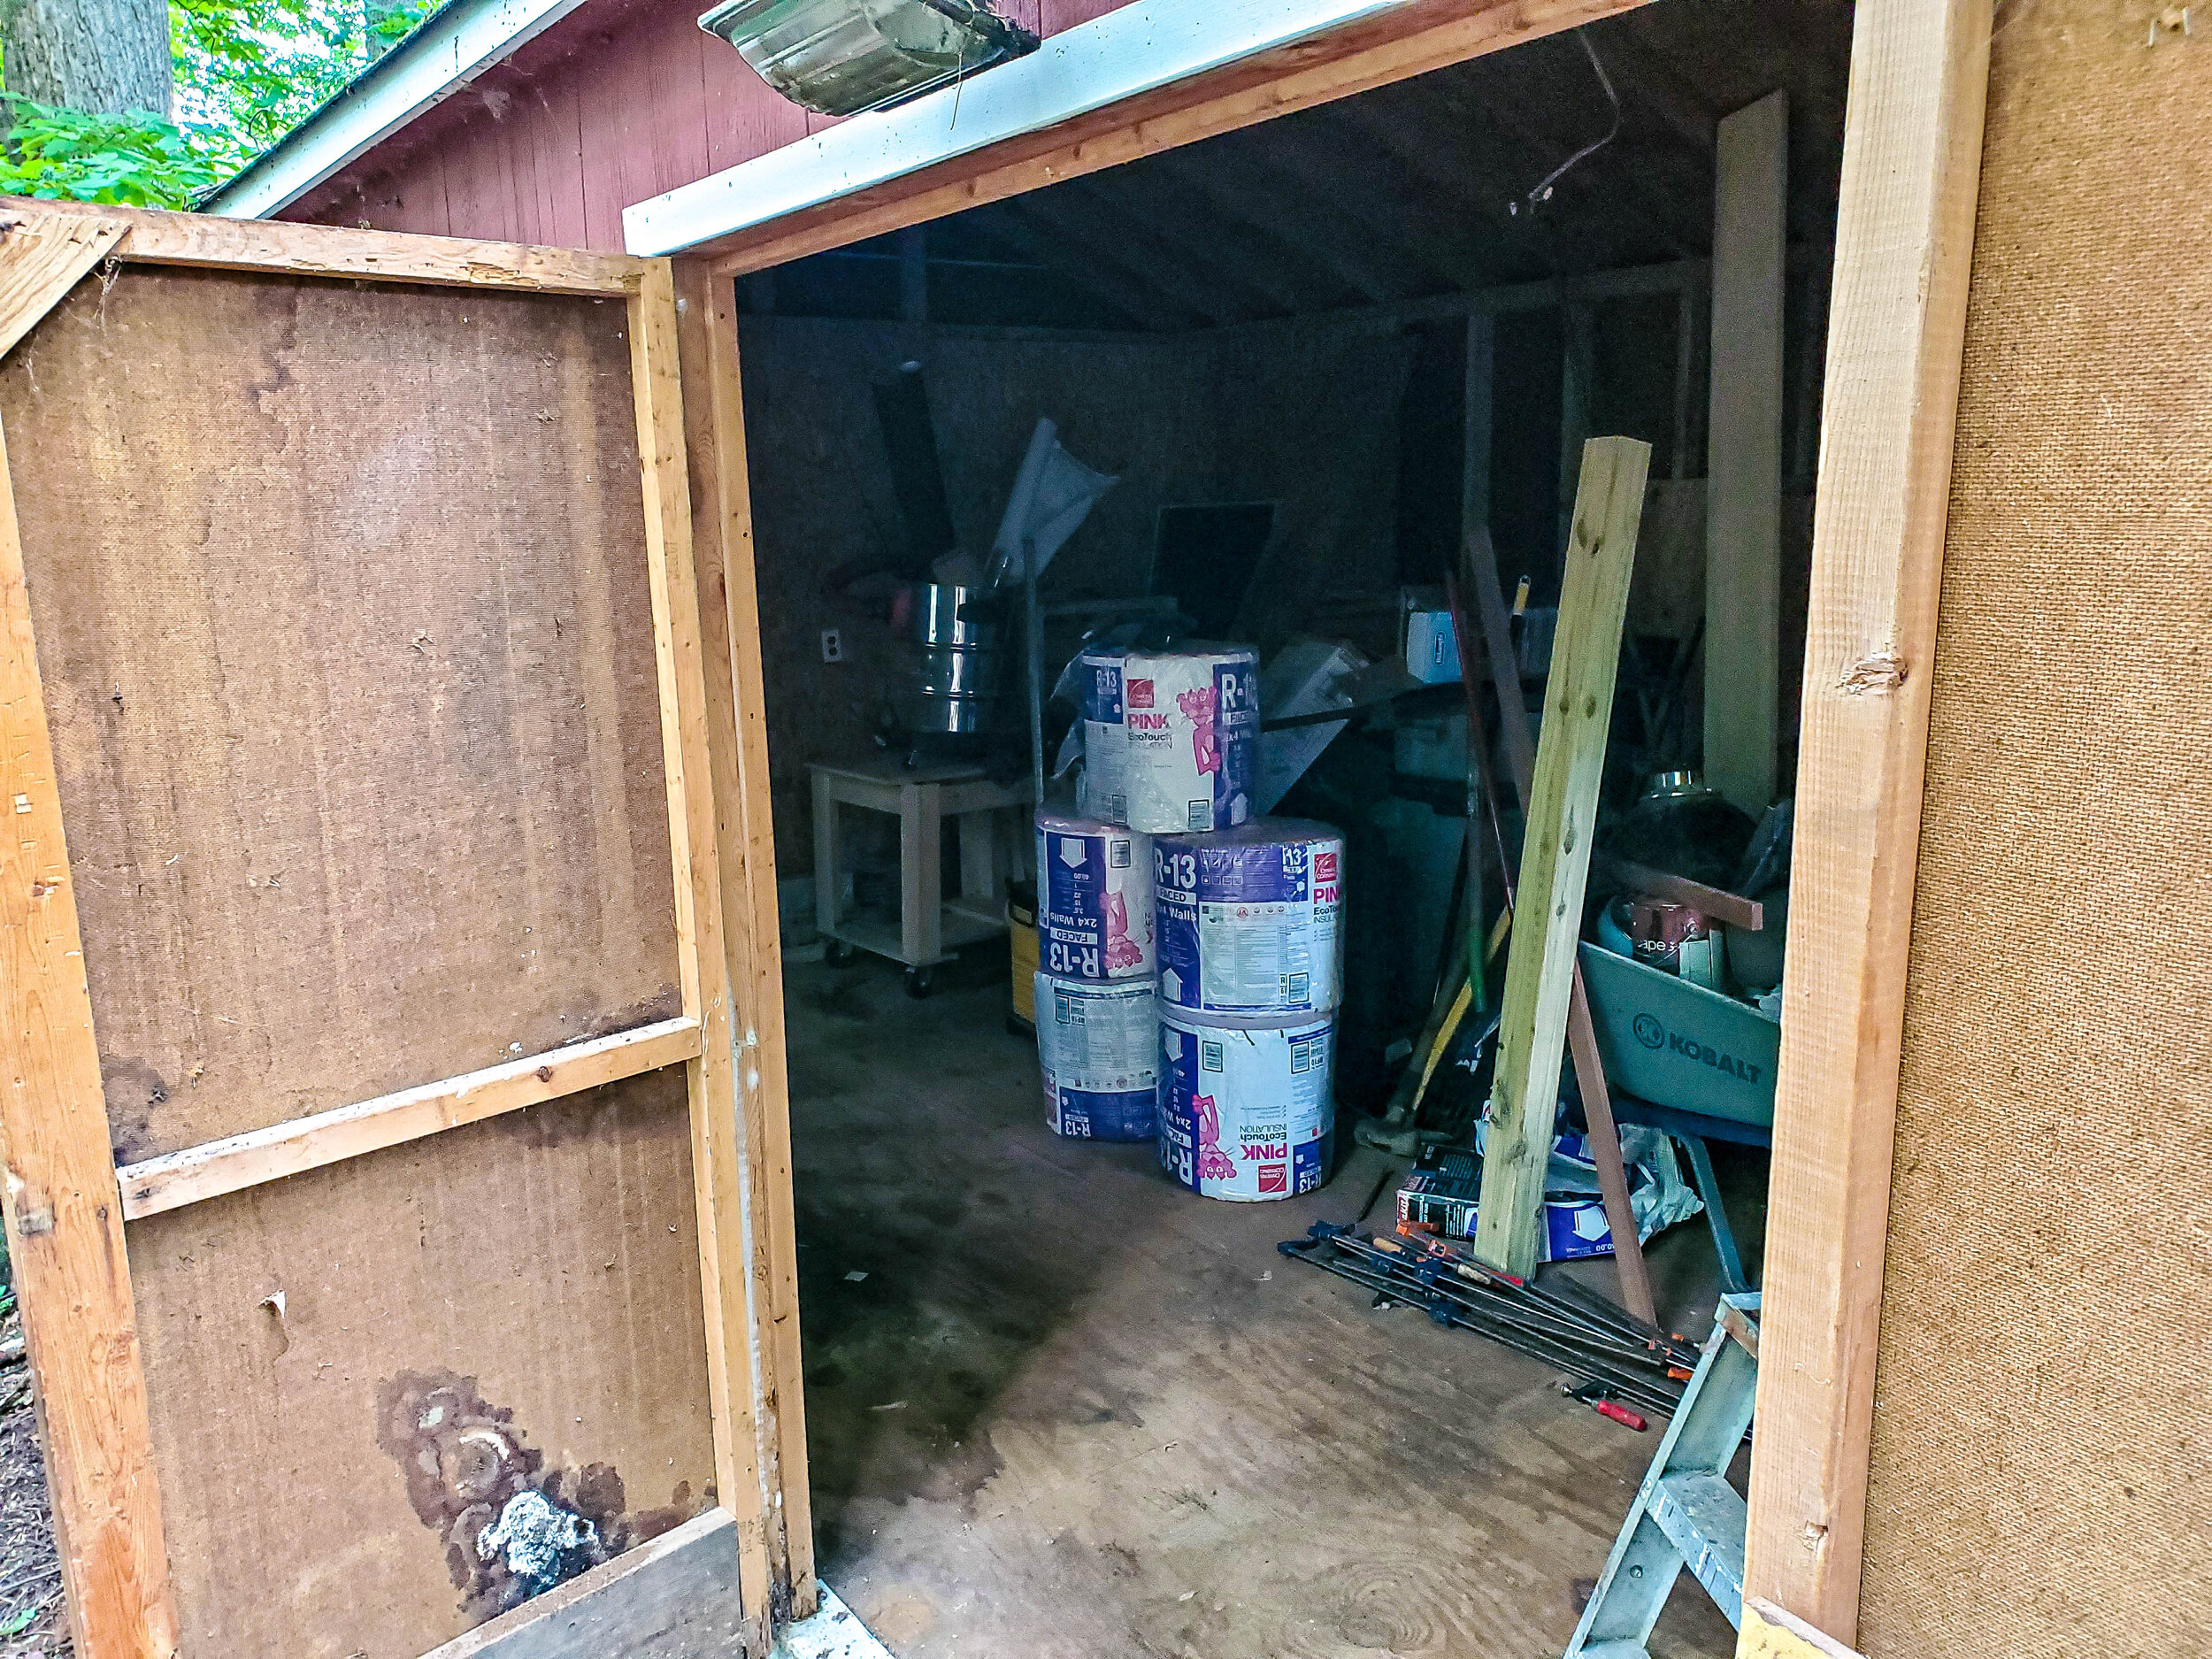
PHASE 1 Insulation
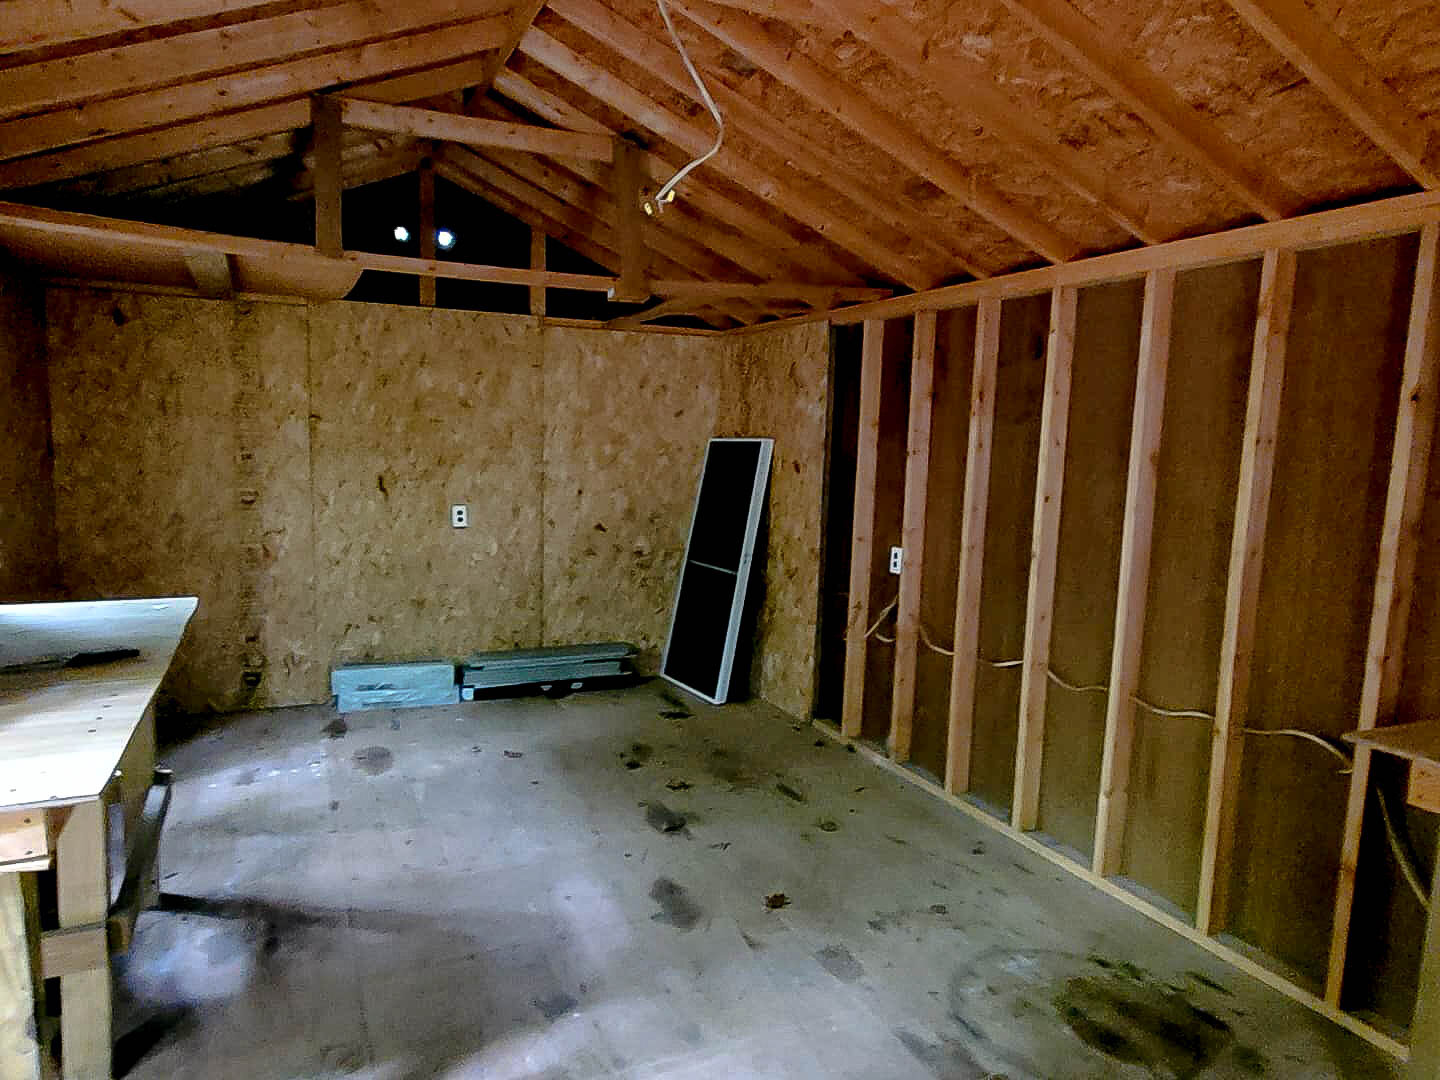
The first thing to do was remove the old benches. I planned on rebuilding new ones anyway. I also had to tear down the ceiling shelf. No need for that. After some time prying nails and unscrewing stripped screws, I had a blank slate to work with.
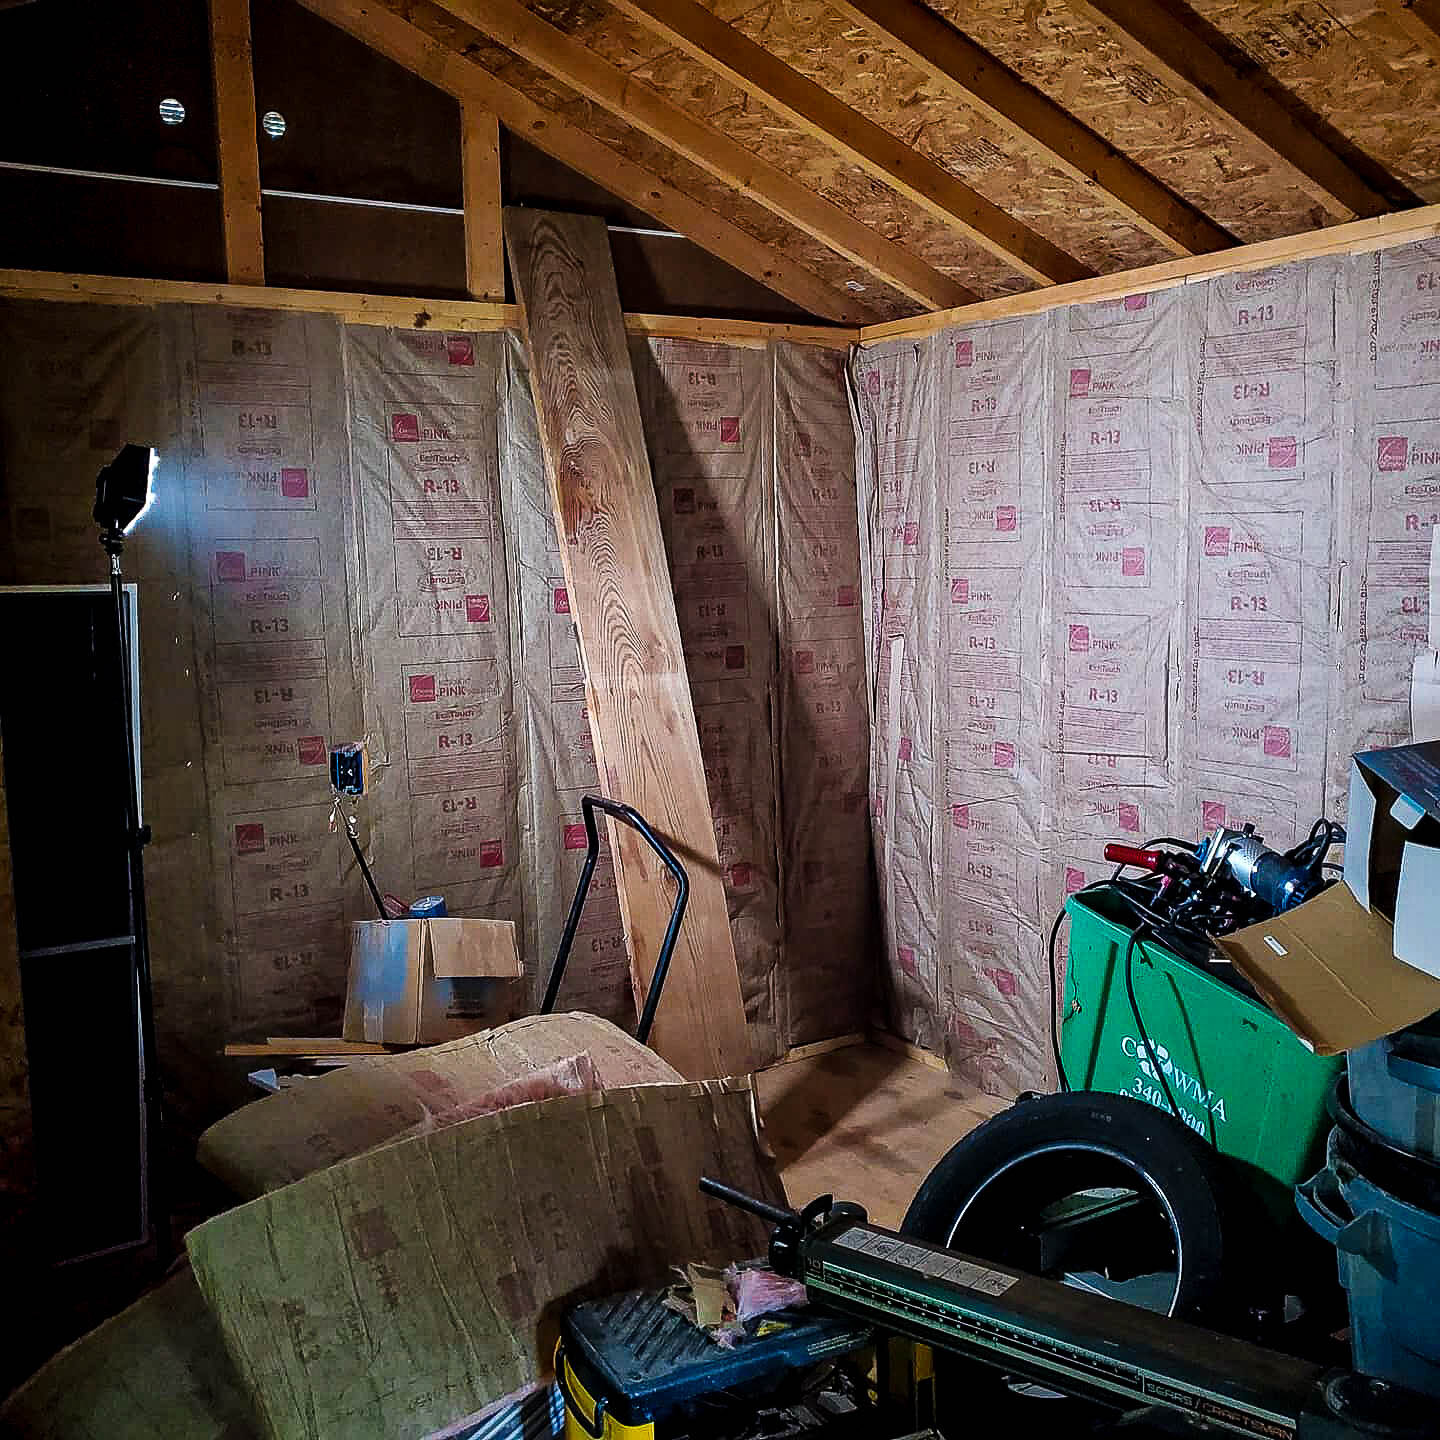
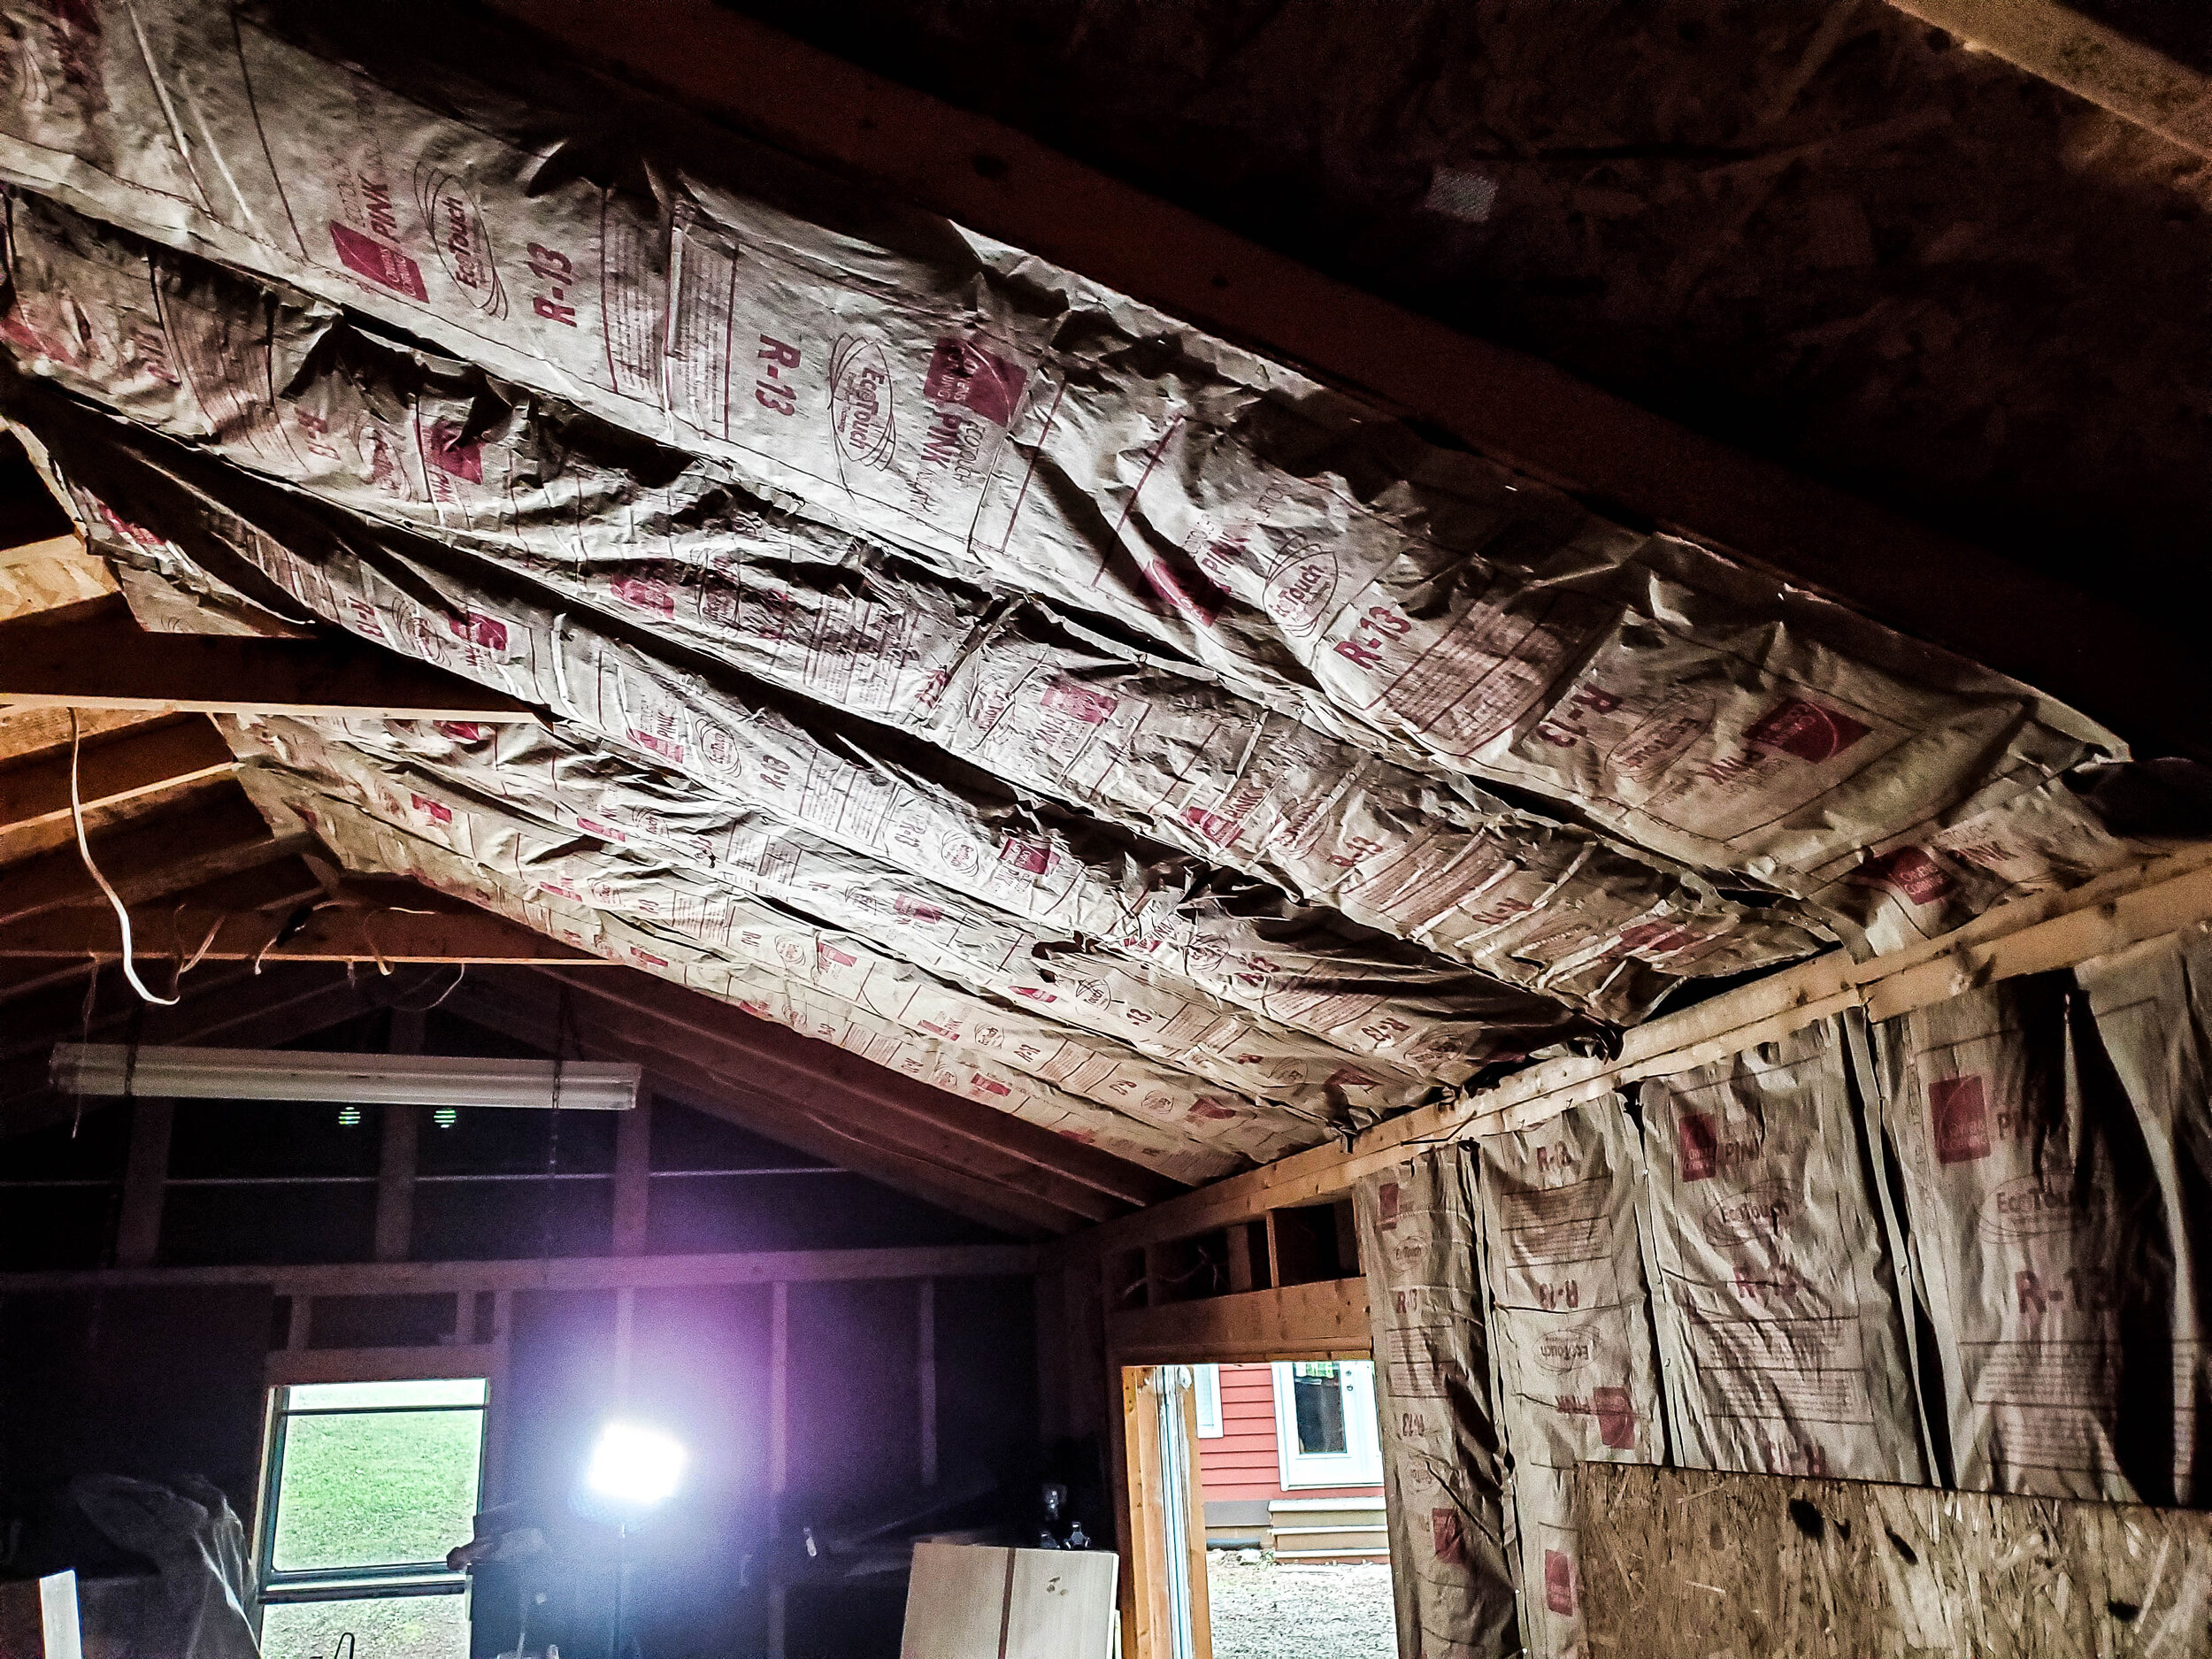
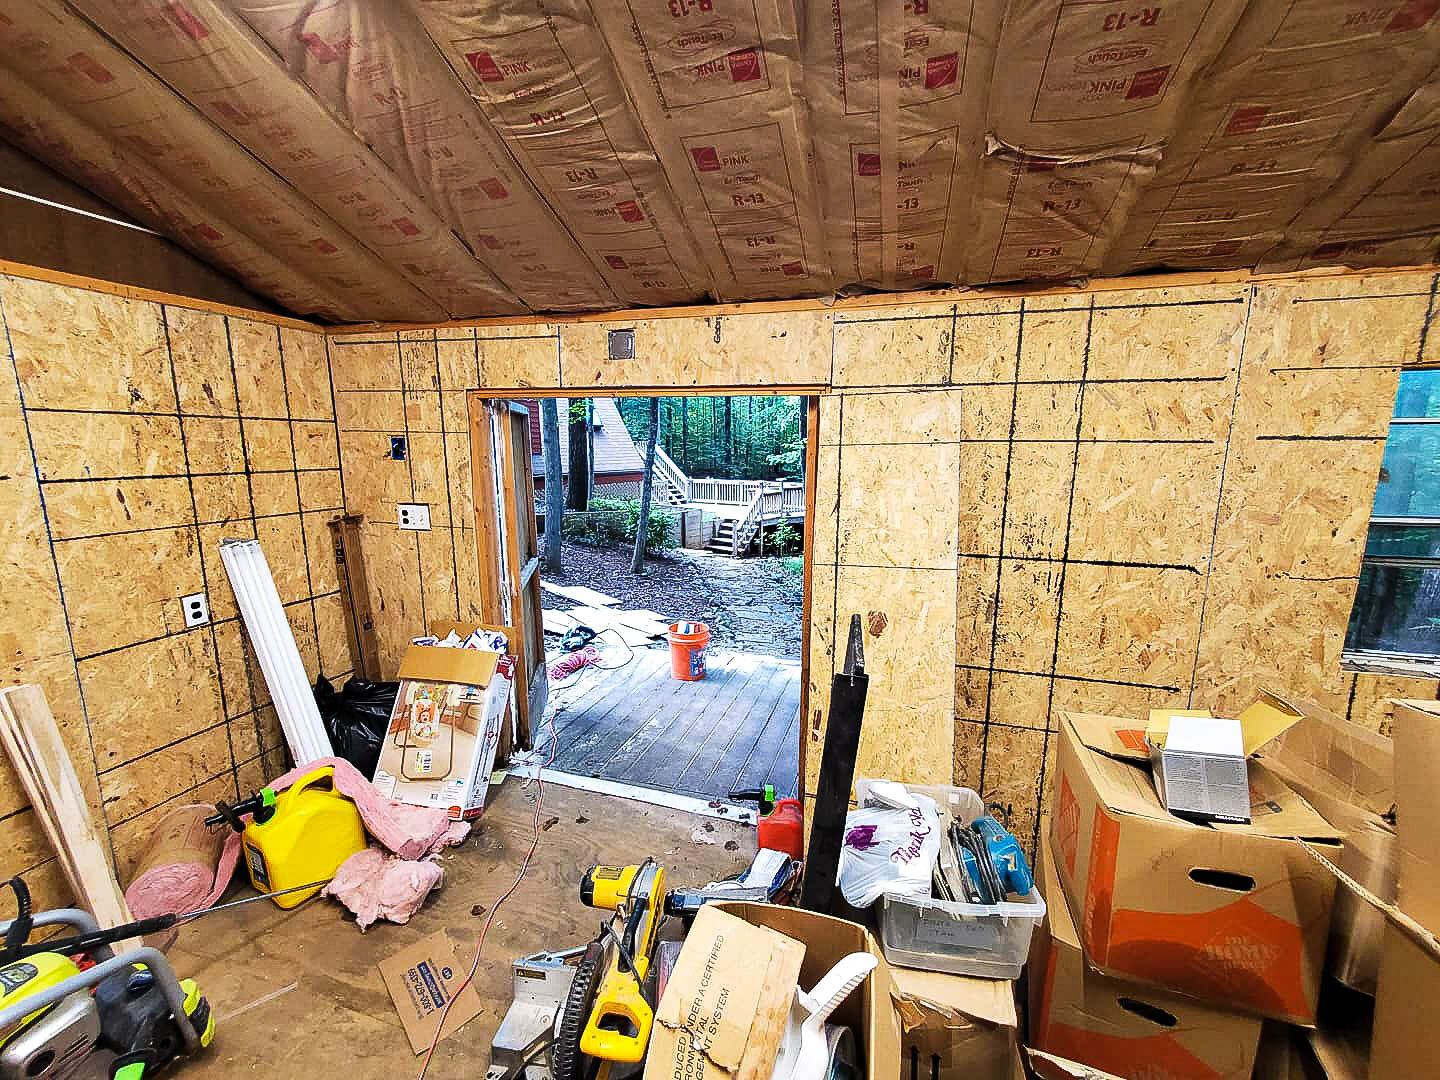
I purchased many rolls of r-13 insulation and a slap stapler. Measuring out the lengths of insulation and stapling them in place, I made my way around the room. First the walls, being careful to split the insulation to allow the wiring to fit inside. Next I moved on to the ceiling. It was hot and humid day. Despite sore arms and shoulders, the ceiling was finally insulated.
PHASE 2 Power
Now, this one was tricky. It appeared that the shed had already been wired for power. Sockets lined the walls, while a fluorescent light hung from the ceiling with a wire traversing the length of the roof. When flipping the two light switches, nothing happened. Weird very weird.
After some investigation with a pen that alerts to power in wires and a flashlight, I learned that the line from the main breaker panel, was not attached to the wires to the shed. THEY WERE JUST STUFFED IN THE GANGBOX. Very Dangerous indeed. So glad I didn’t reach in there. I would have received a nasty surprise.

In order to do this right and not burn down the new house, I did lots of research. videos, books, forums, etc. I had to have hernia surgery so this gave me a good 6 weeks of researching as I was on a restriction not allowing me to do any work to the shed.
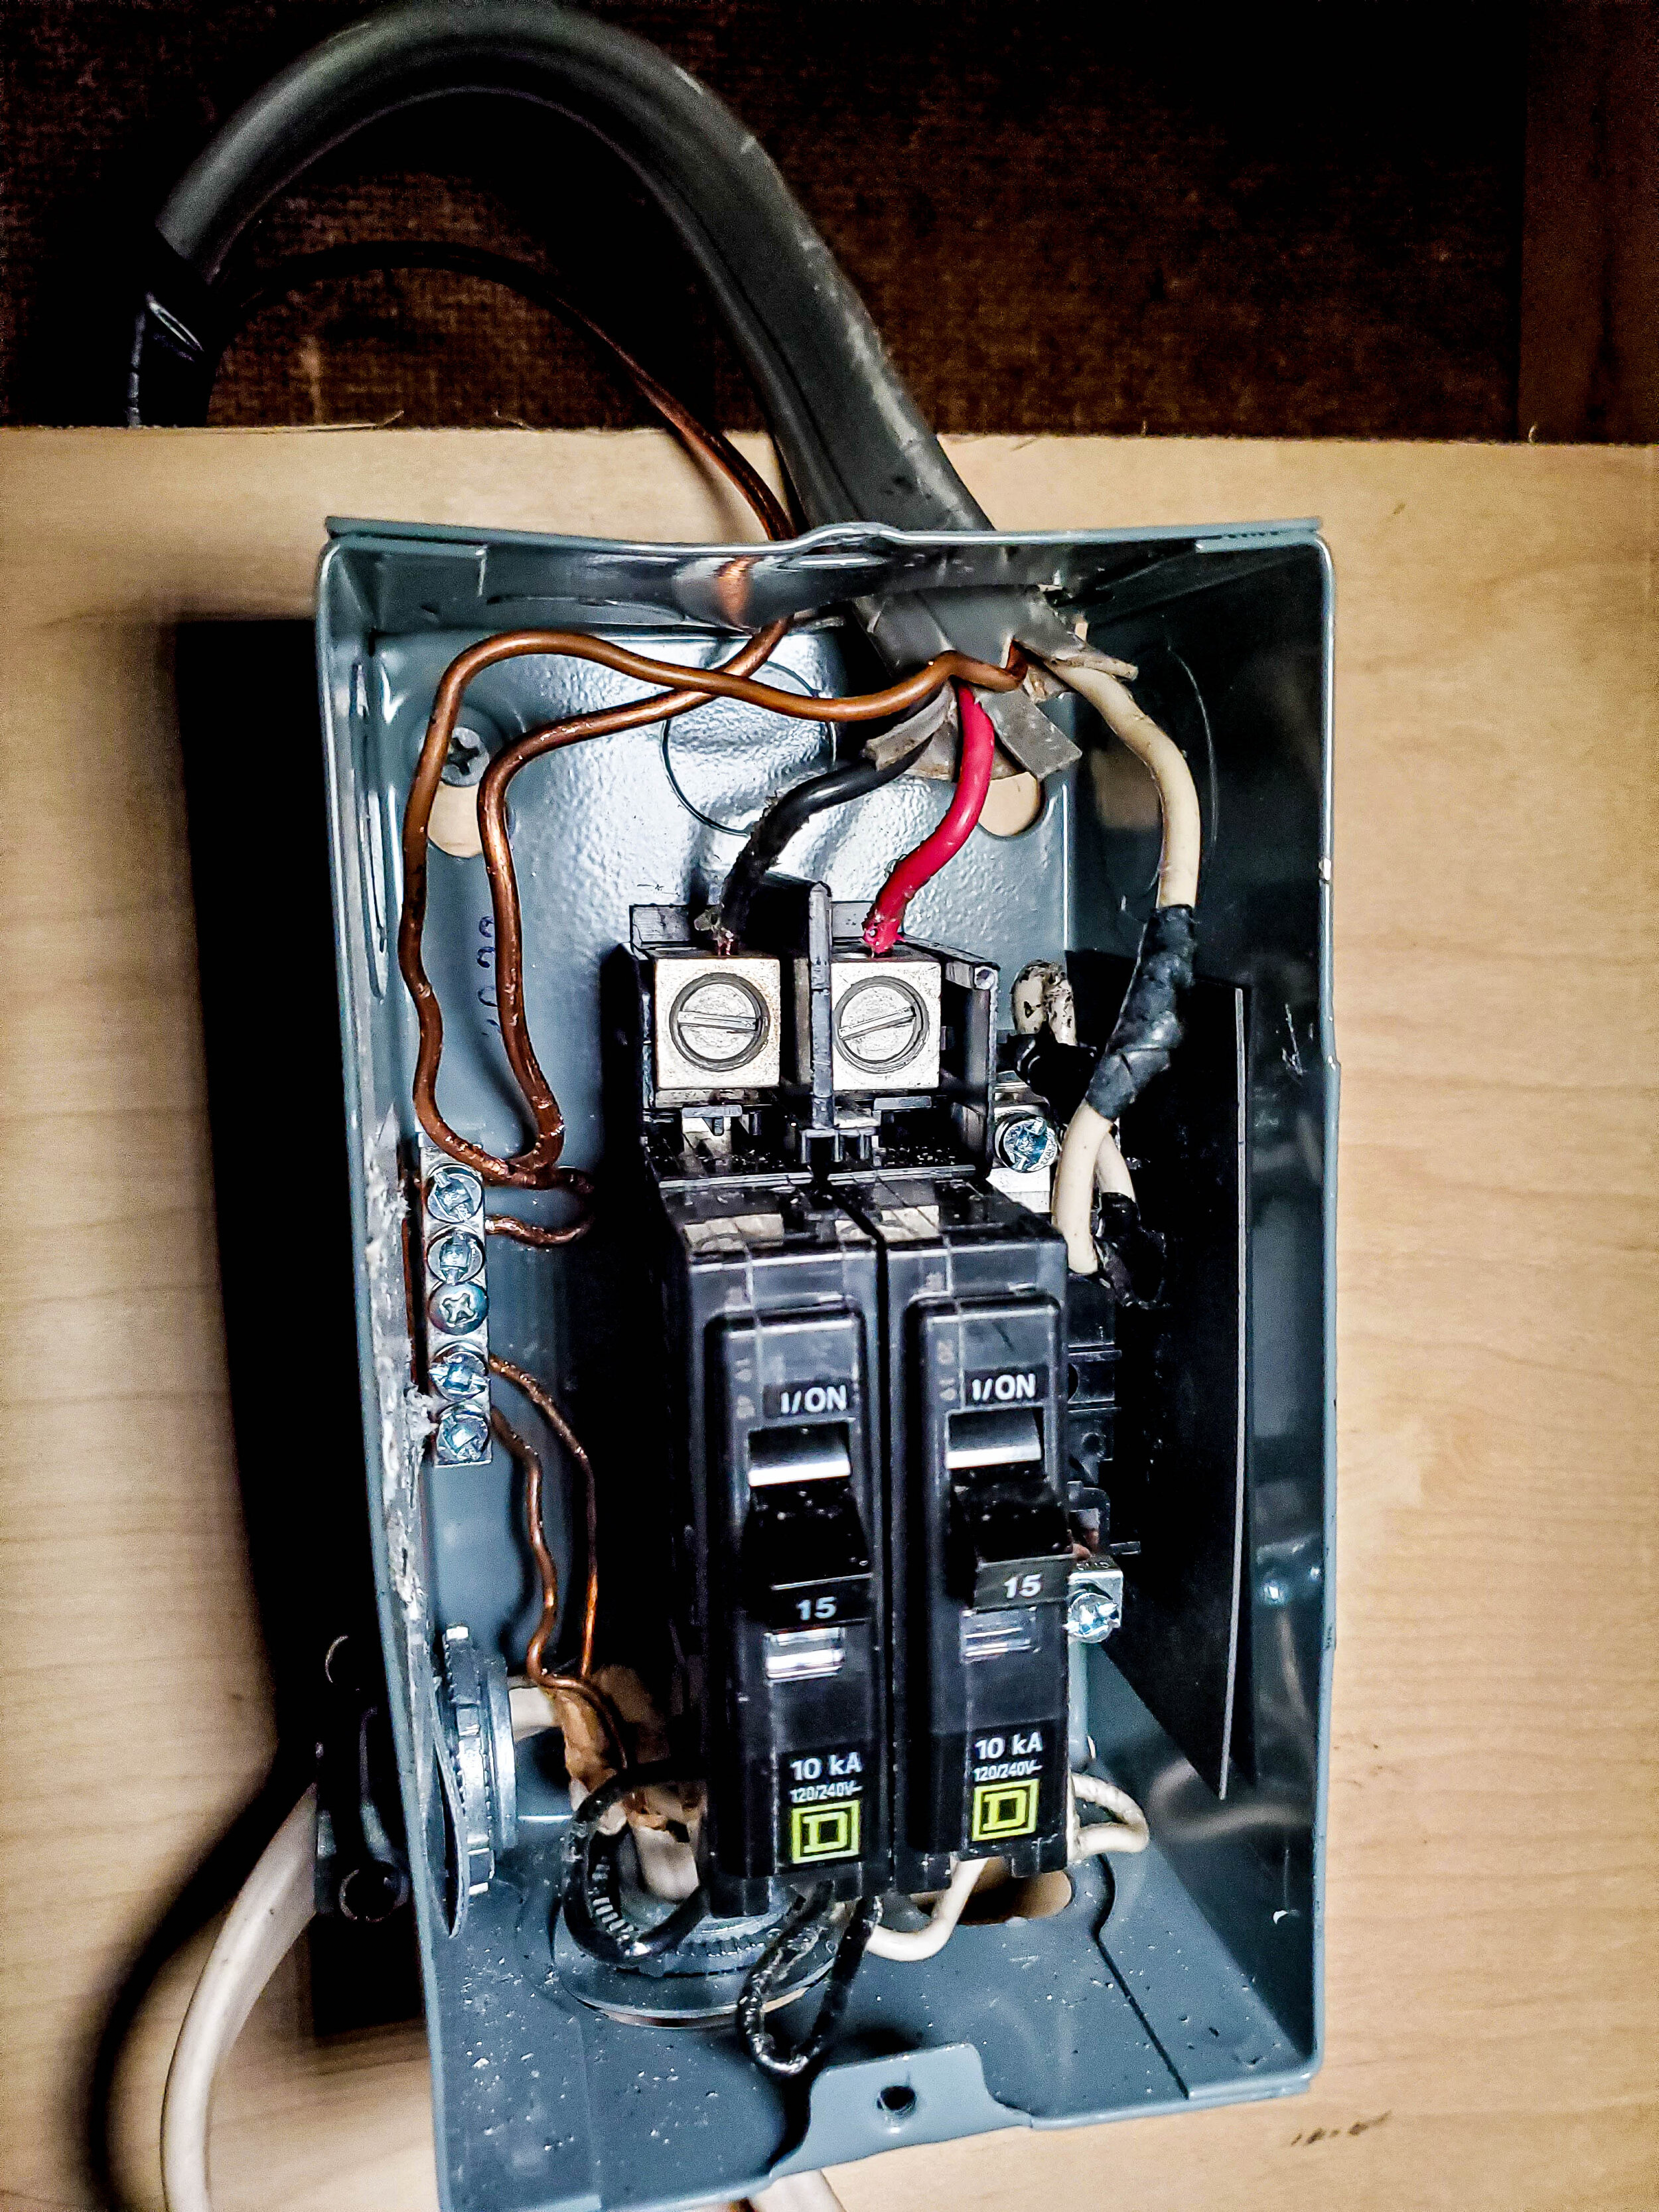
Anyway I learned that from the house to the shed was a grey 10/3 direct burial wire. This was great news for me because this meant I could install a 30 amp sub panel with two separate circuits.
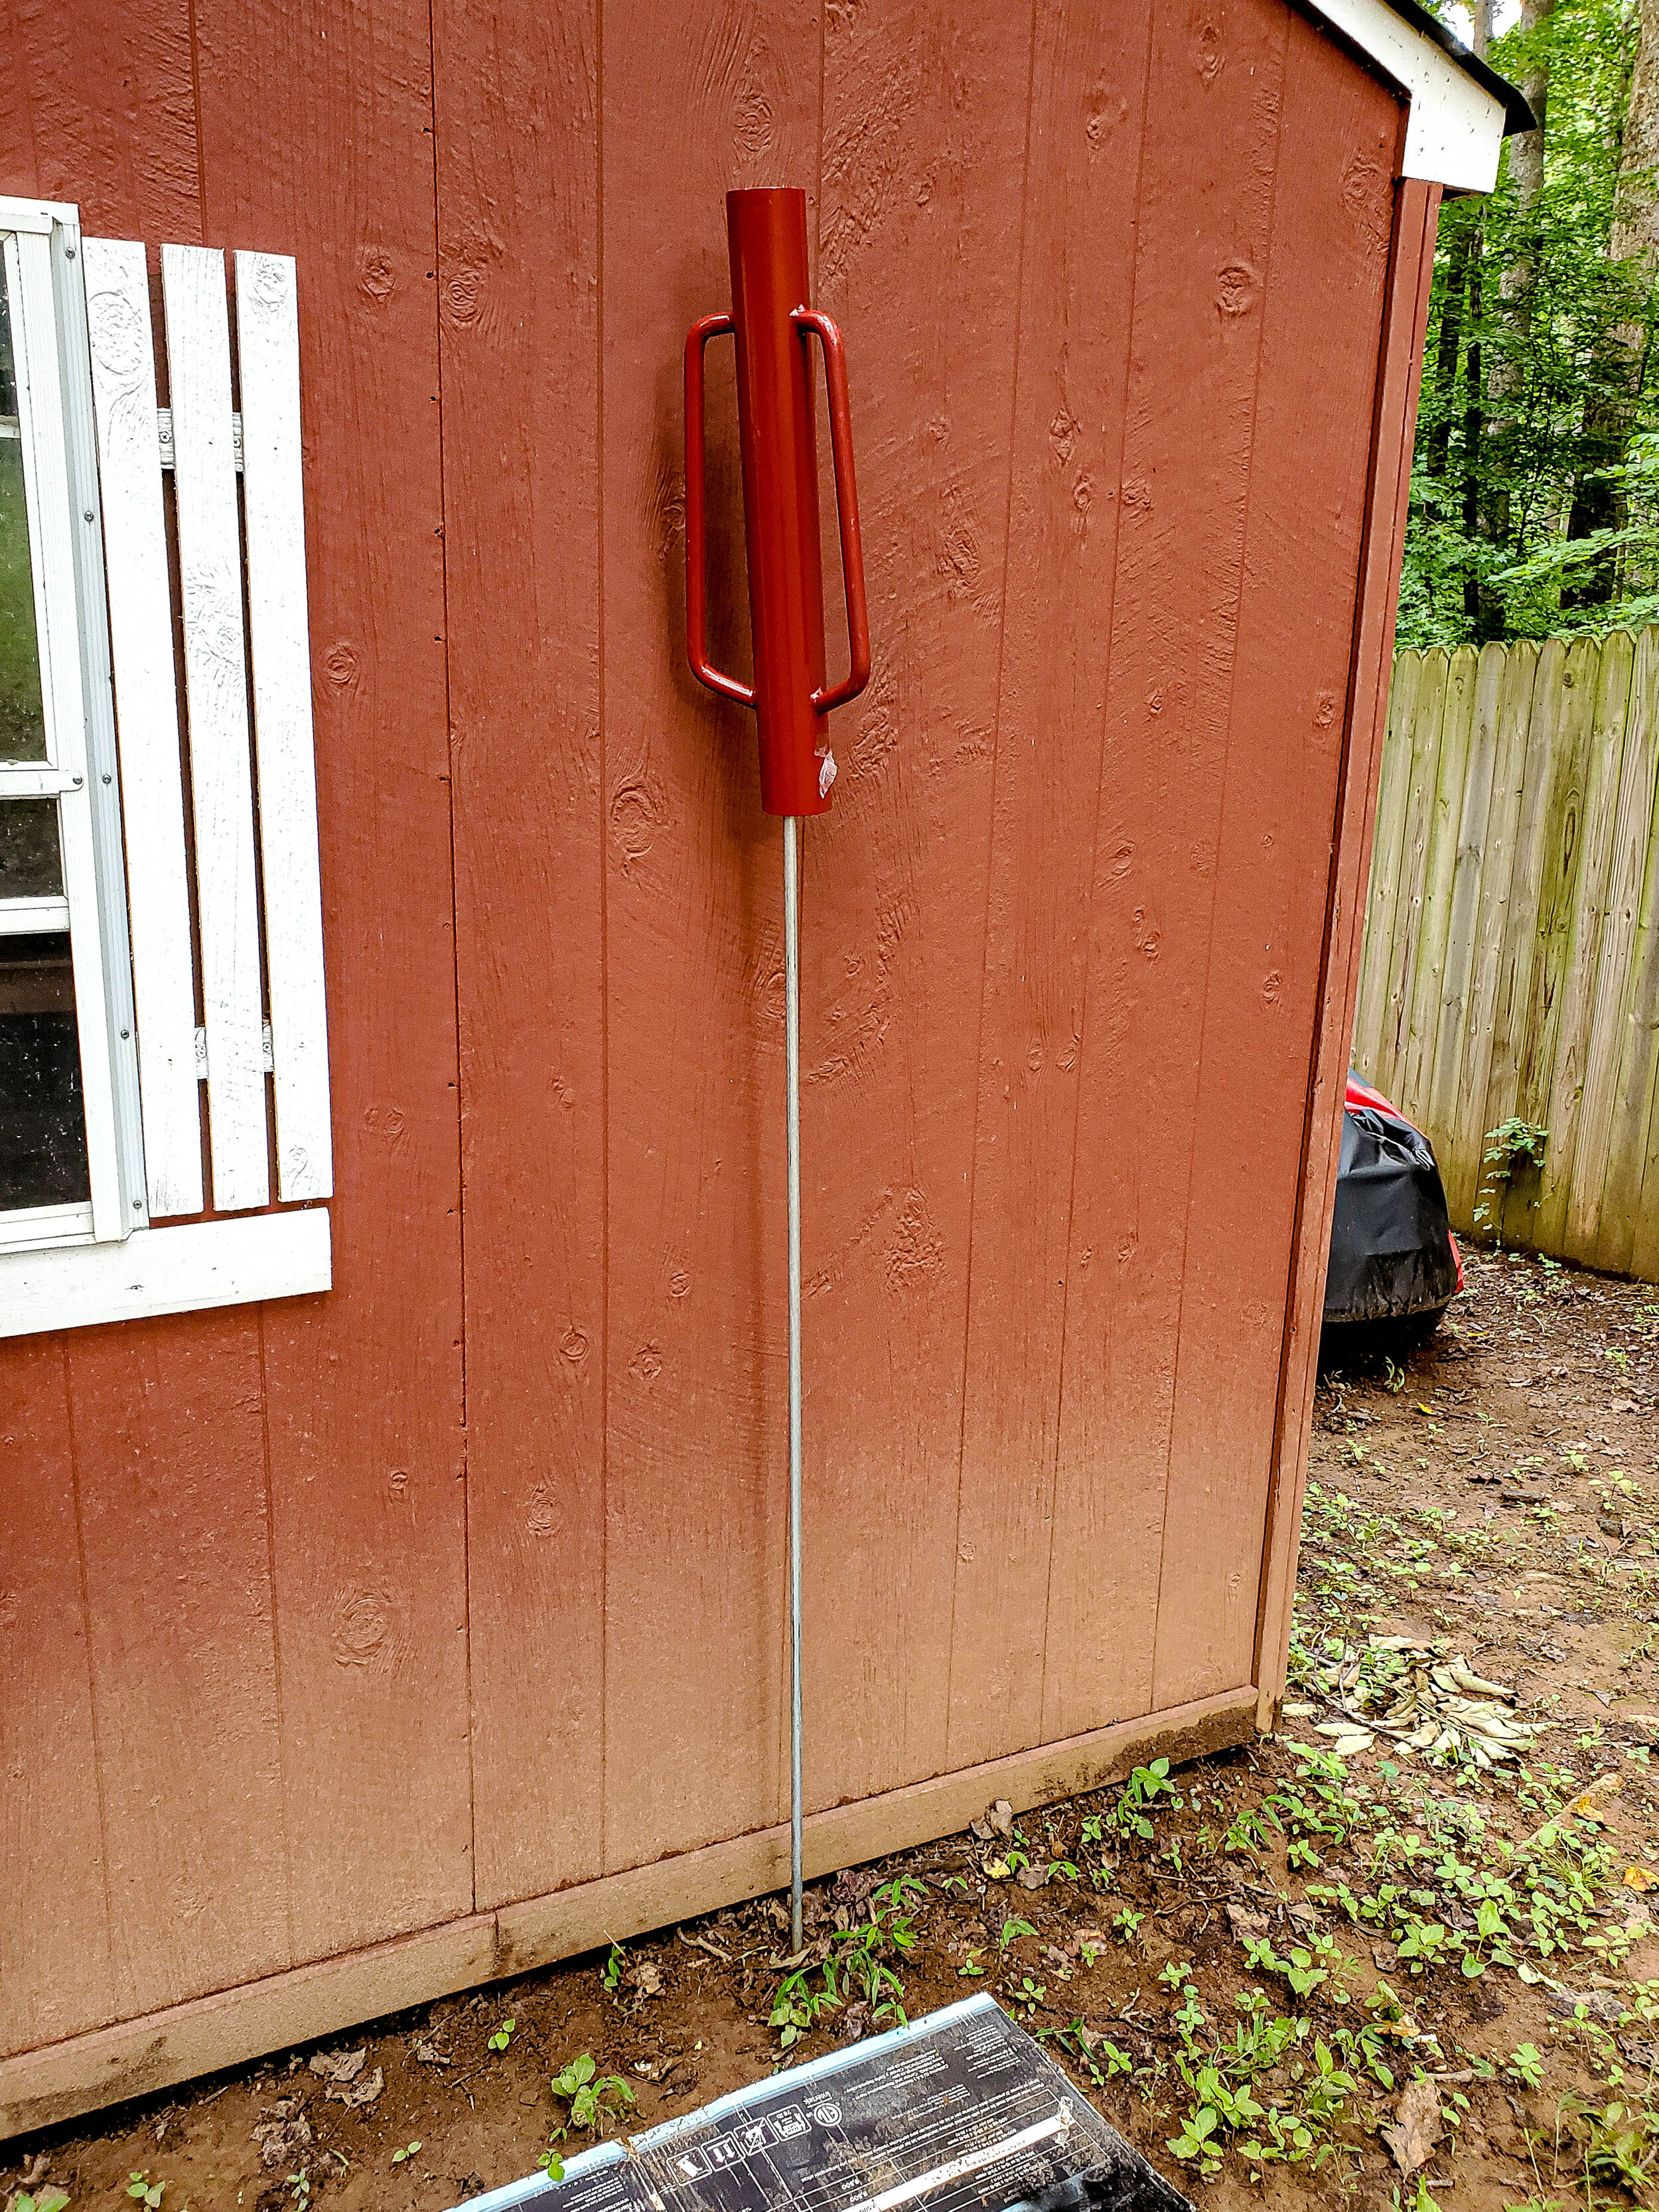
So I installed the sub panel, drove a 8 ft grounding rod outside, and wired everything in. When I went to the main panel, I learned there was no more room or more breakers. They line to the shed was connected to a single pole 30 amp breaker. I found a breaker that was not used, an outside receptacle, and replaced the single pole breaker with a double pole 30 amp breaker. I wired everything up, went out, held my breath, and plugged in a fan. When I flipped the breaker at the sub panel, the fan turned on.
Yes I did do a little dance.
PHASE 3 Walls and Lights
For walls, I decided on some cheap OSB. Due to COVID19, this wood was double the price. sigh. No matter, up it went. I cut out spaces for the receptacles and windows. I decided as an afterthought to paint with two coats of primer. This would aid in brightening up the place and to add a bit of “design detail”
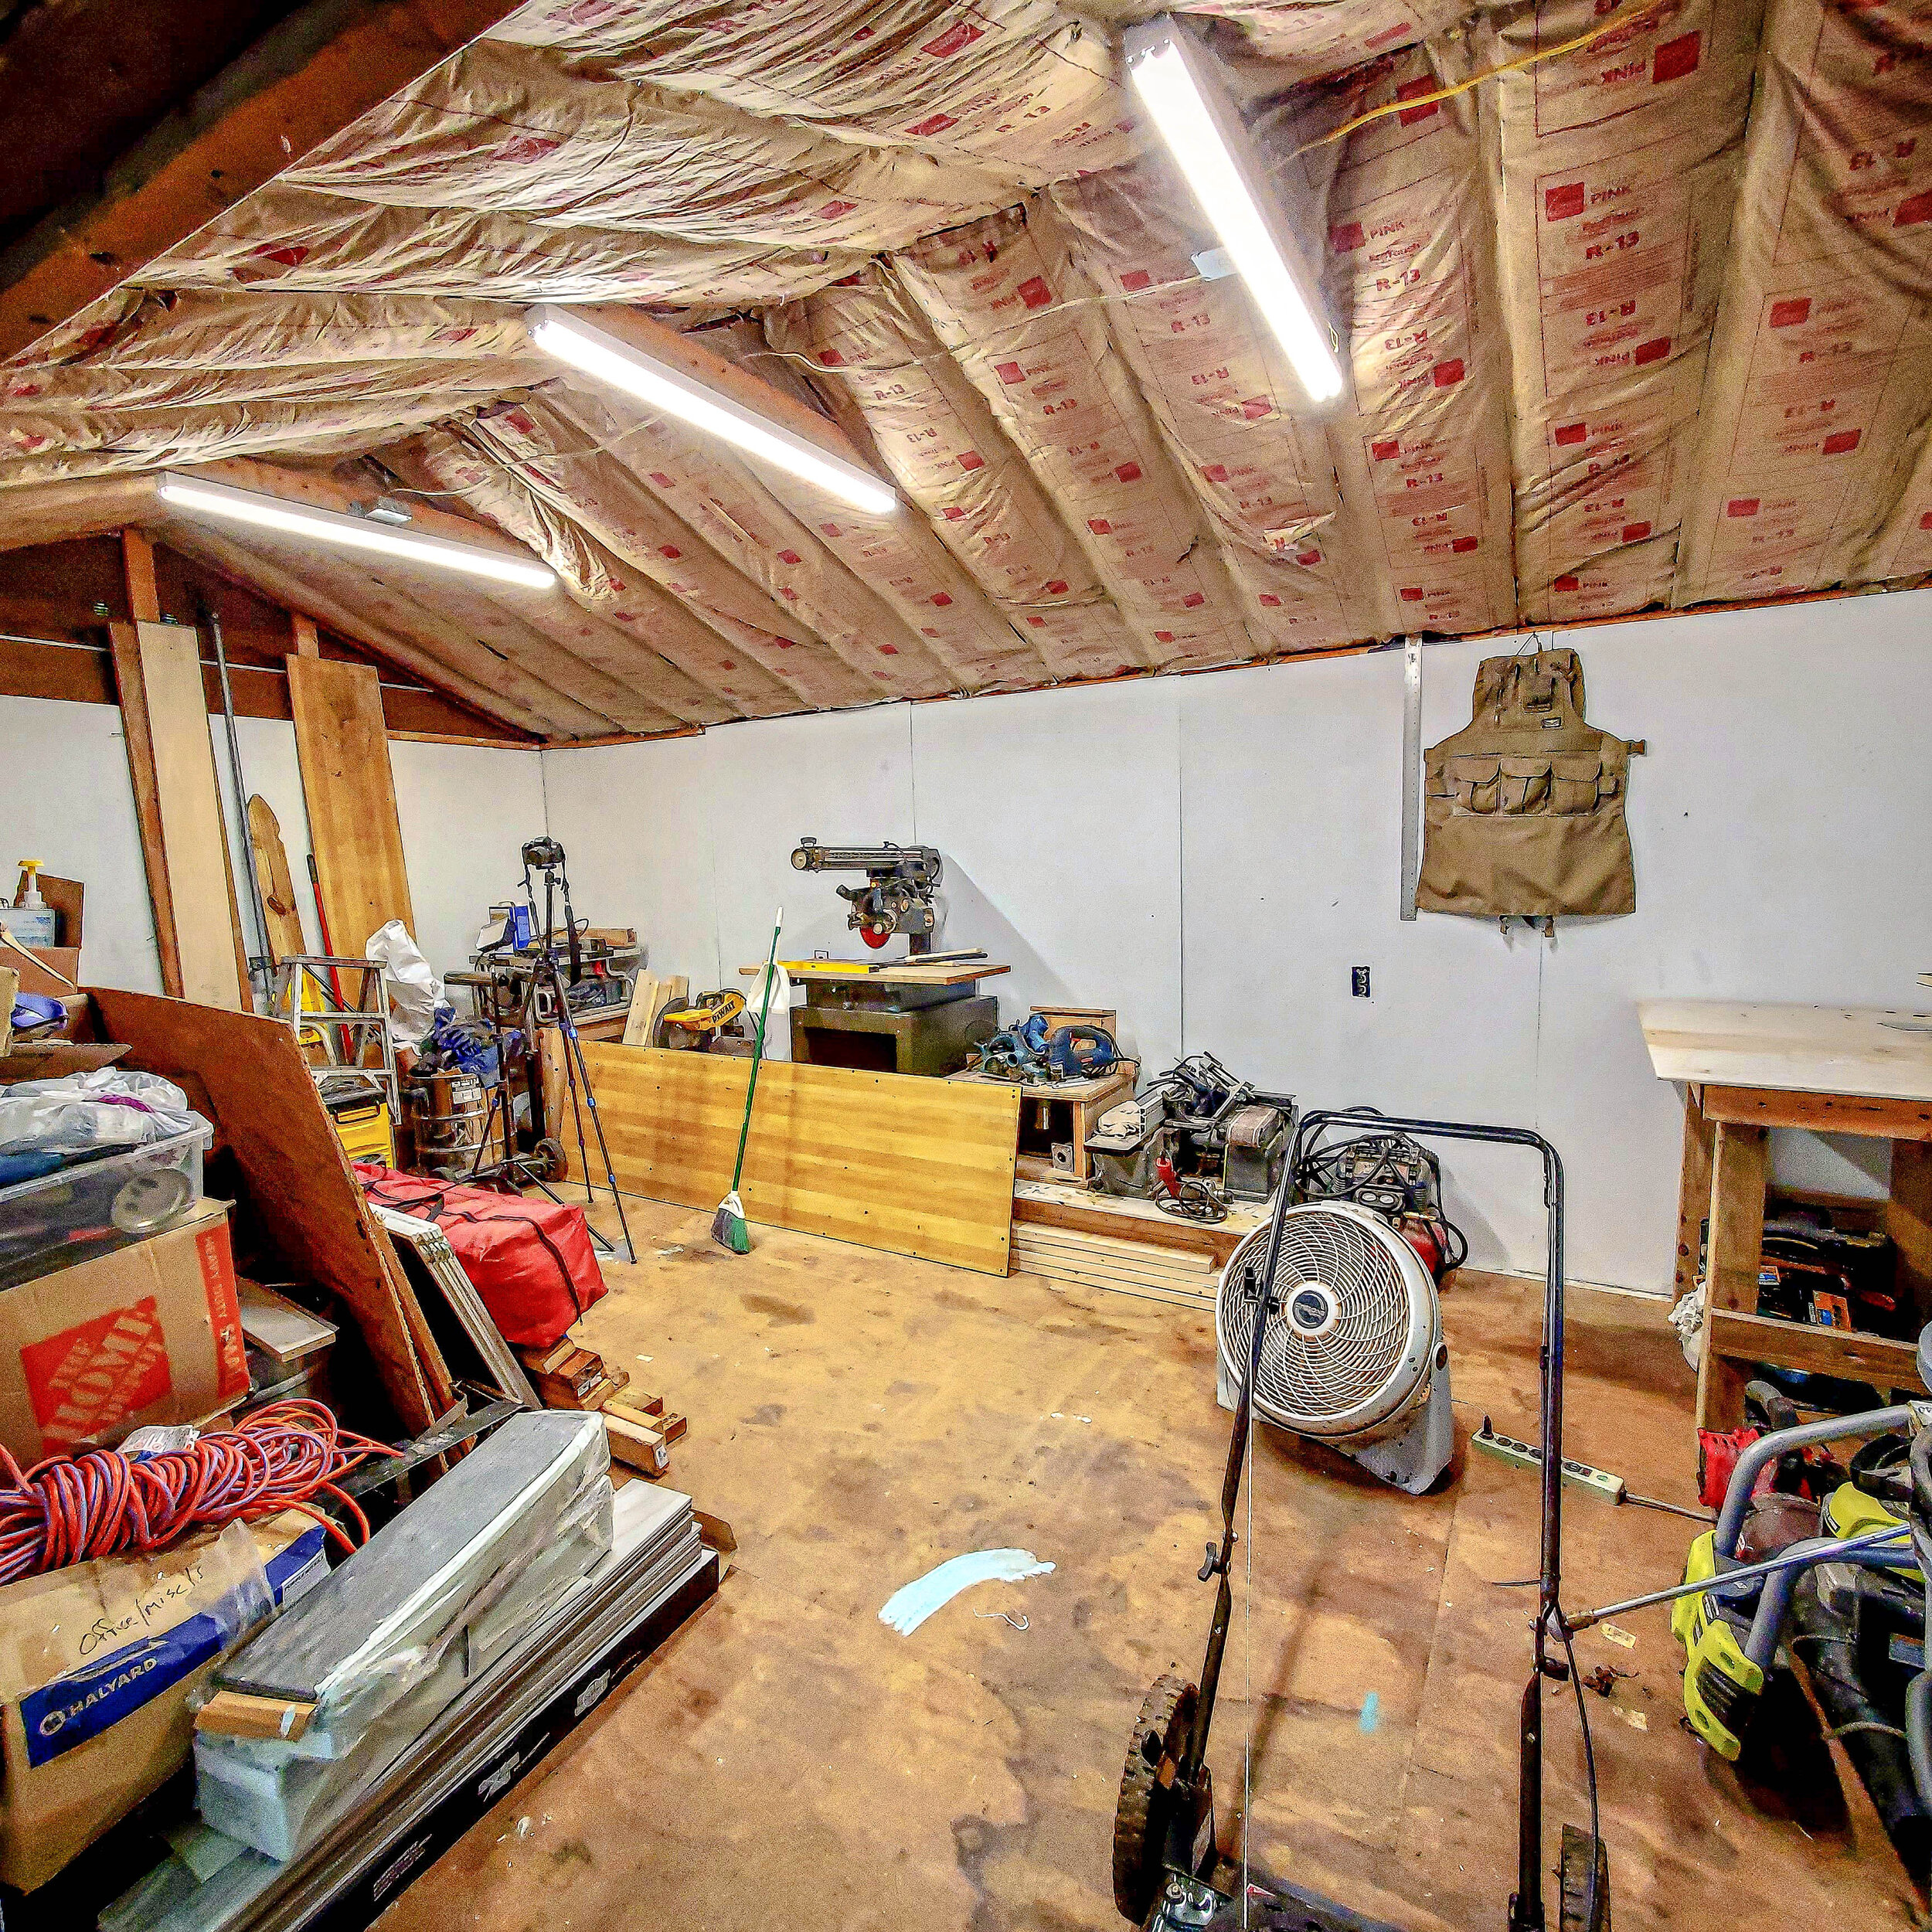
I decided to install 3 4 foot led strip lights. I used junction boxes and the correct wiring. They fired right up and now the dark shed is starting to look like a bright shop!
PHASE 4 Ceiling and Flooring
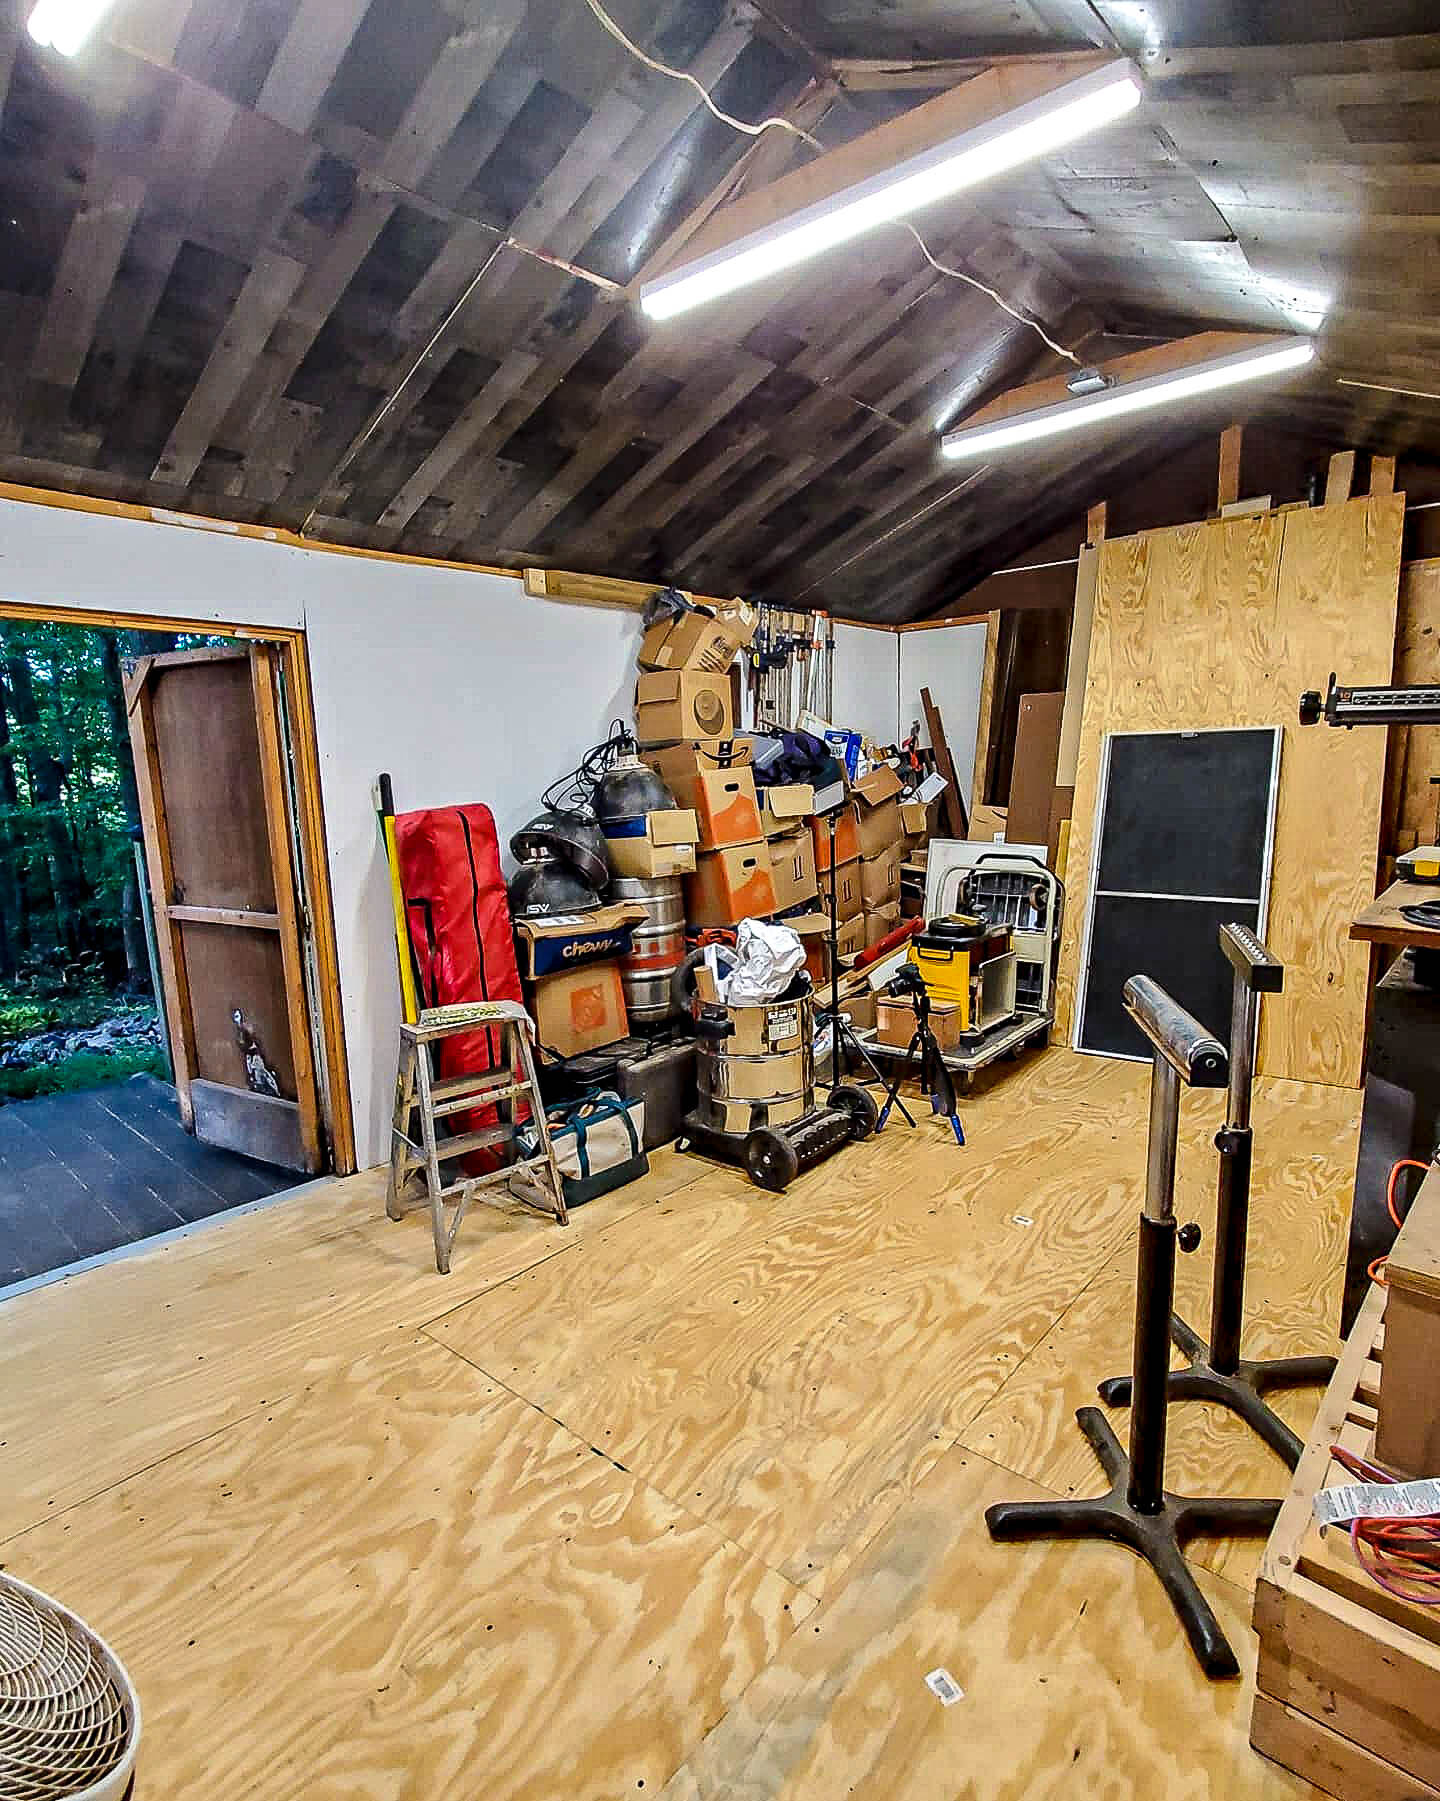
Now that the walls were installed and painted, I turned to the ceiling . I do not plan on hanging anything up there so I went with Faux barnwood panels. A little awkward to install by myself. One tip is to screw 2x4 scraps to the top of the wall to “hold” the other end of this floppy paneling. I spent the day screwing this into the rafters. It looked a little sloppy at the seams. I plan on installing some trim to clean all that up.
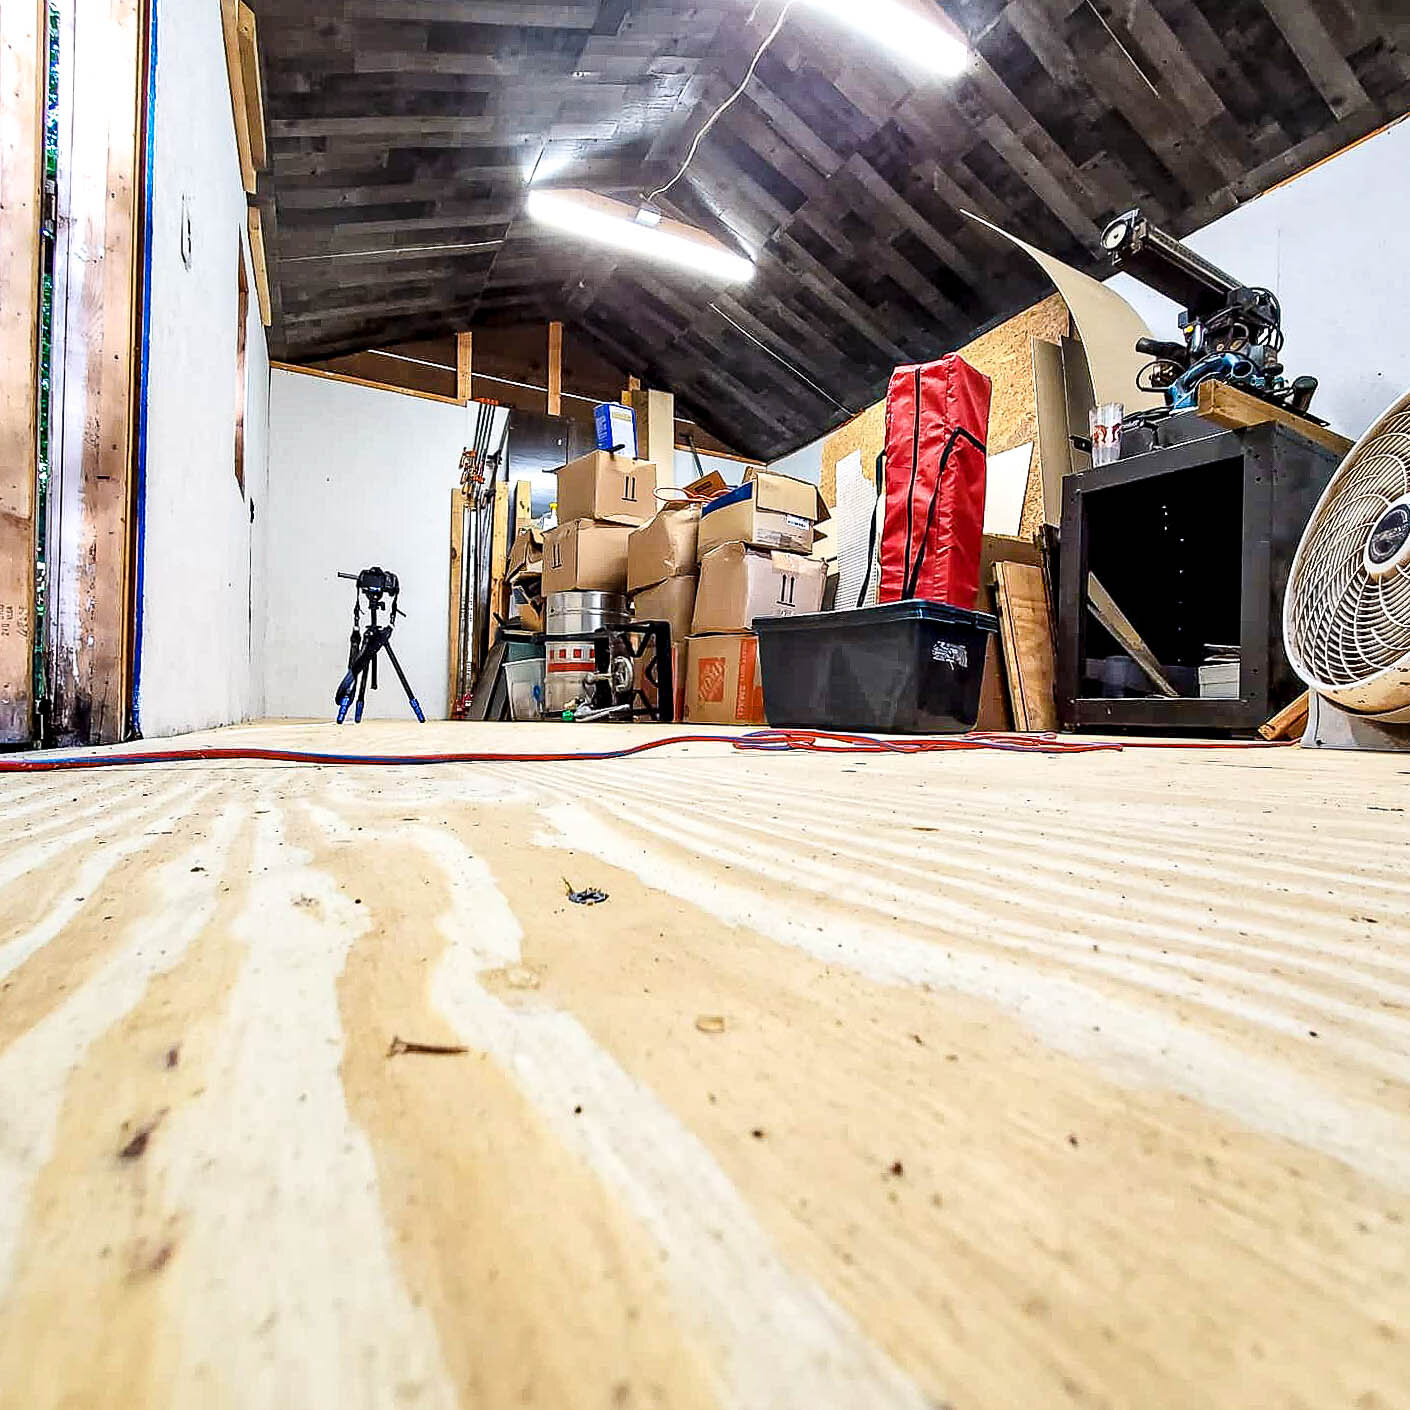
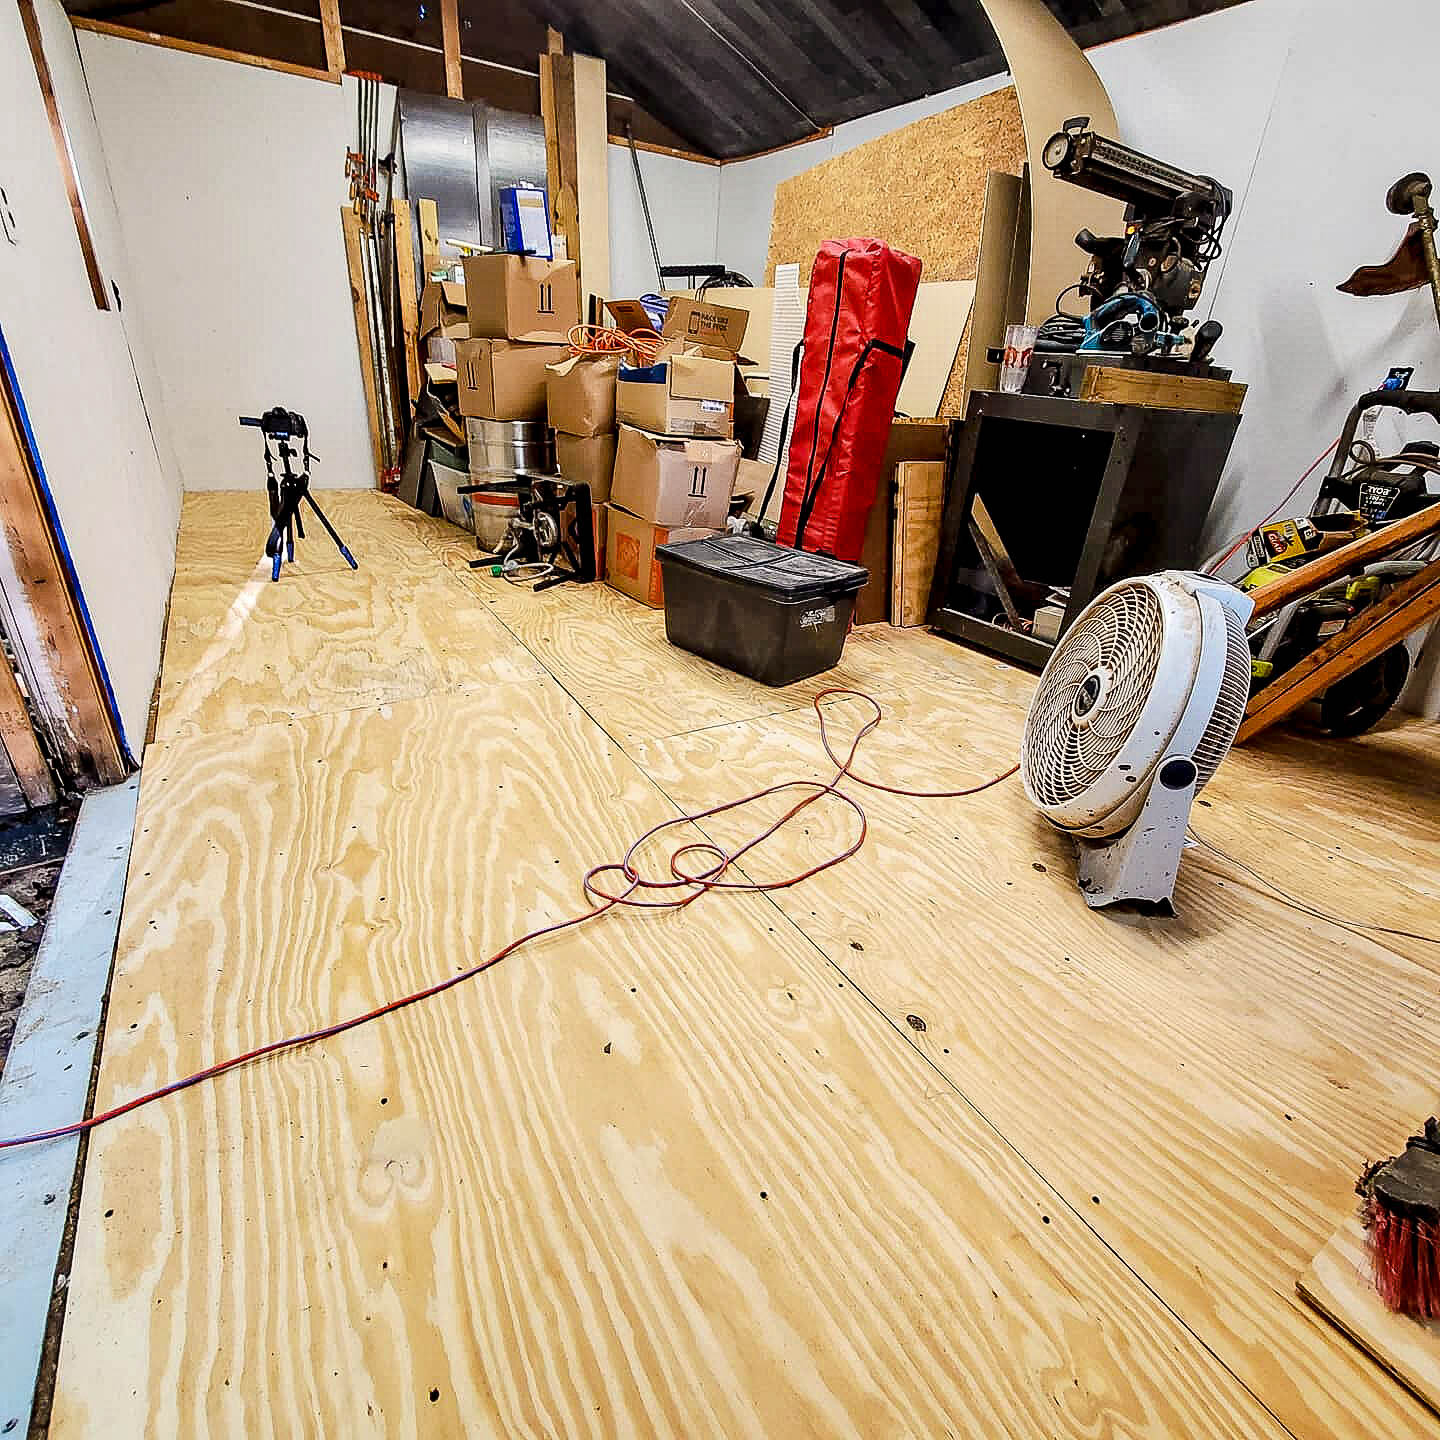
As for the floor, it was just the original plywood. I was going to ignore it, but decided to go ahead and just screw plywood to the current floor. I figured it was one of those things like painting a ceiling , I would be glad I did that in the future. SO I moved everything from one side of the shop to the other. I screwed down the new plywood. I then moved everything to access the middle. Then did the same for the last row. Few, I was starting to wonder what all this stuff I had was.
PHASE 5 Benches
So with insulation, walls, power and lighting, ceiling, and floor the dark and dank shed has transformed into a bright woodshop. Very exciting indeed. So now to turn this woodshop into an actual woodshop; not just a storage room.
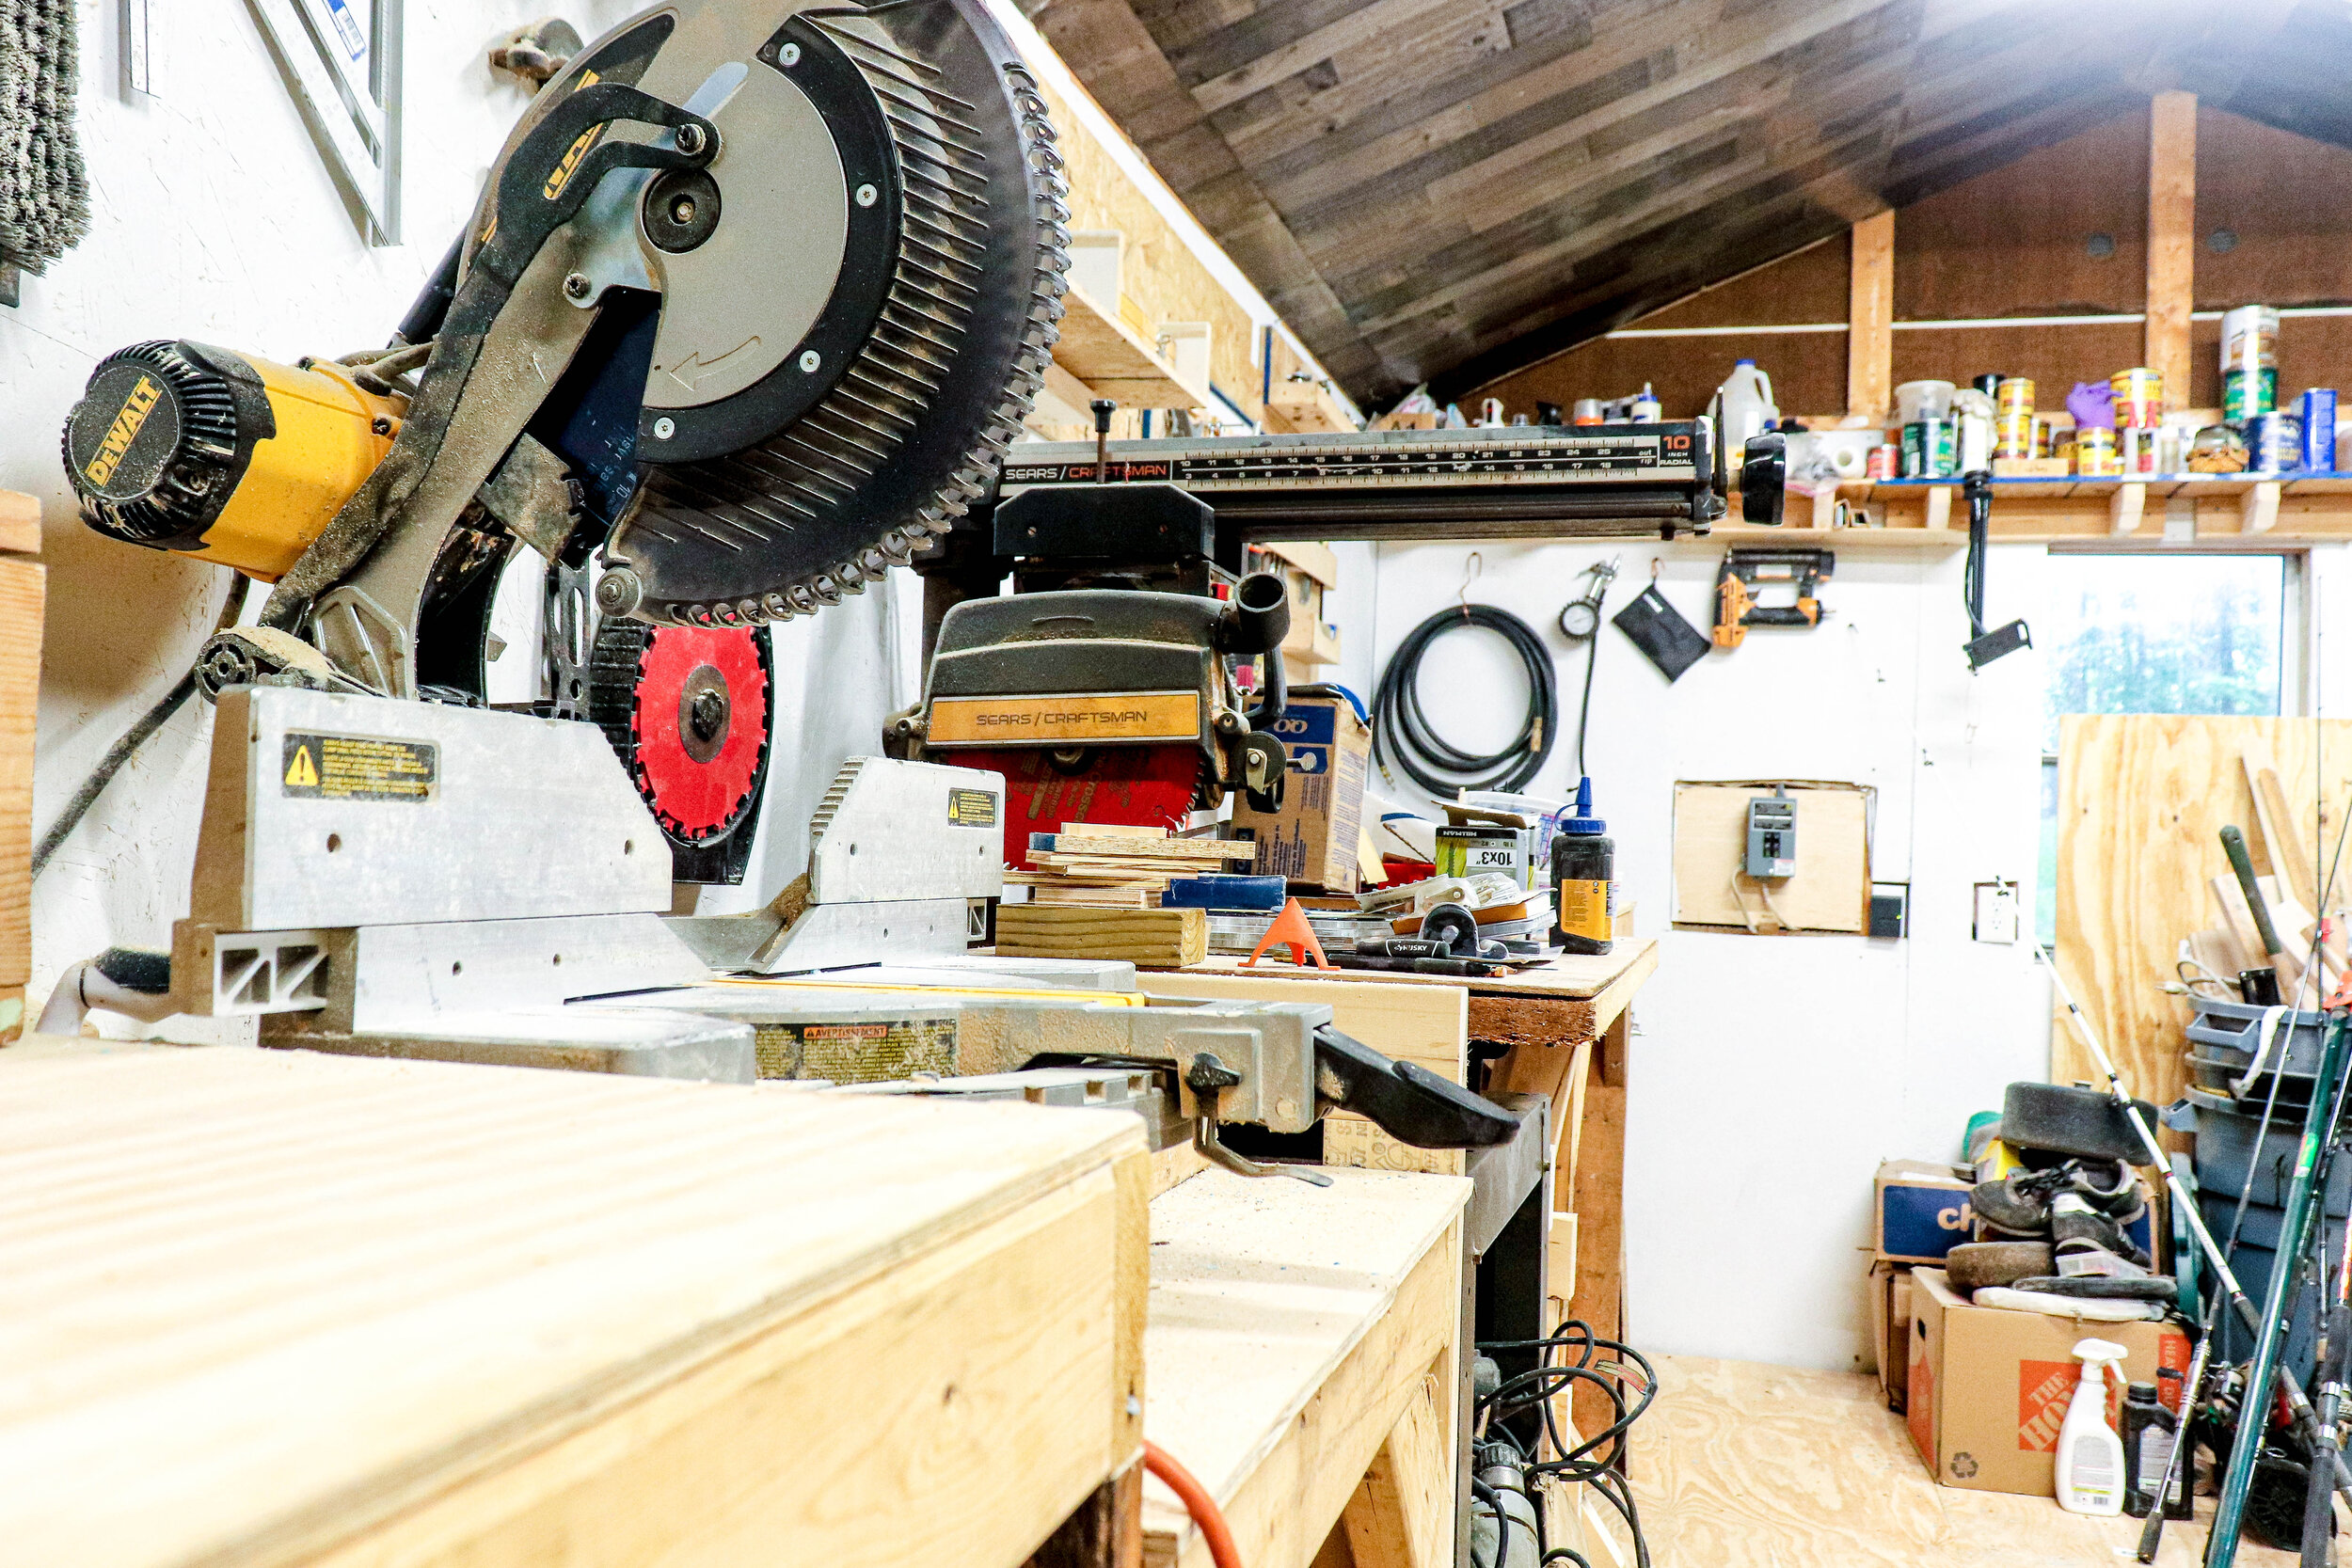
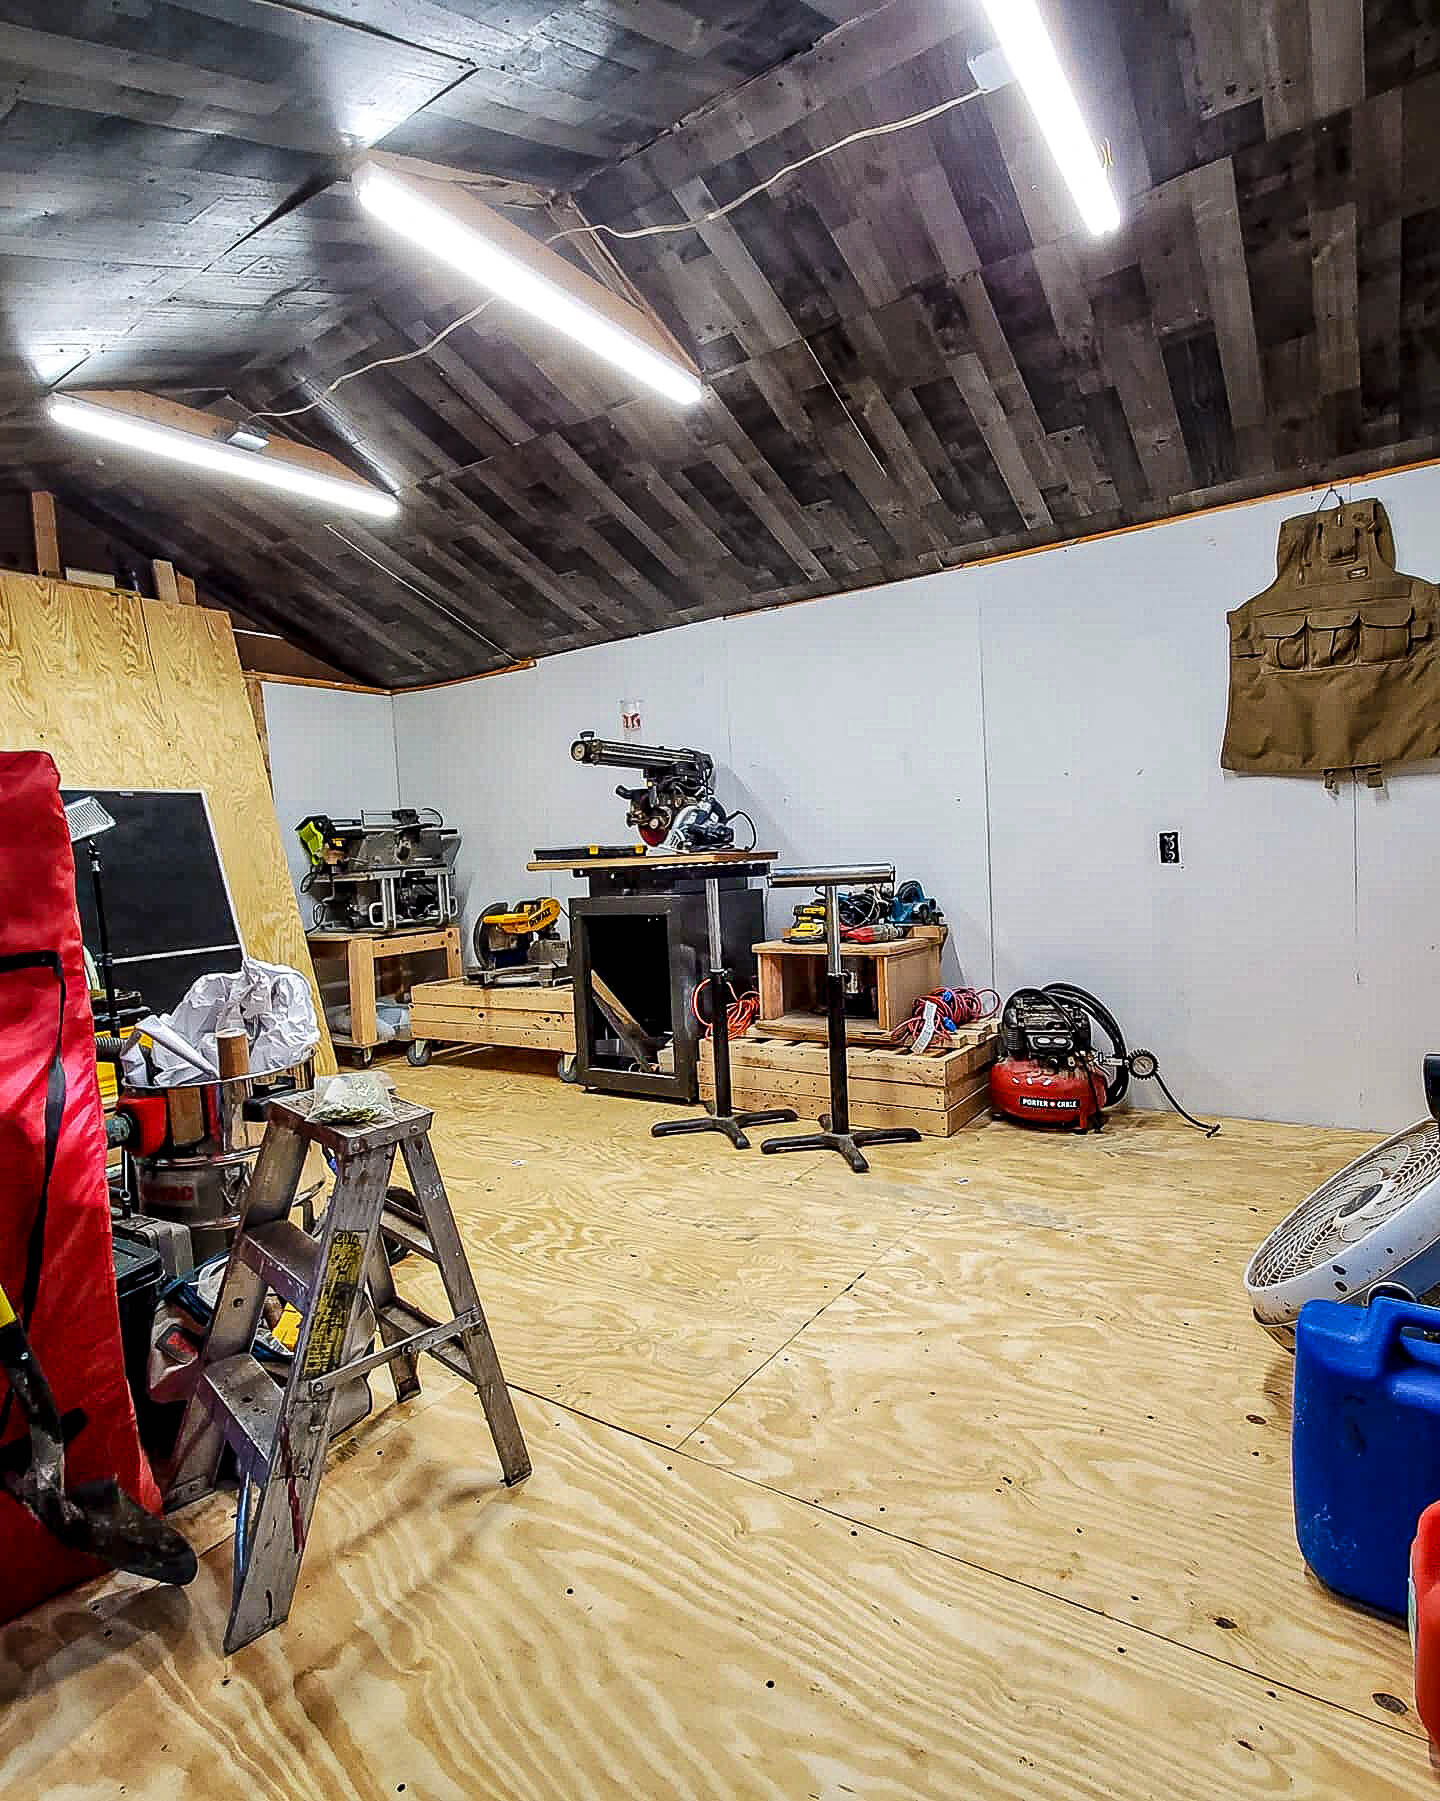
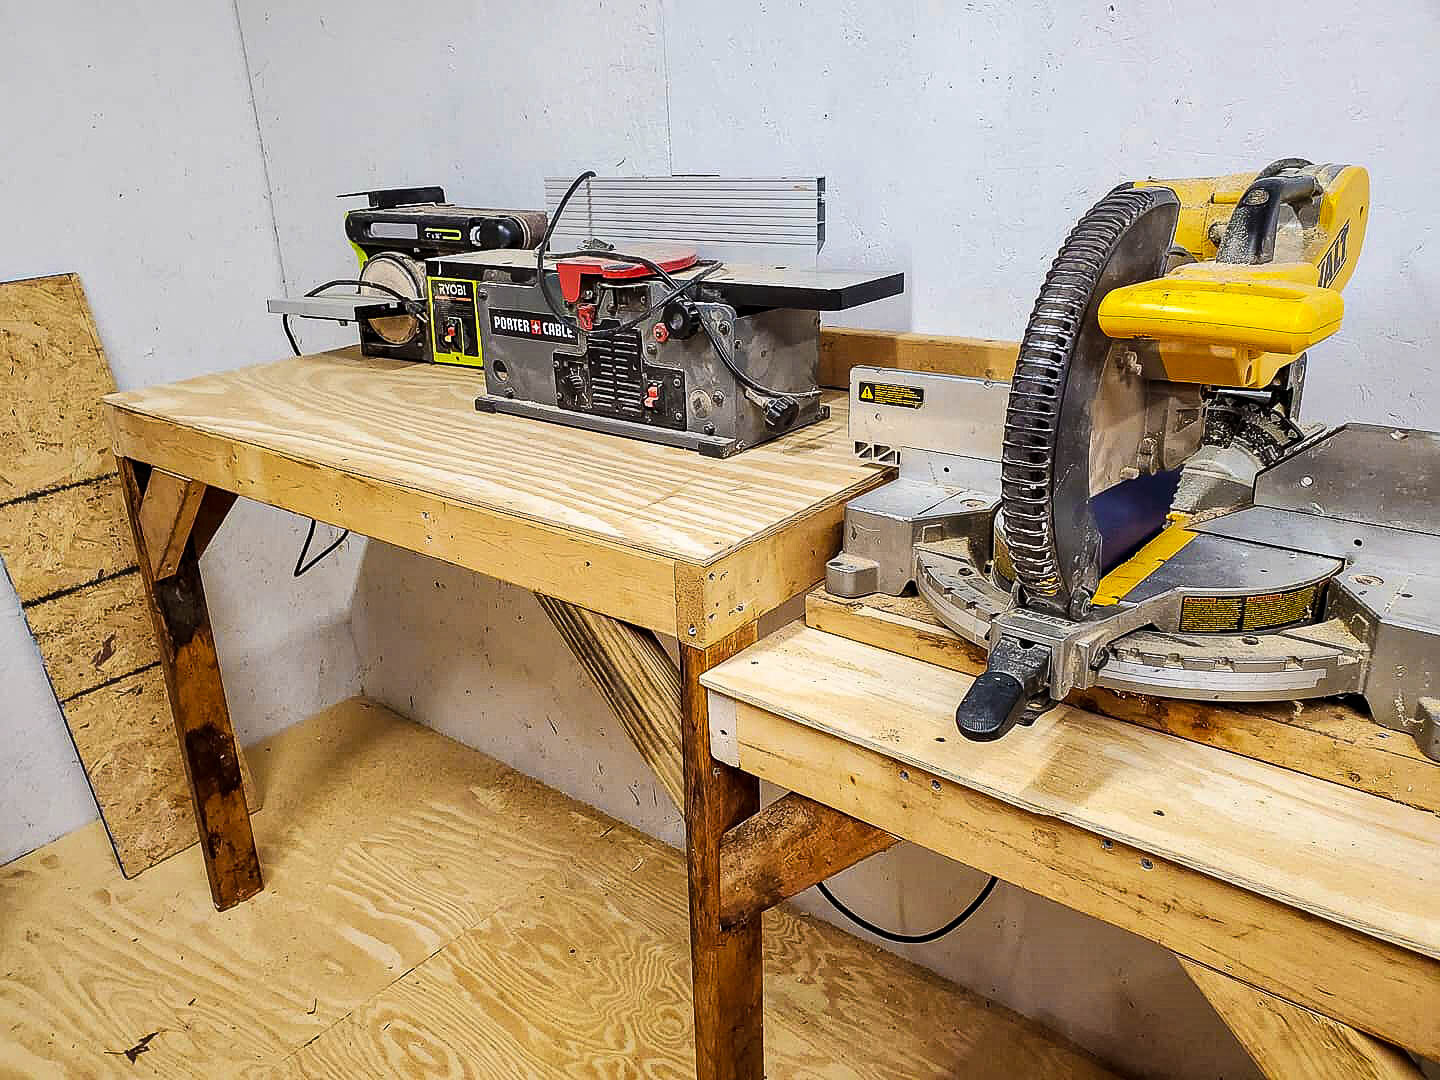
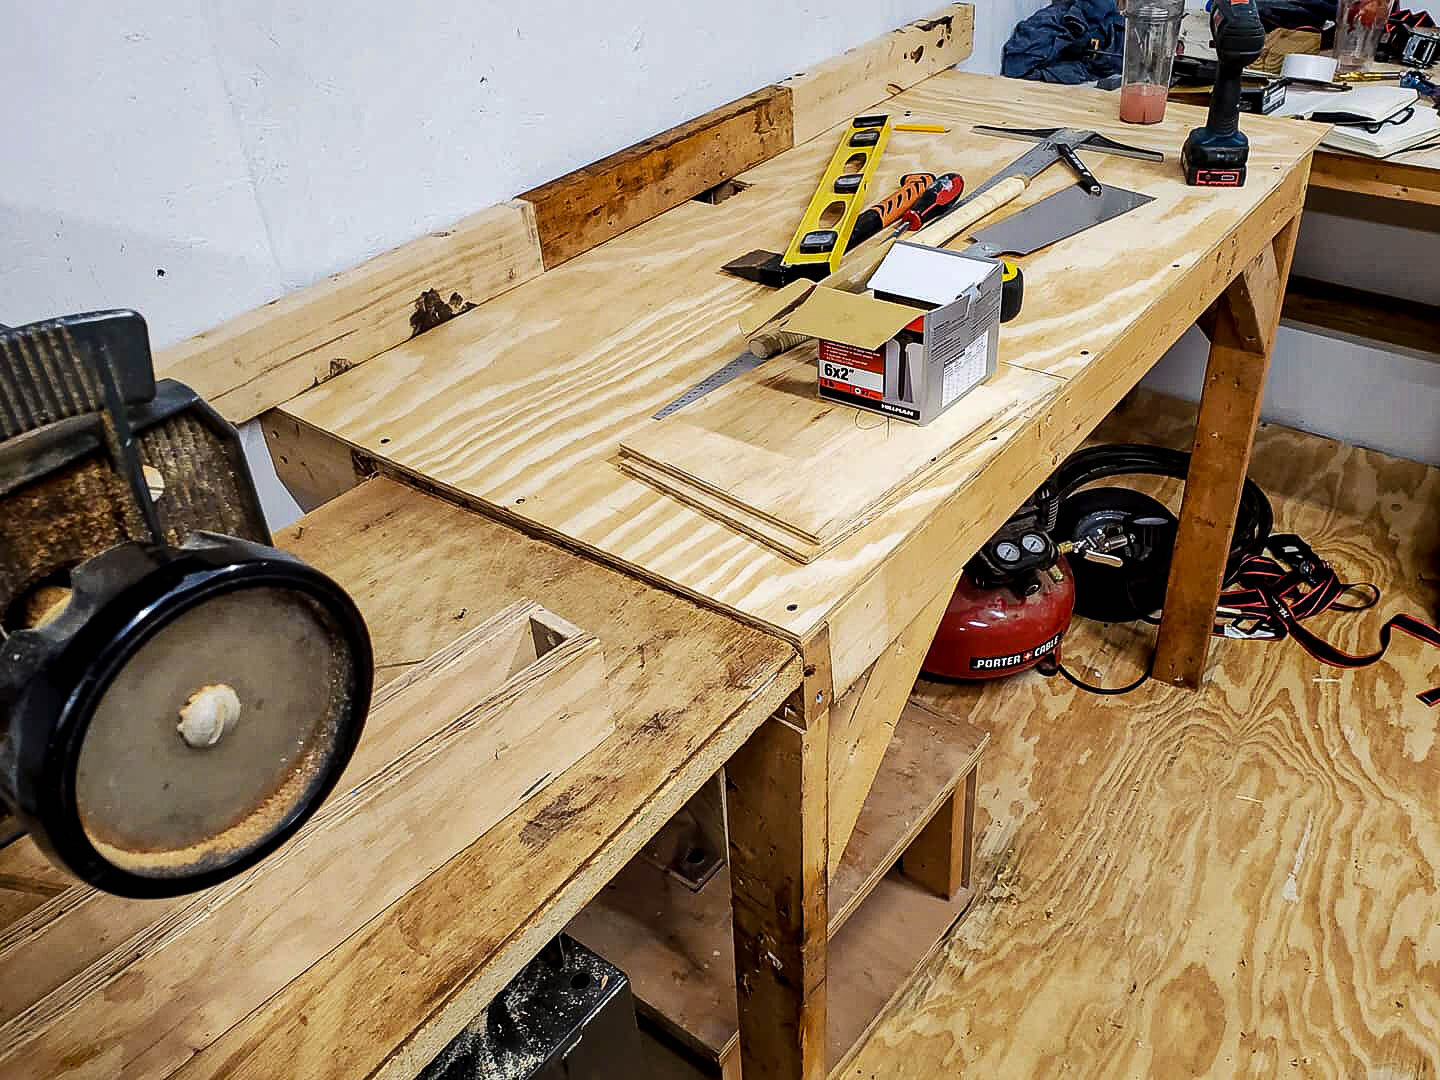
I famed together a bench that traverses the long wall. I used 2x4 lumber I had laying around from the move and from the benches I tore out in the beginning . I created a long bench that has an integrated spot for my miter saw, and also a space for my radial arm saw. I was able to place some larger tooling underneath. These items included my shop vac, planer, router, and sanding station.
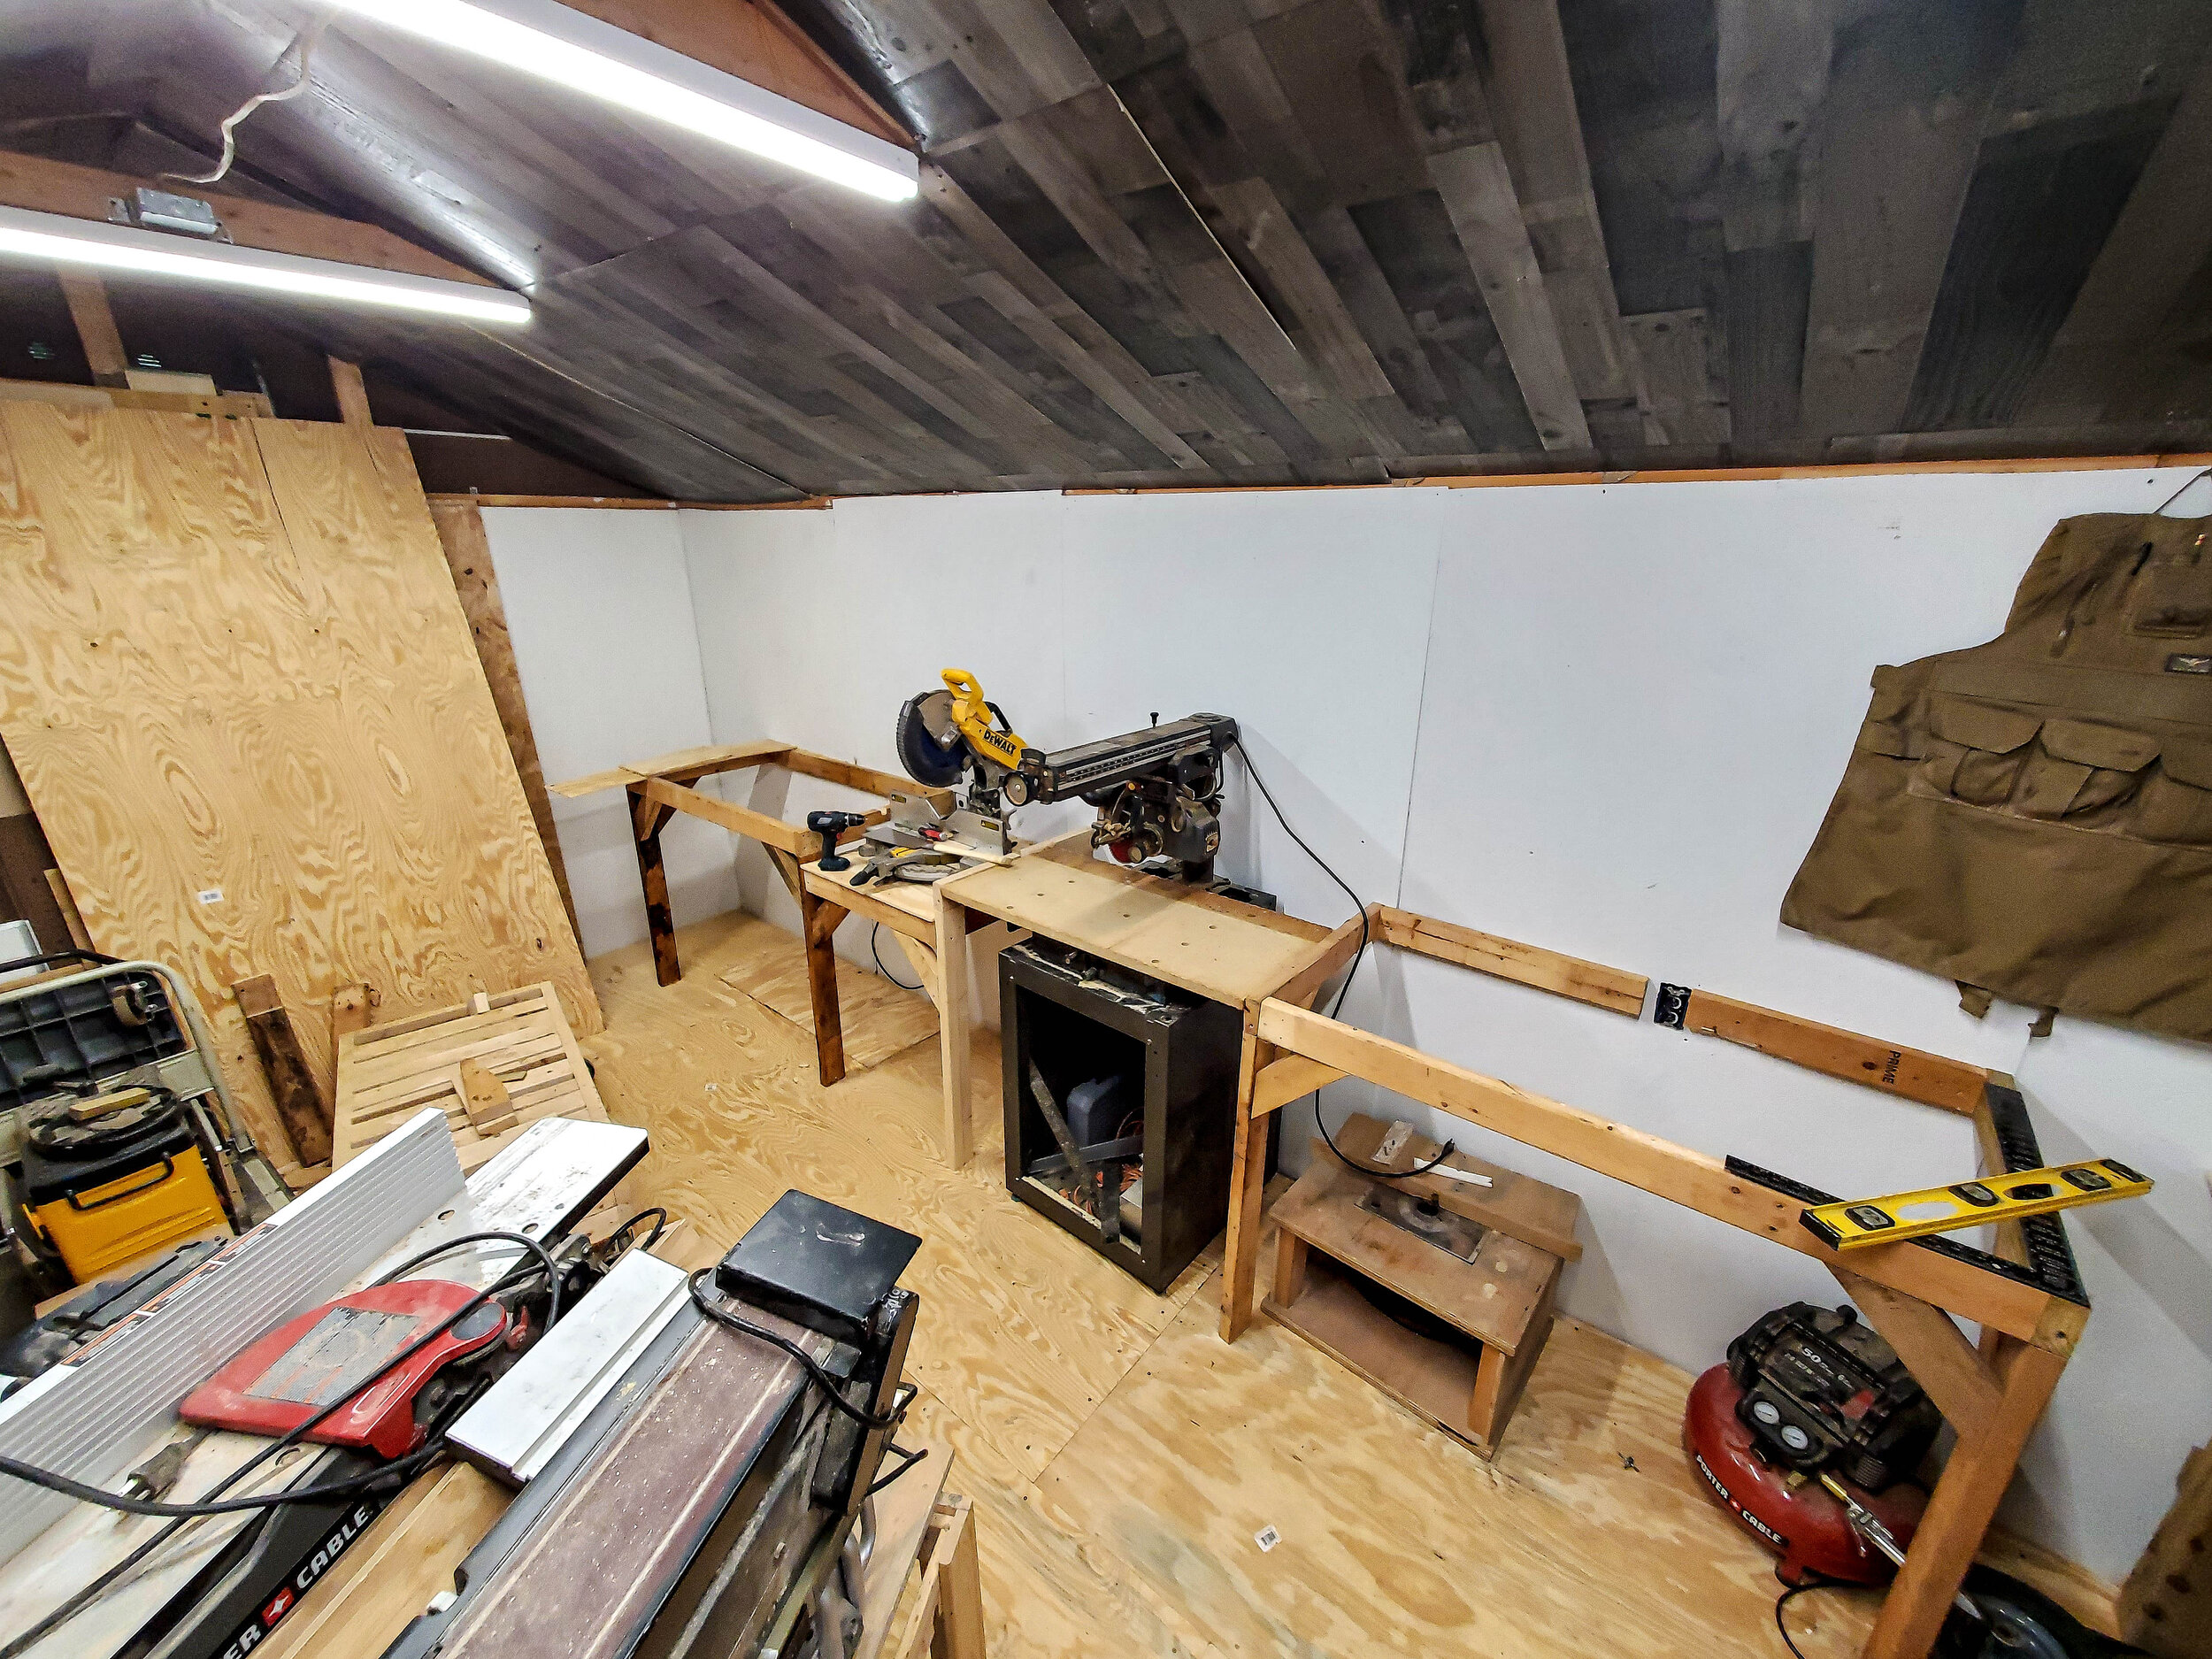
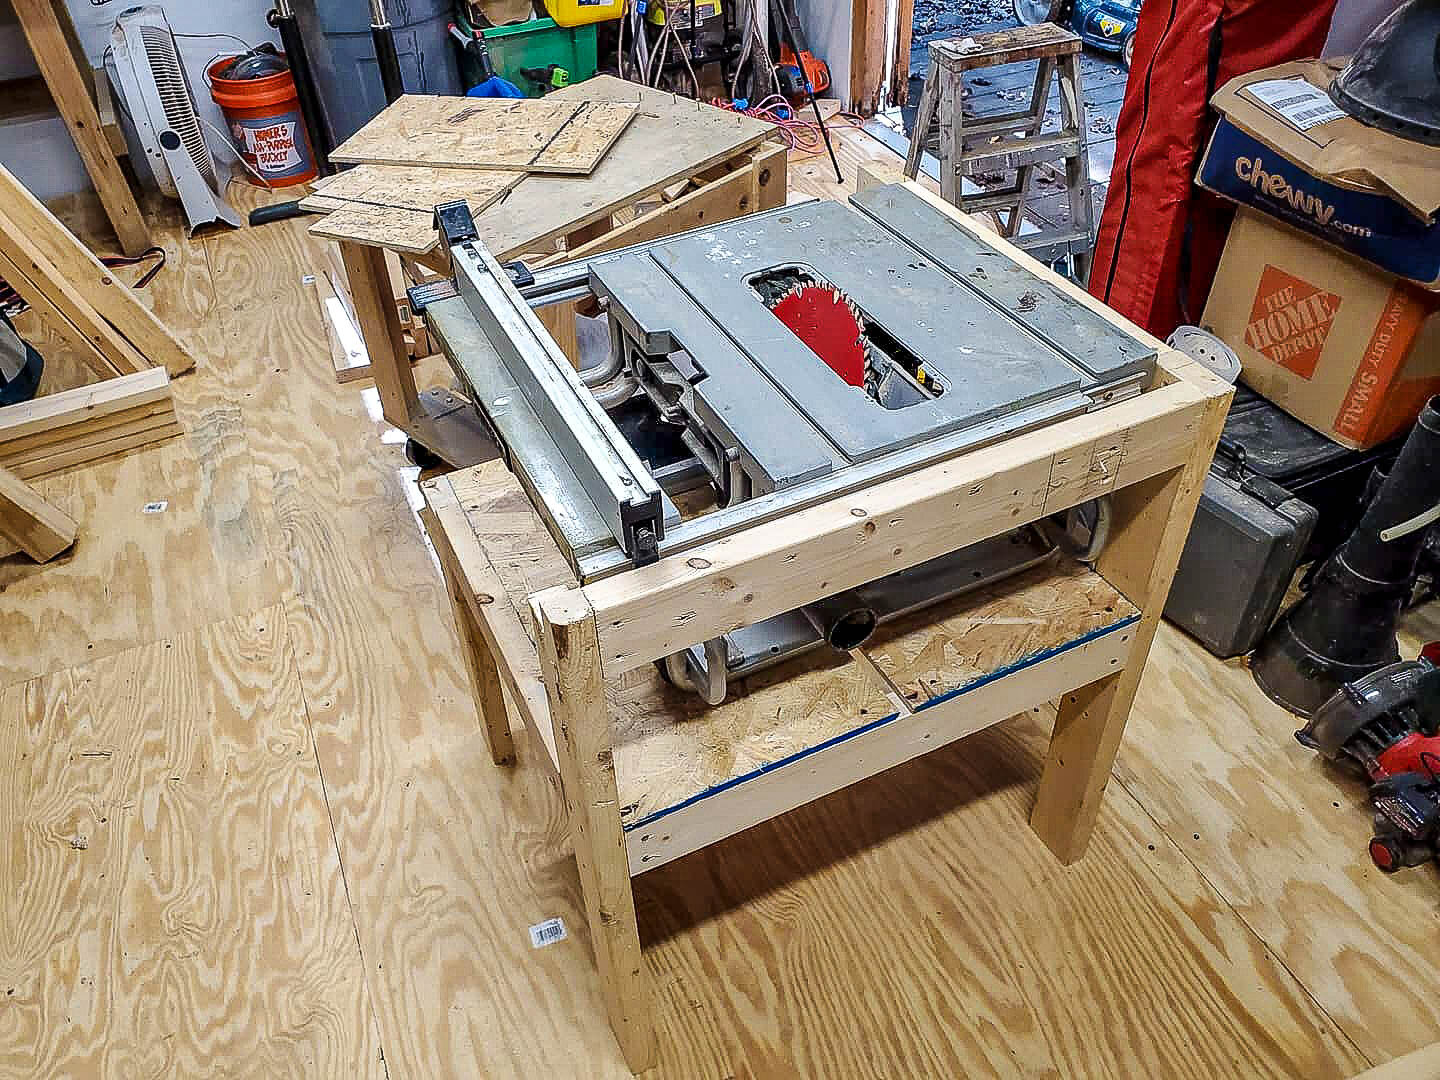
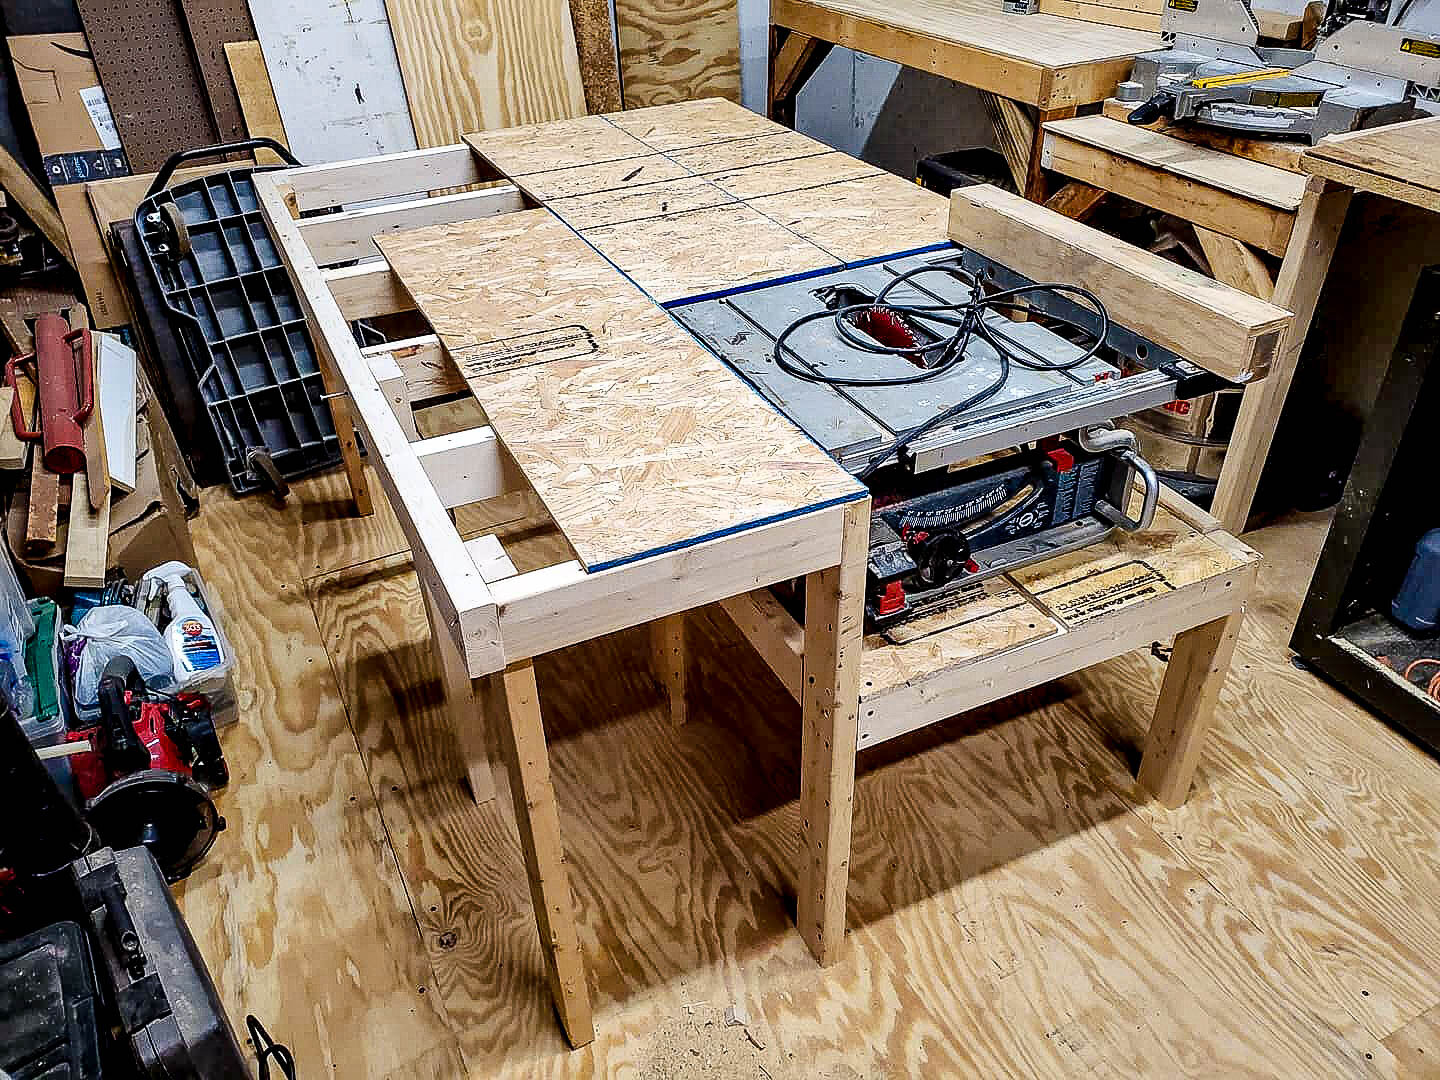
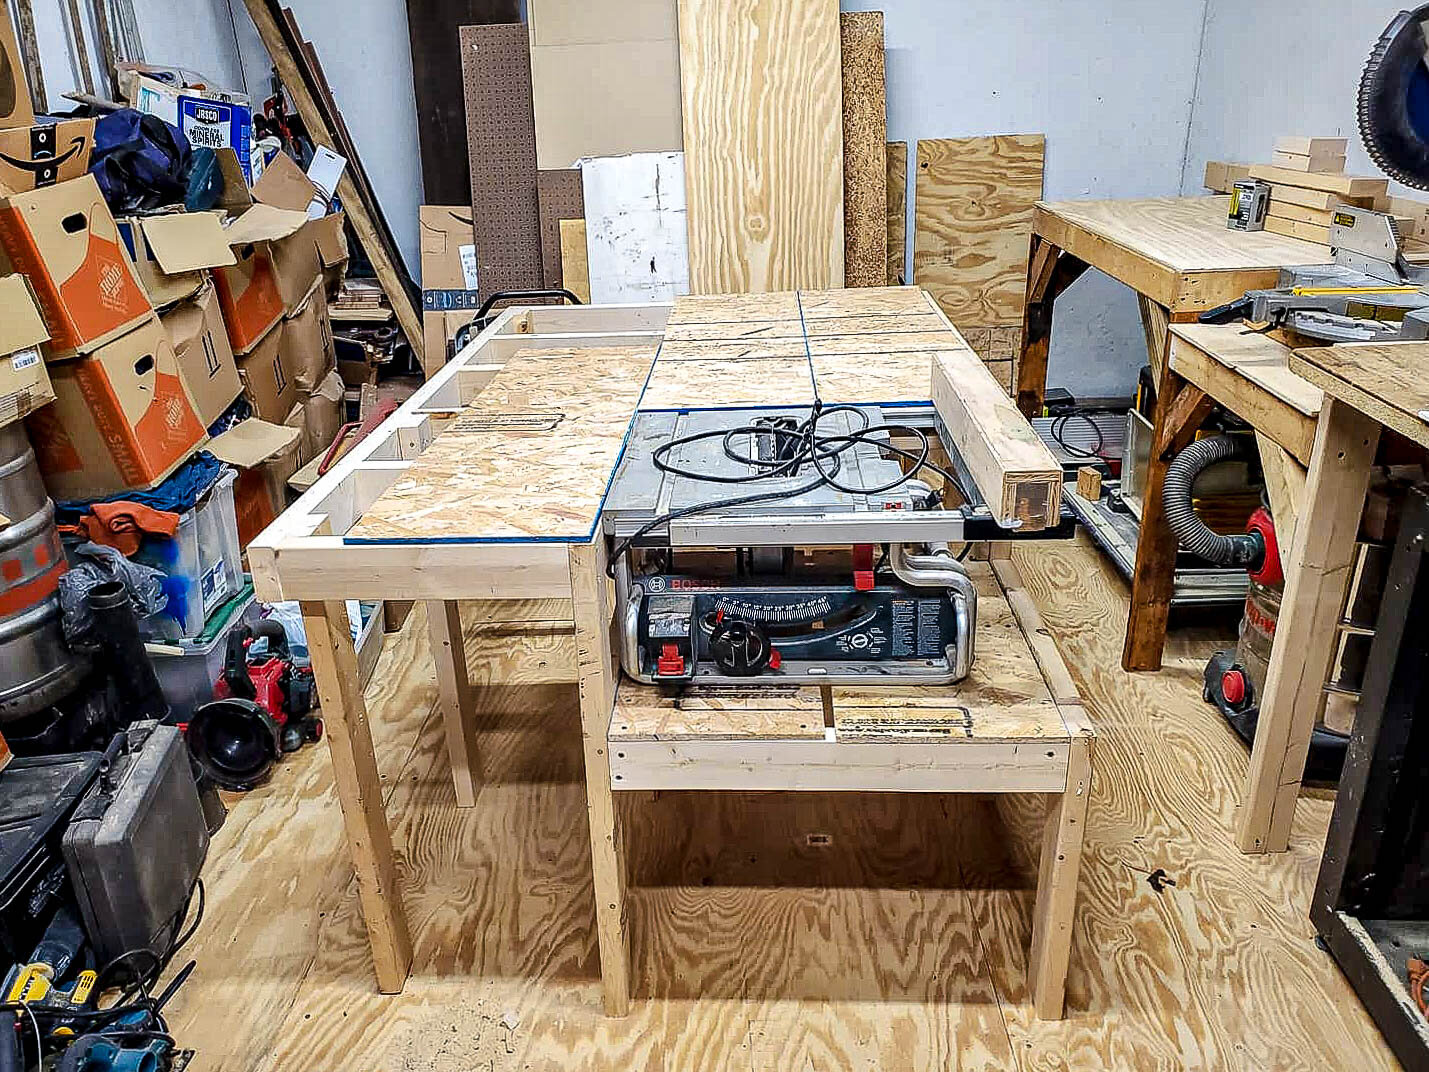
As for my table saw, I built a large outfield table bench type thing. I transformed my contractor table saw to a 4 foot by 6 foot integrated table. I am excited about this. My last set up was a “cart” that kind of shift when sawing lumber. Not very safe if you ask me. Now it is crewed in place and has a huge surface area for cutting up larger sheet goods and long boards.
This in itself is a huge upgrade.
PHASE 6 Tool organization
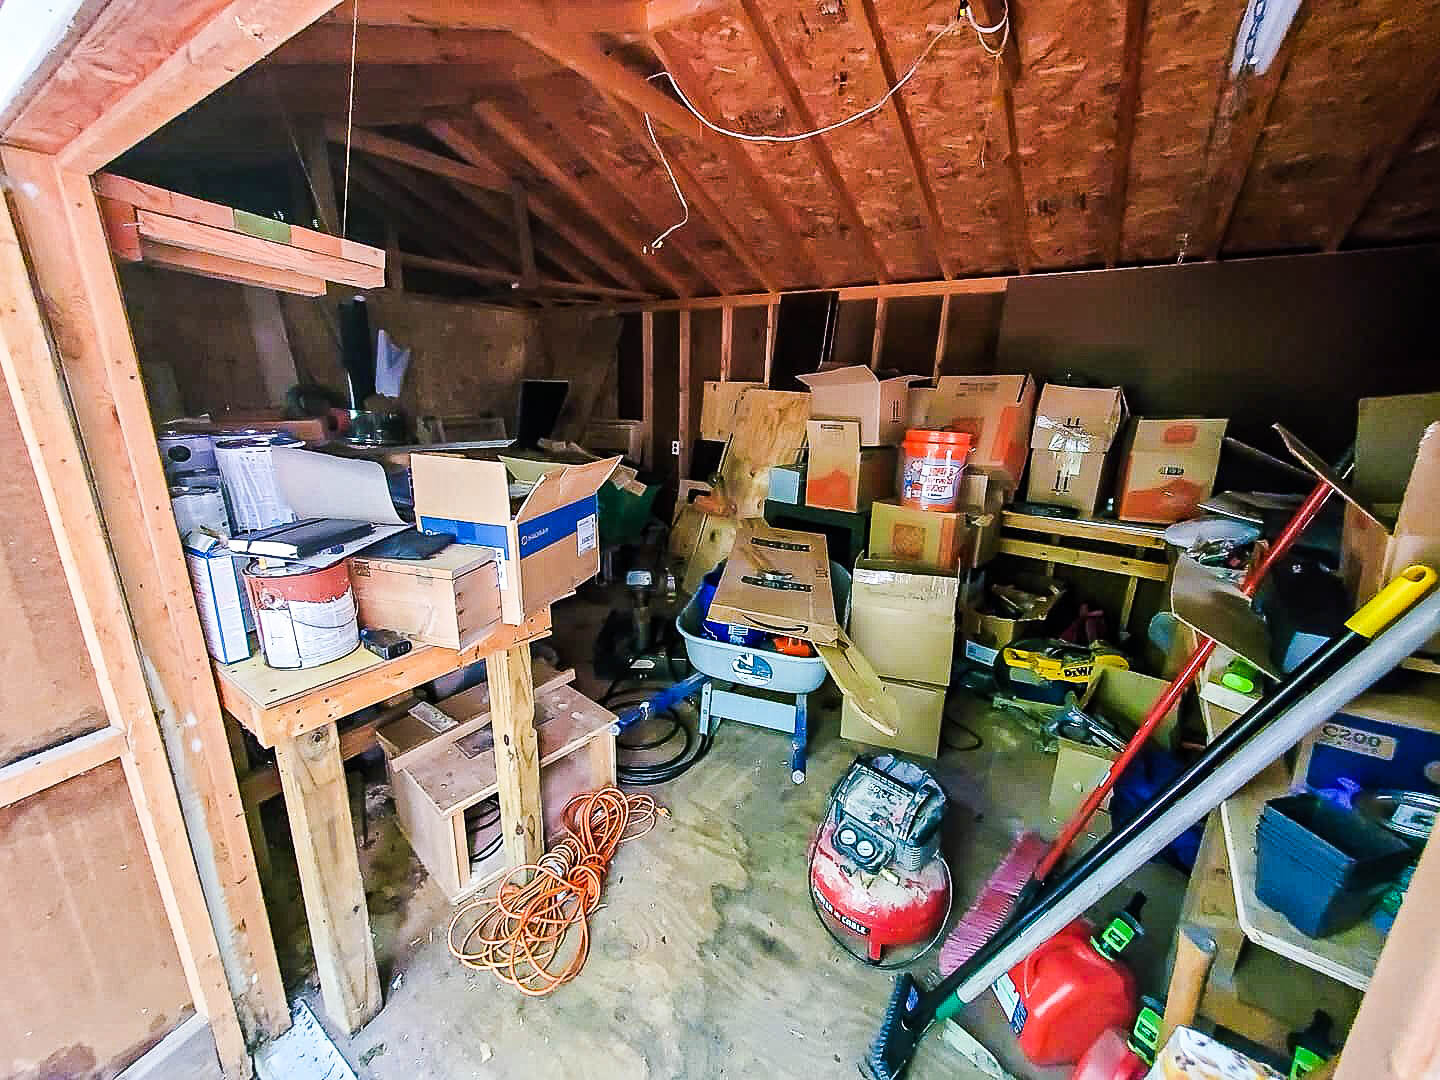
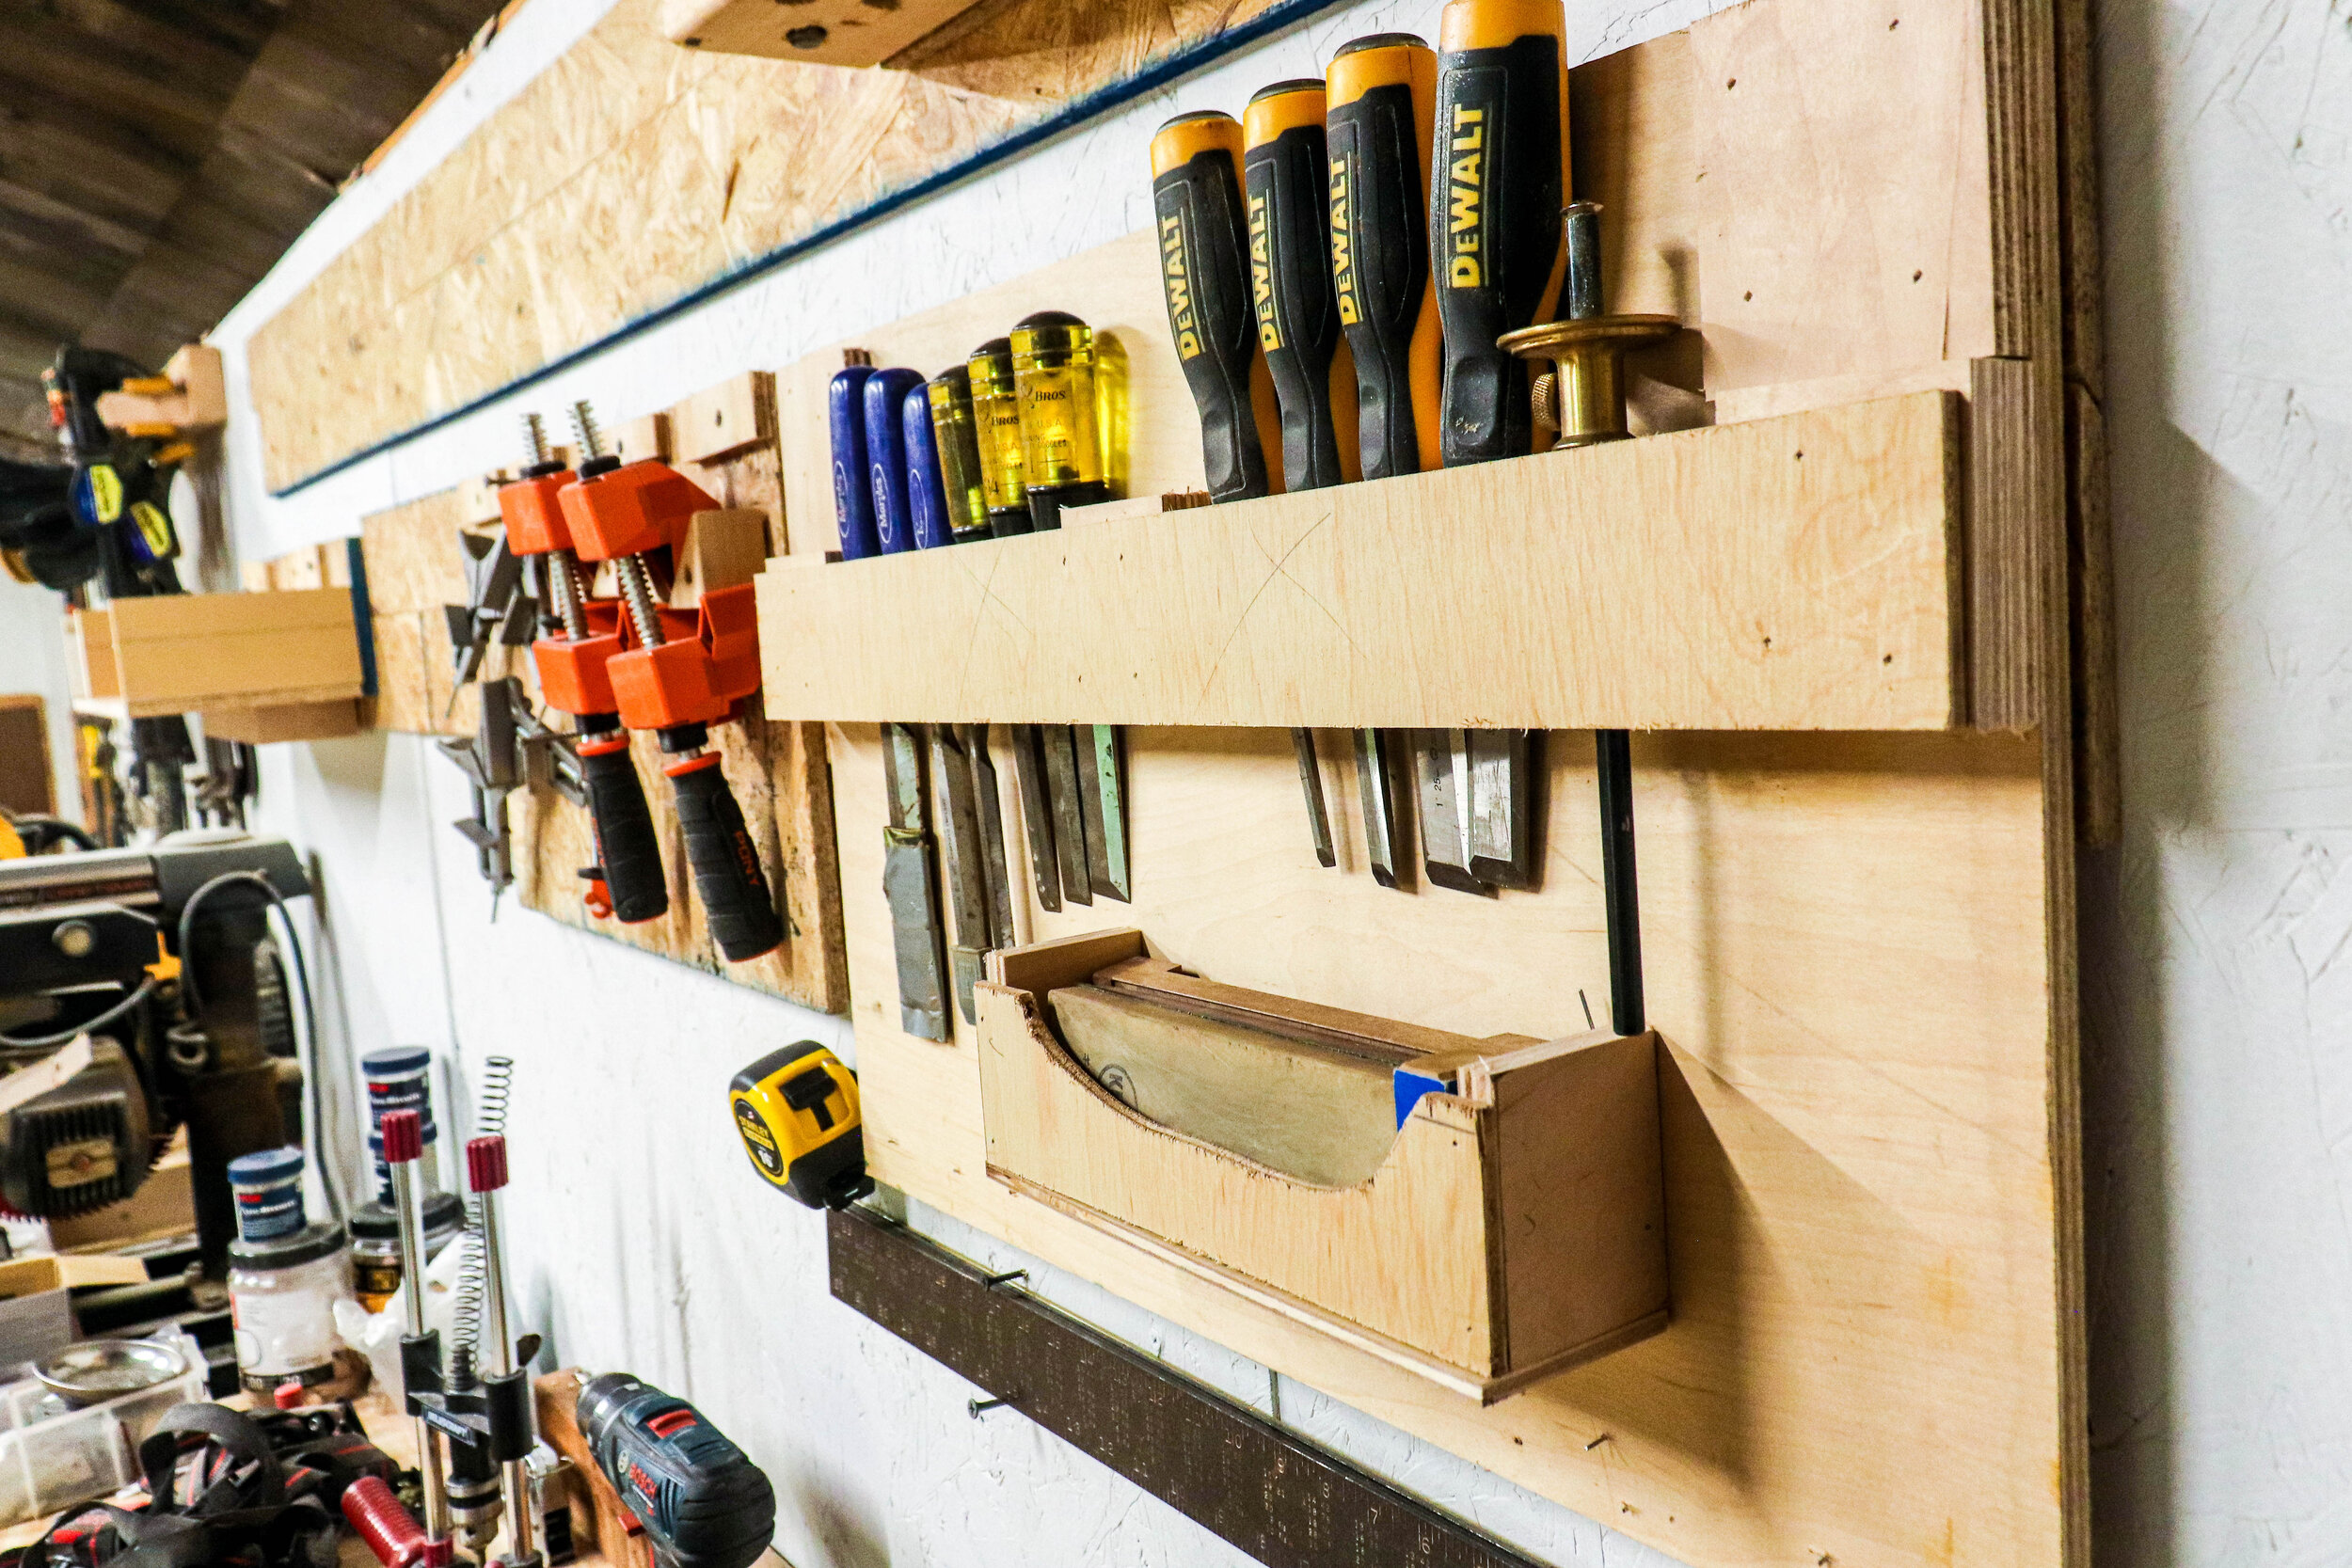
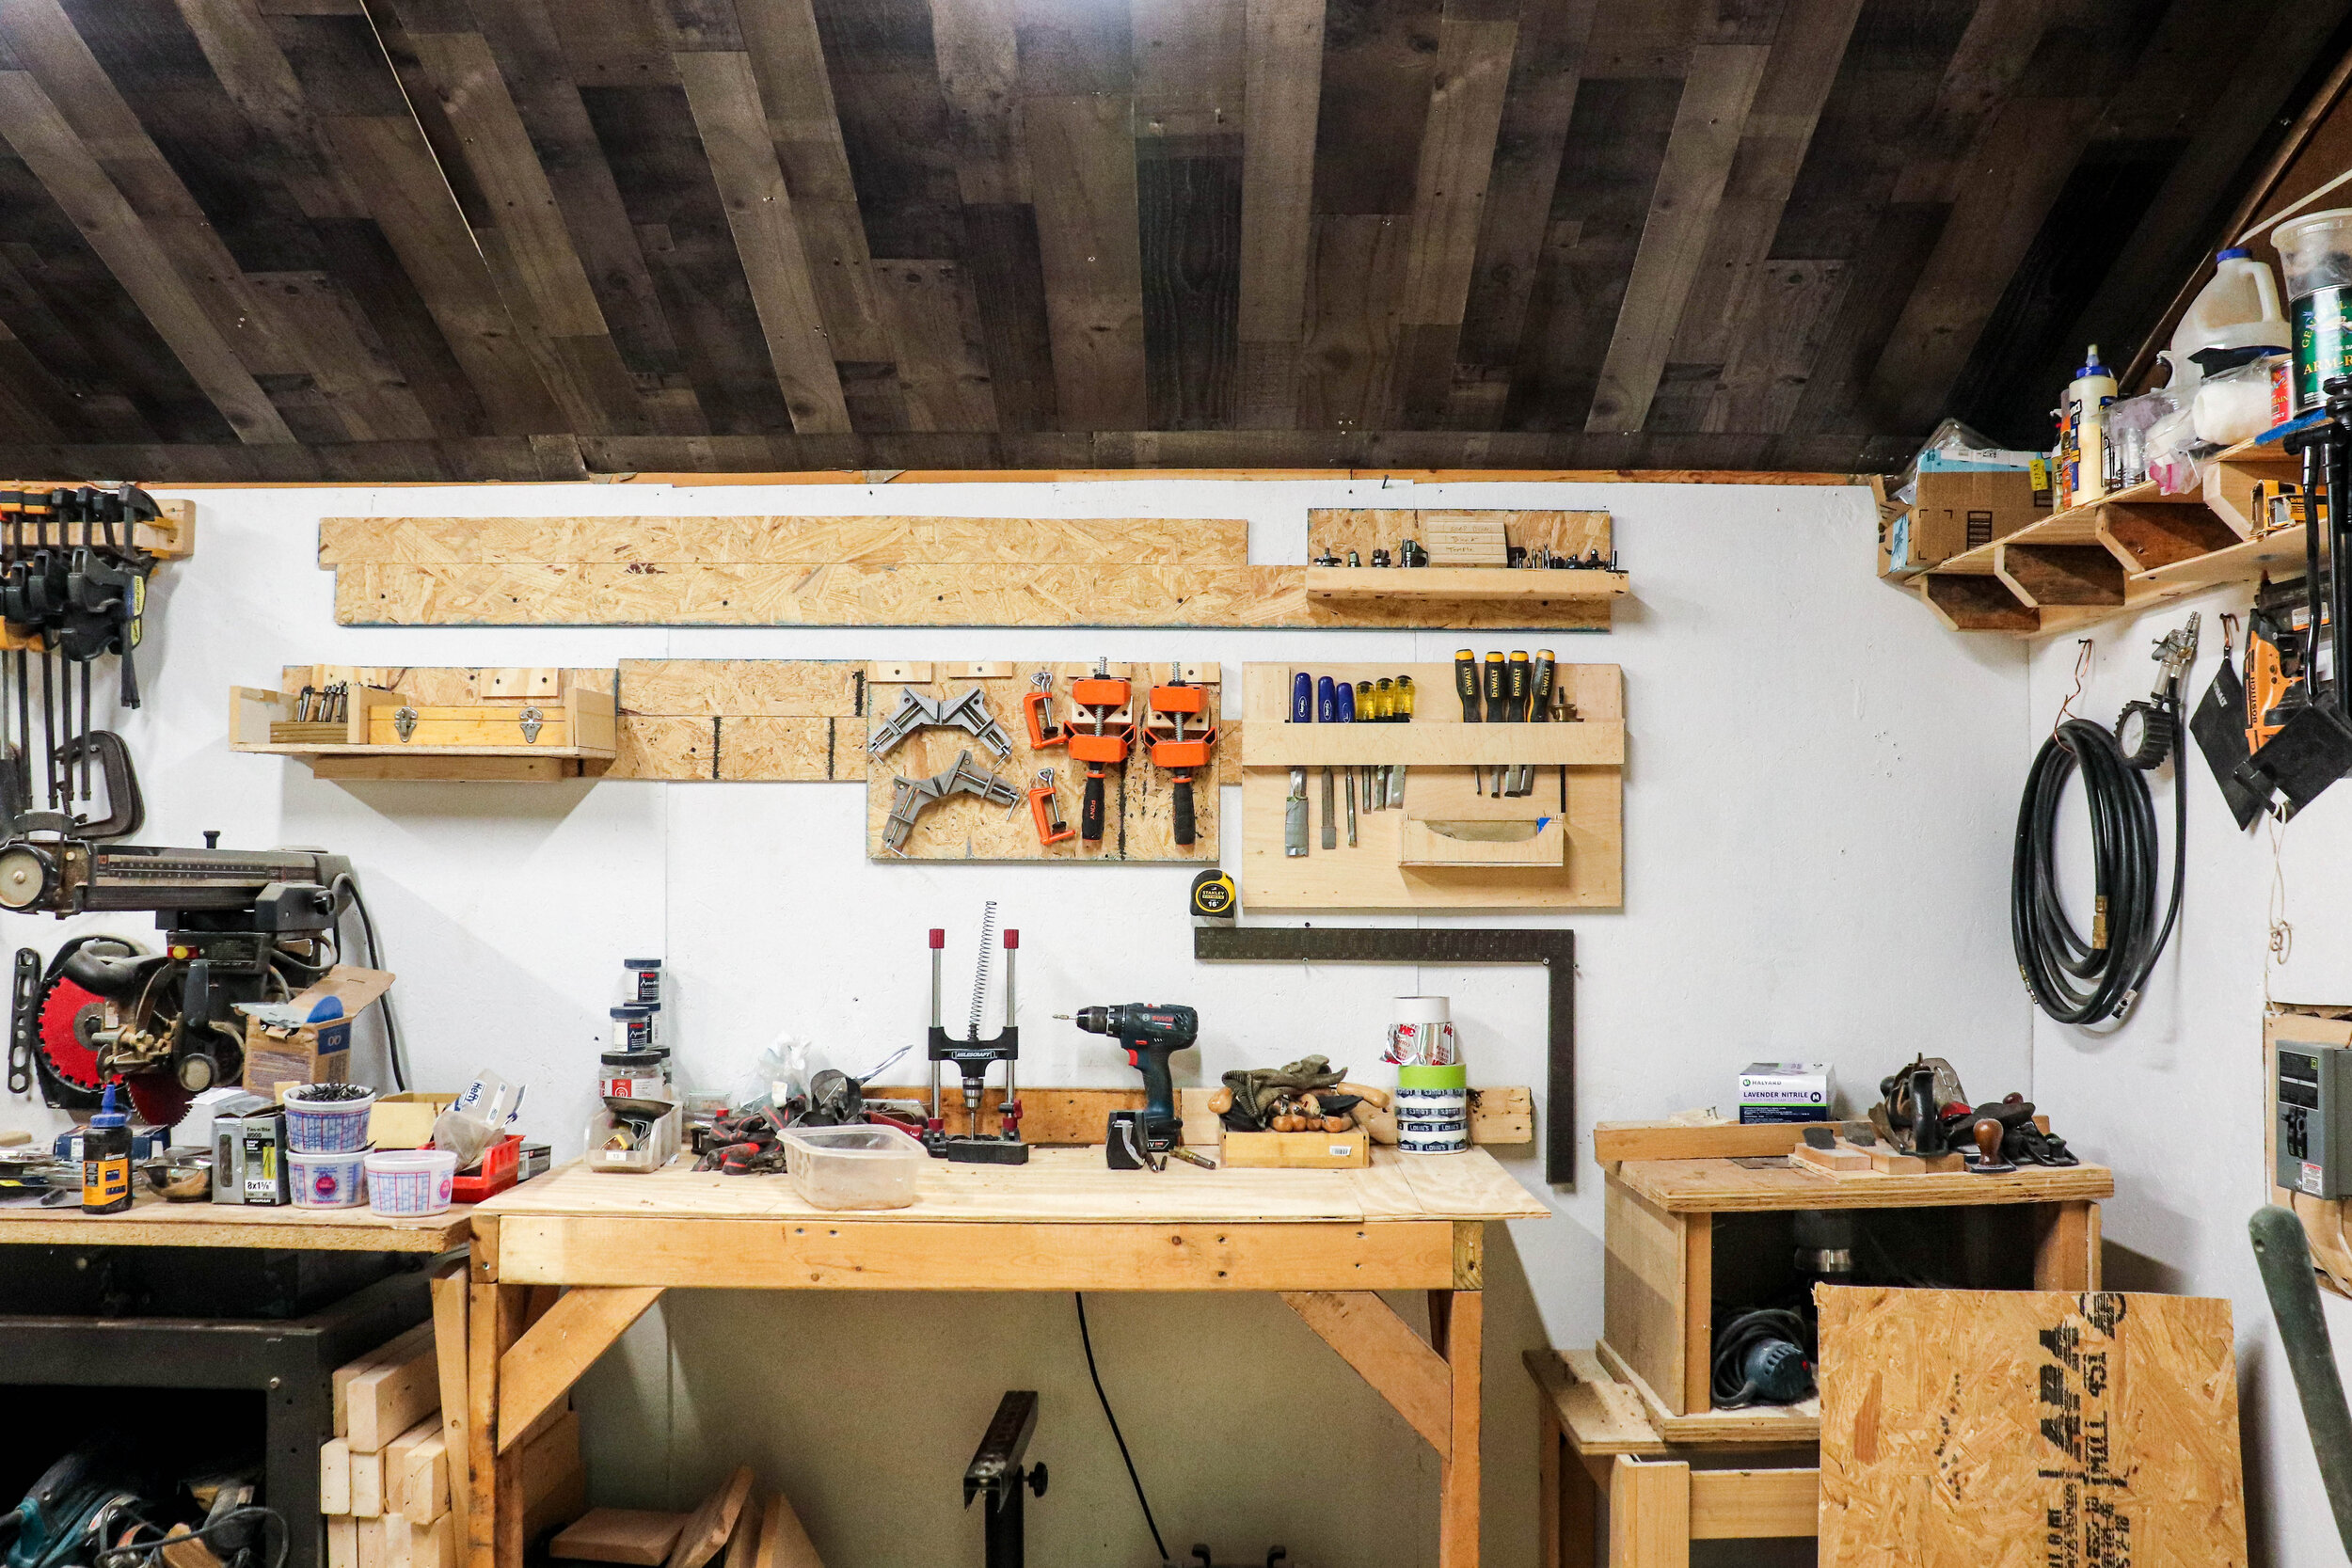
I still had some work to do. I needed to unpack all my boxes and hang my tools on the wall. I used a French cleat system. Since my shop is smaller, I have to be clever with how I arrange things. This to me is the funnest part!
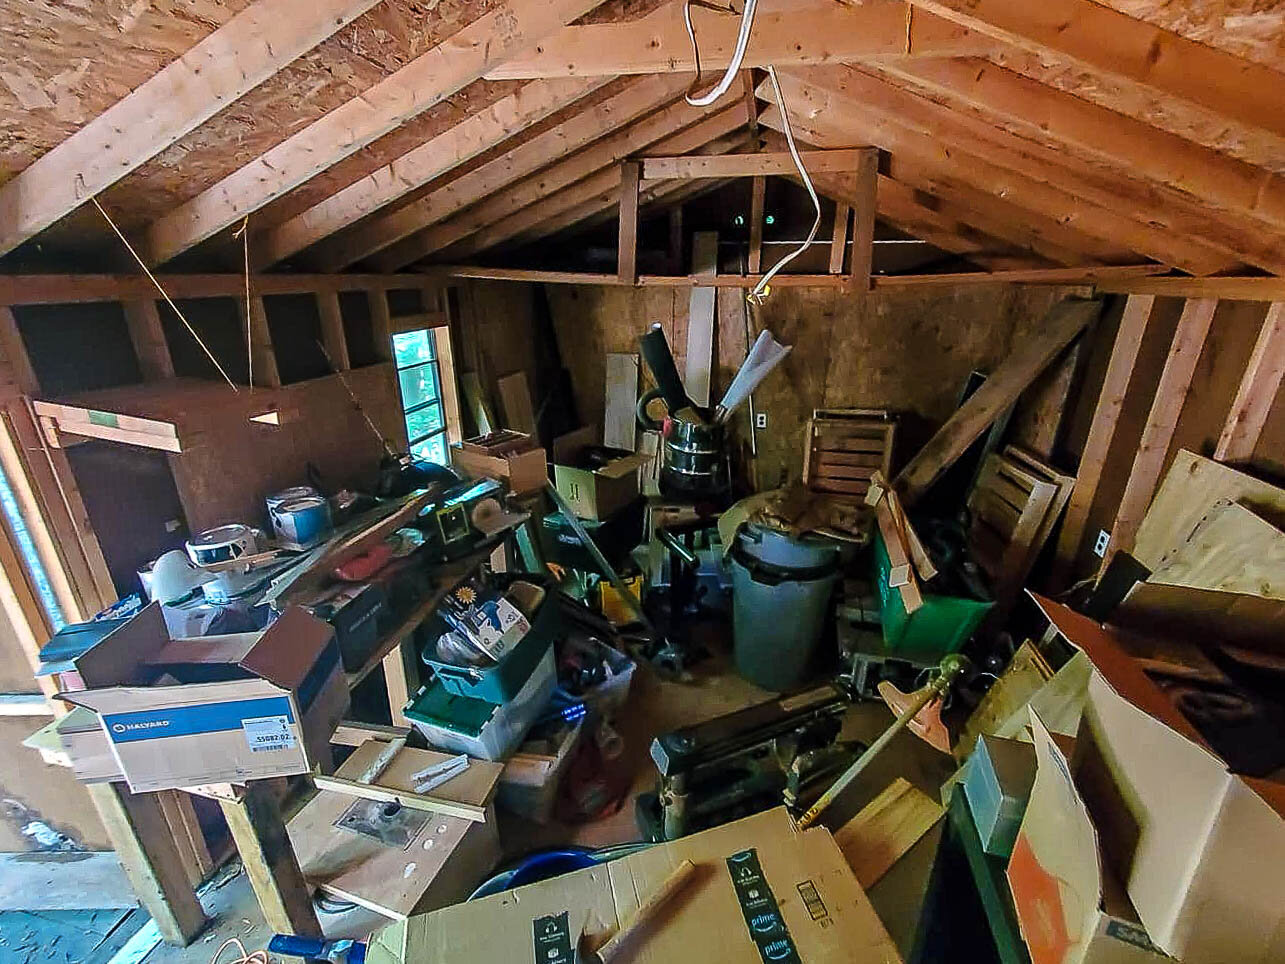
I went through all my boxes and sorting the contents into several piles. I also got rid of lots of garbage. Doesn’t it feel great to get rid of things you do not use!
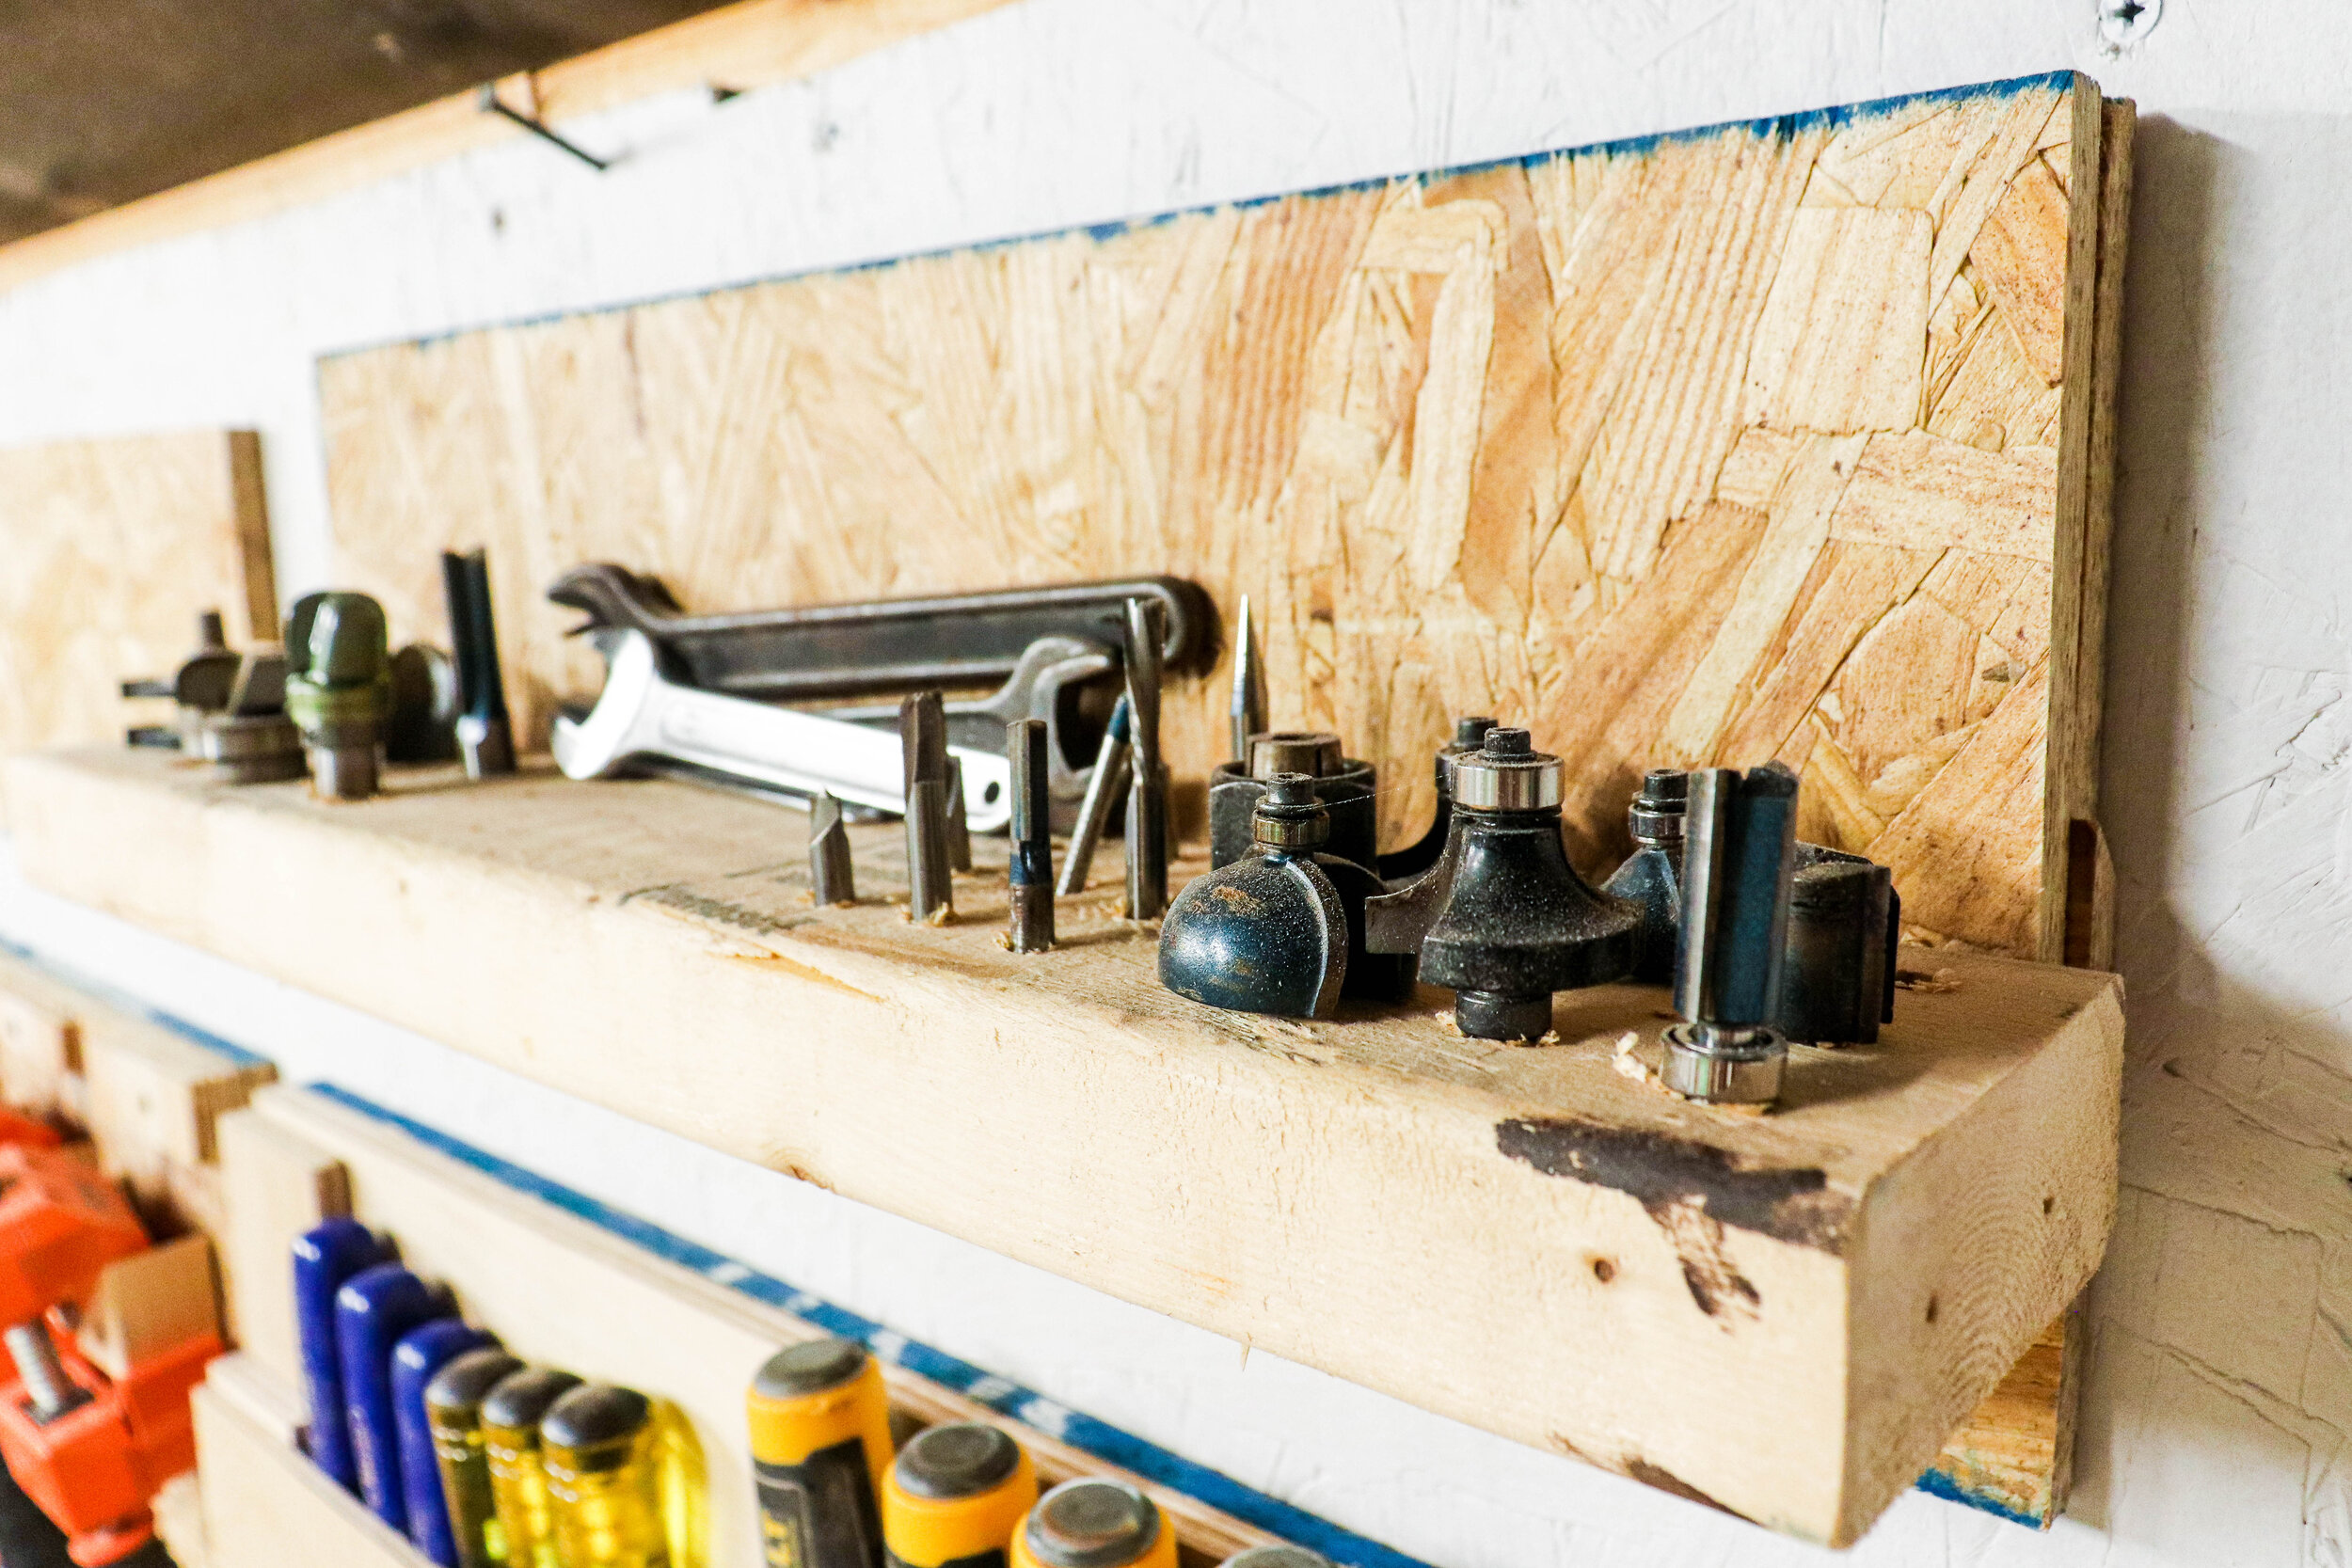
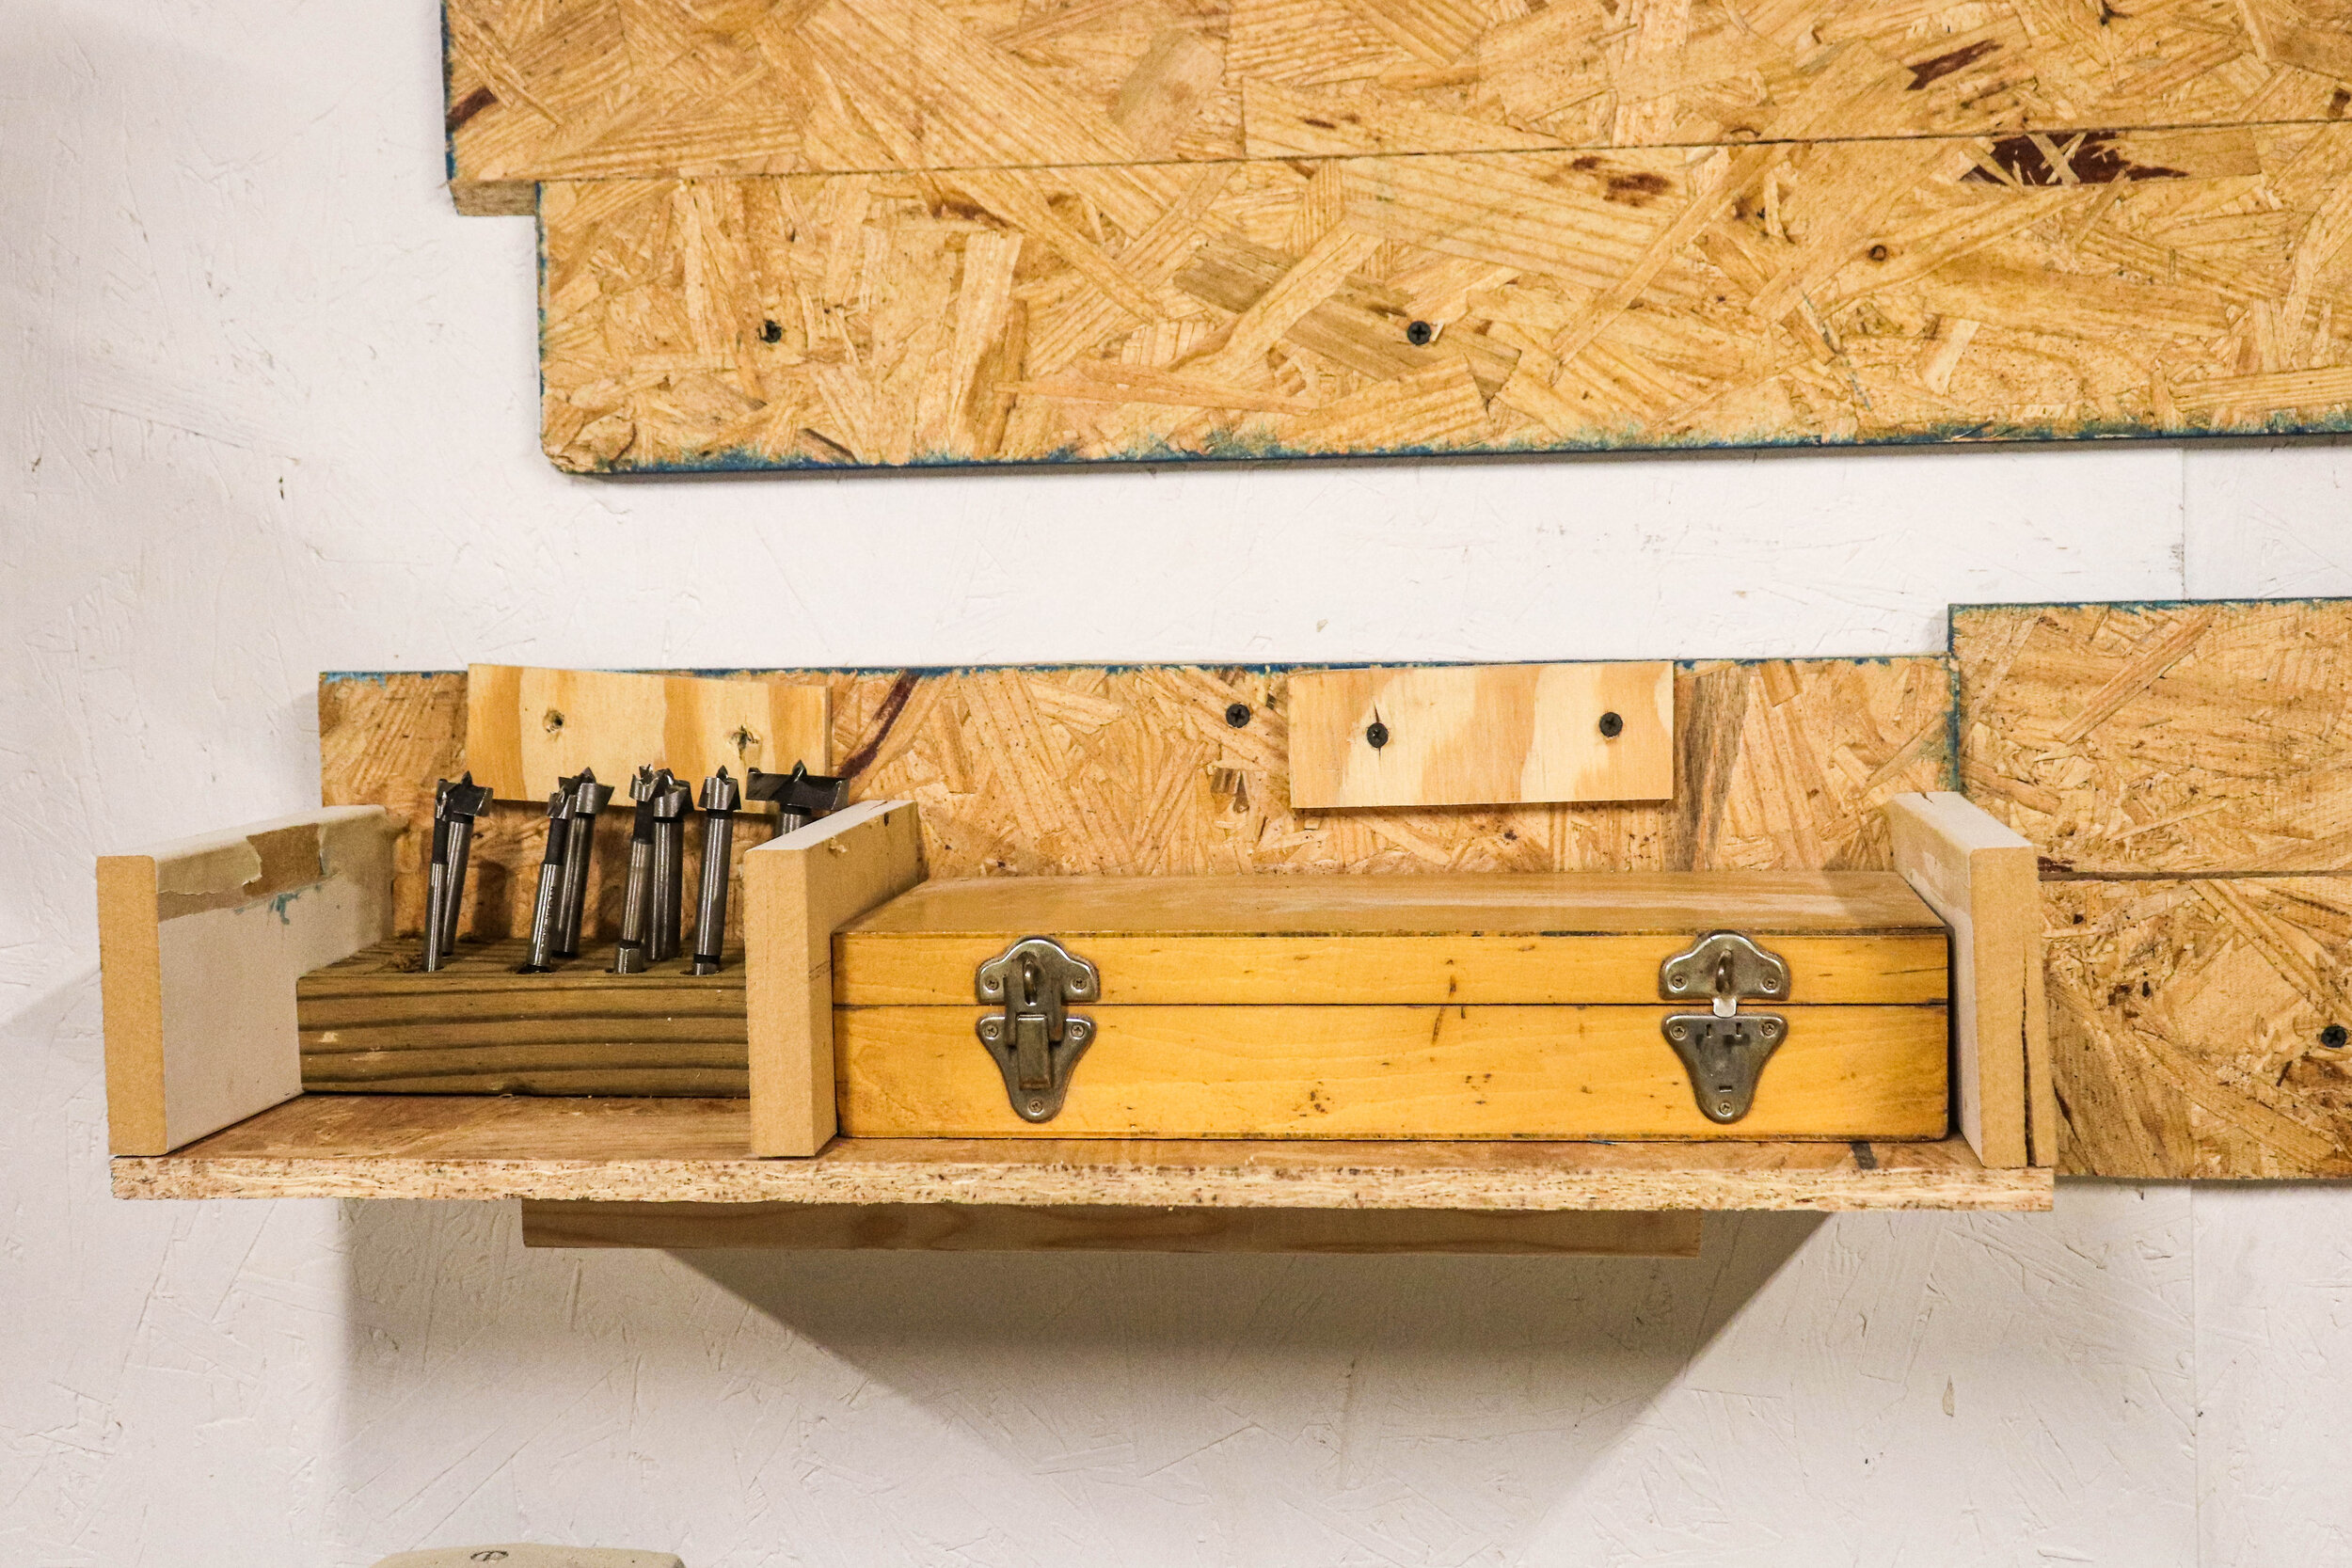
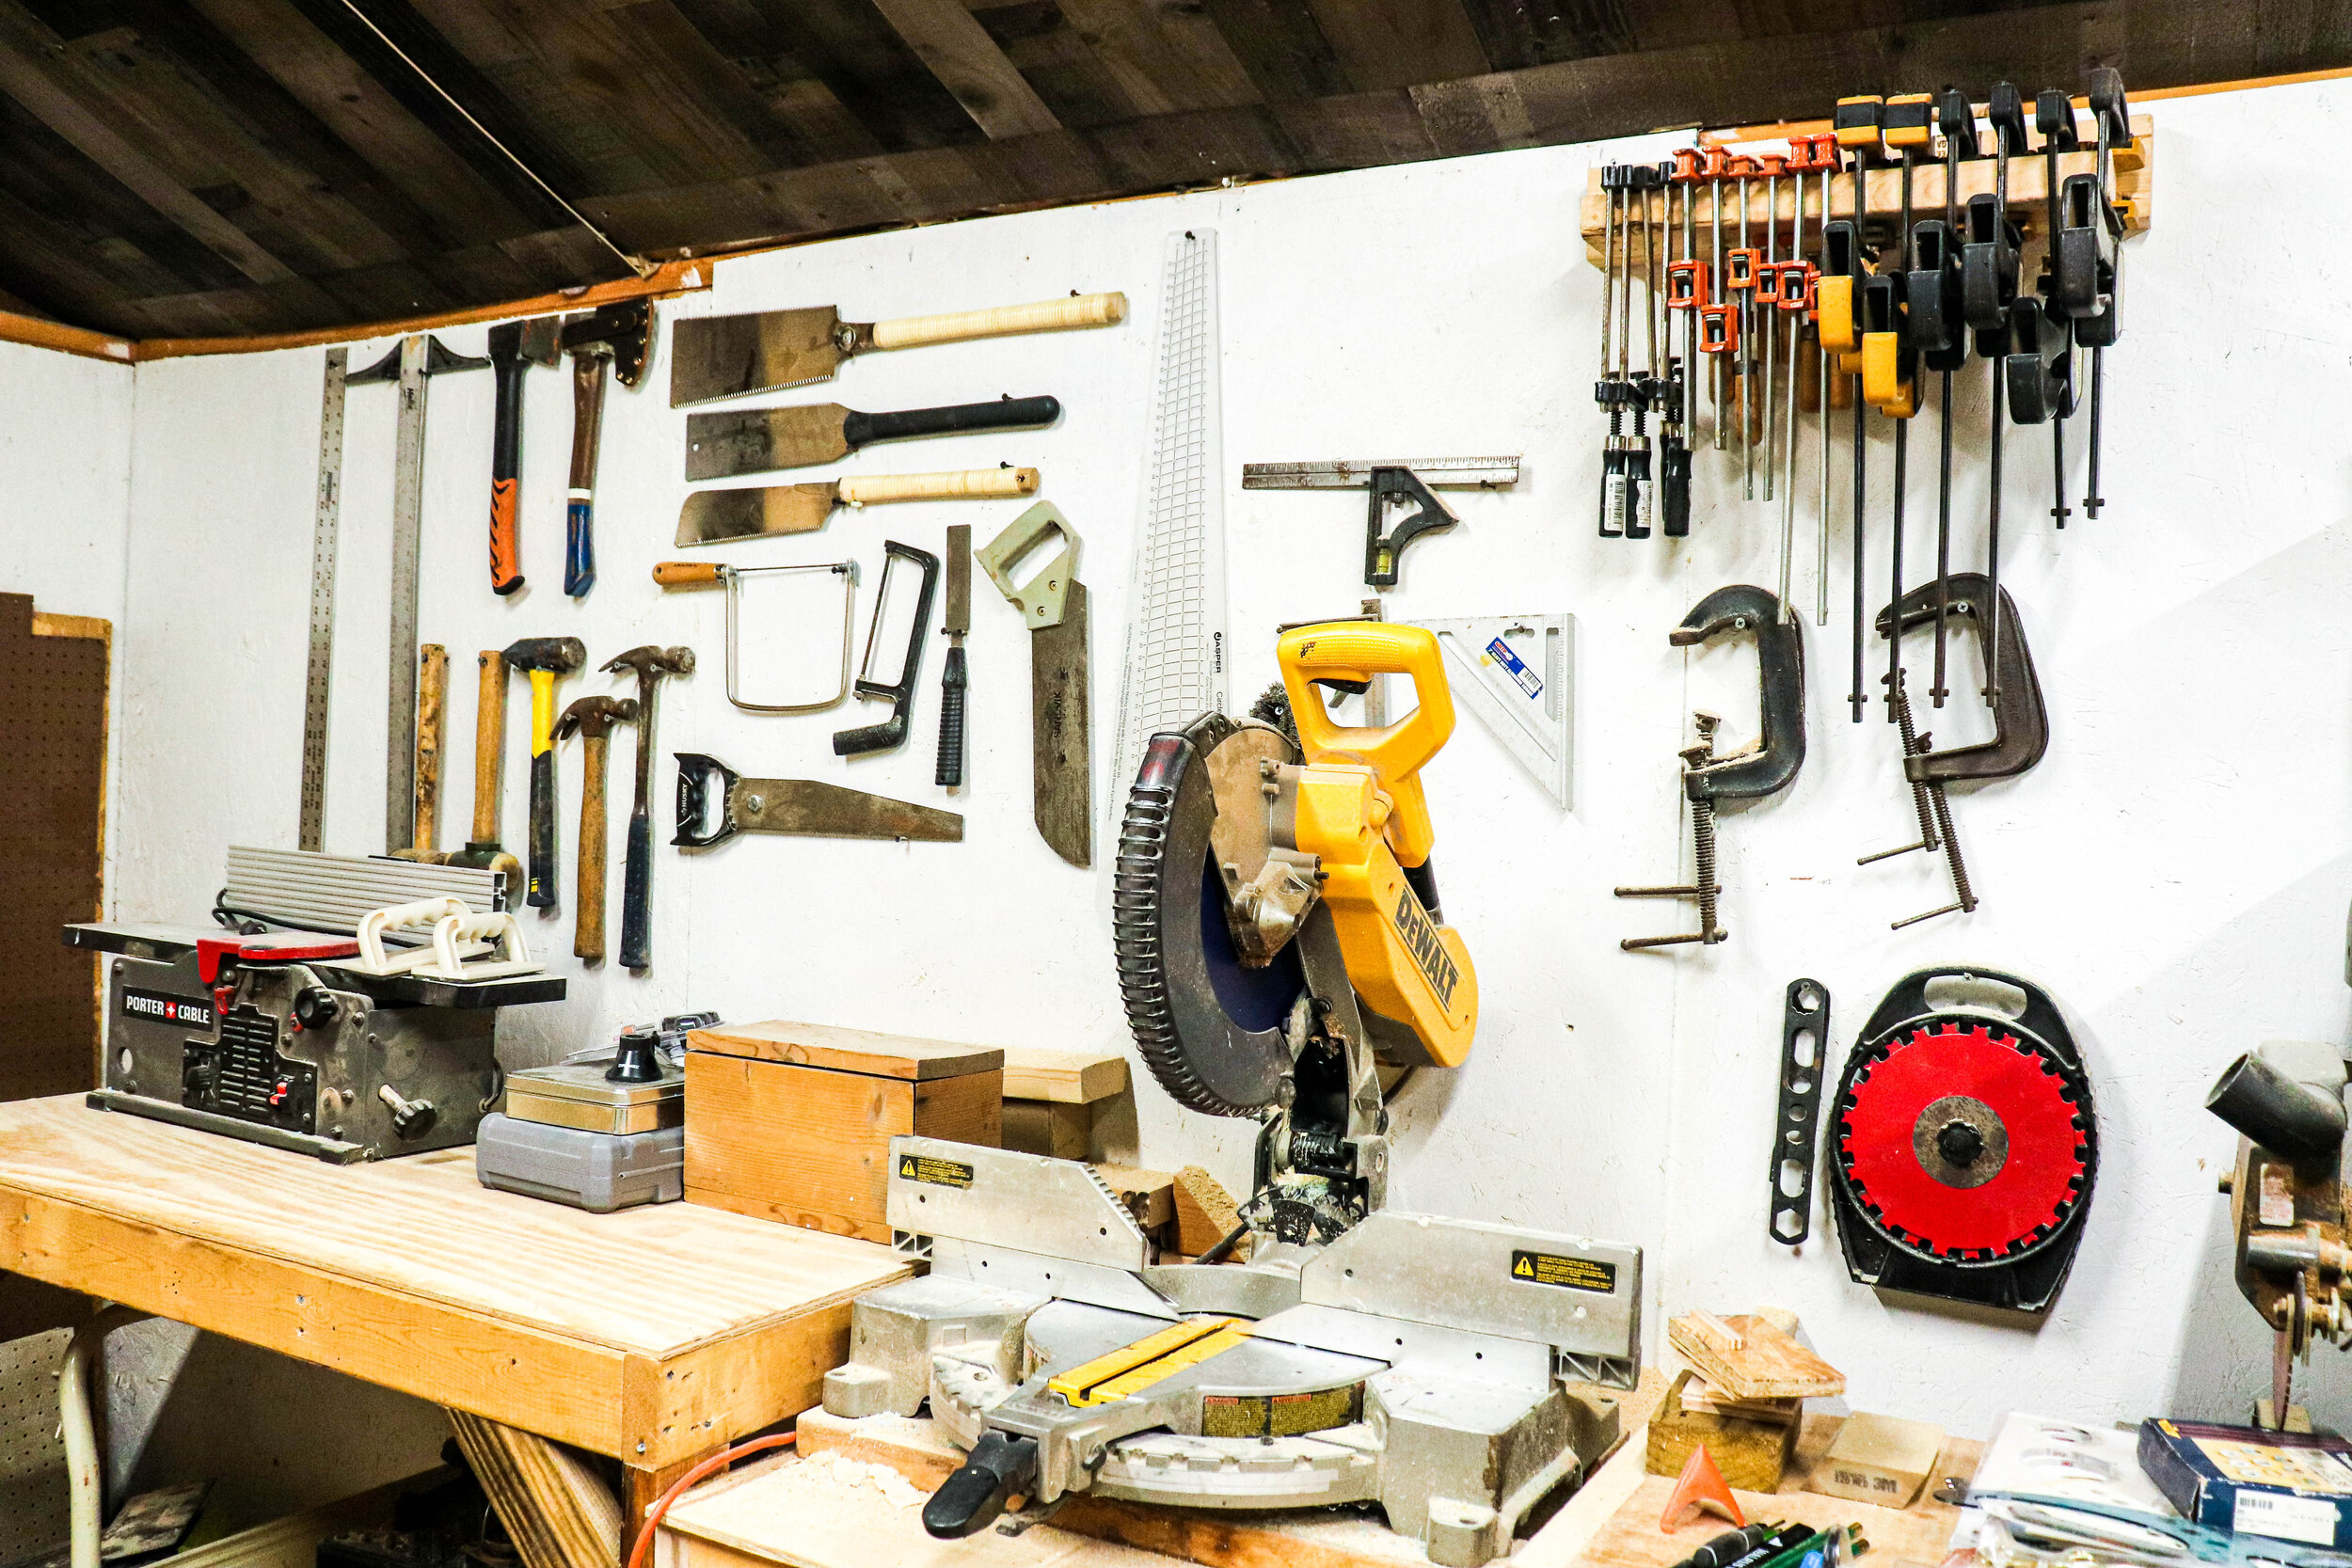
I was able to hang up my hammers, saws, and squares. I also made a chisel case complete with wet stone storage. I quickly crafted a holder for my router bits and another for the forstner bits.
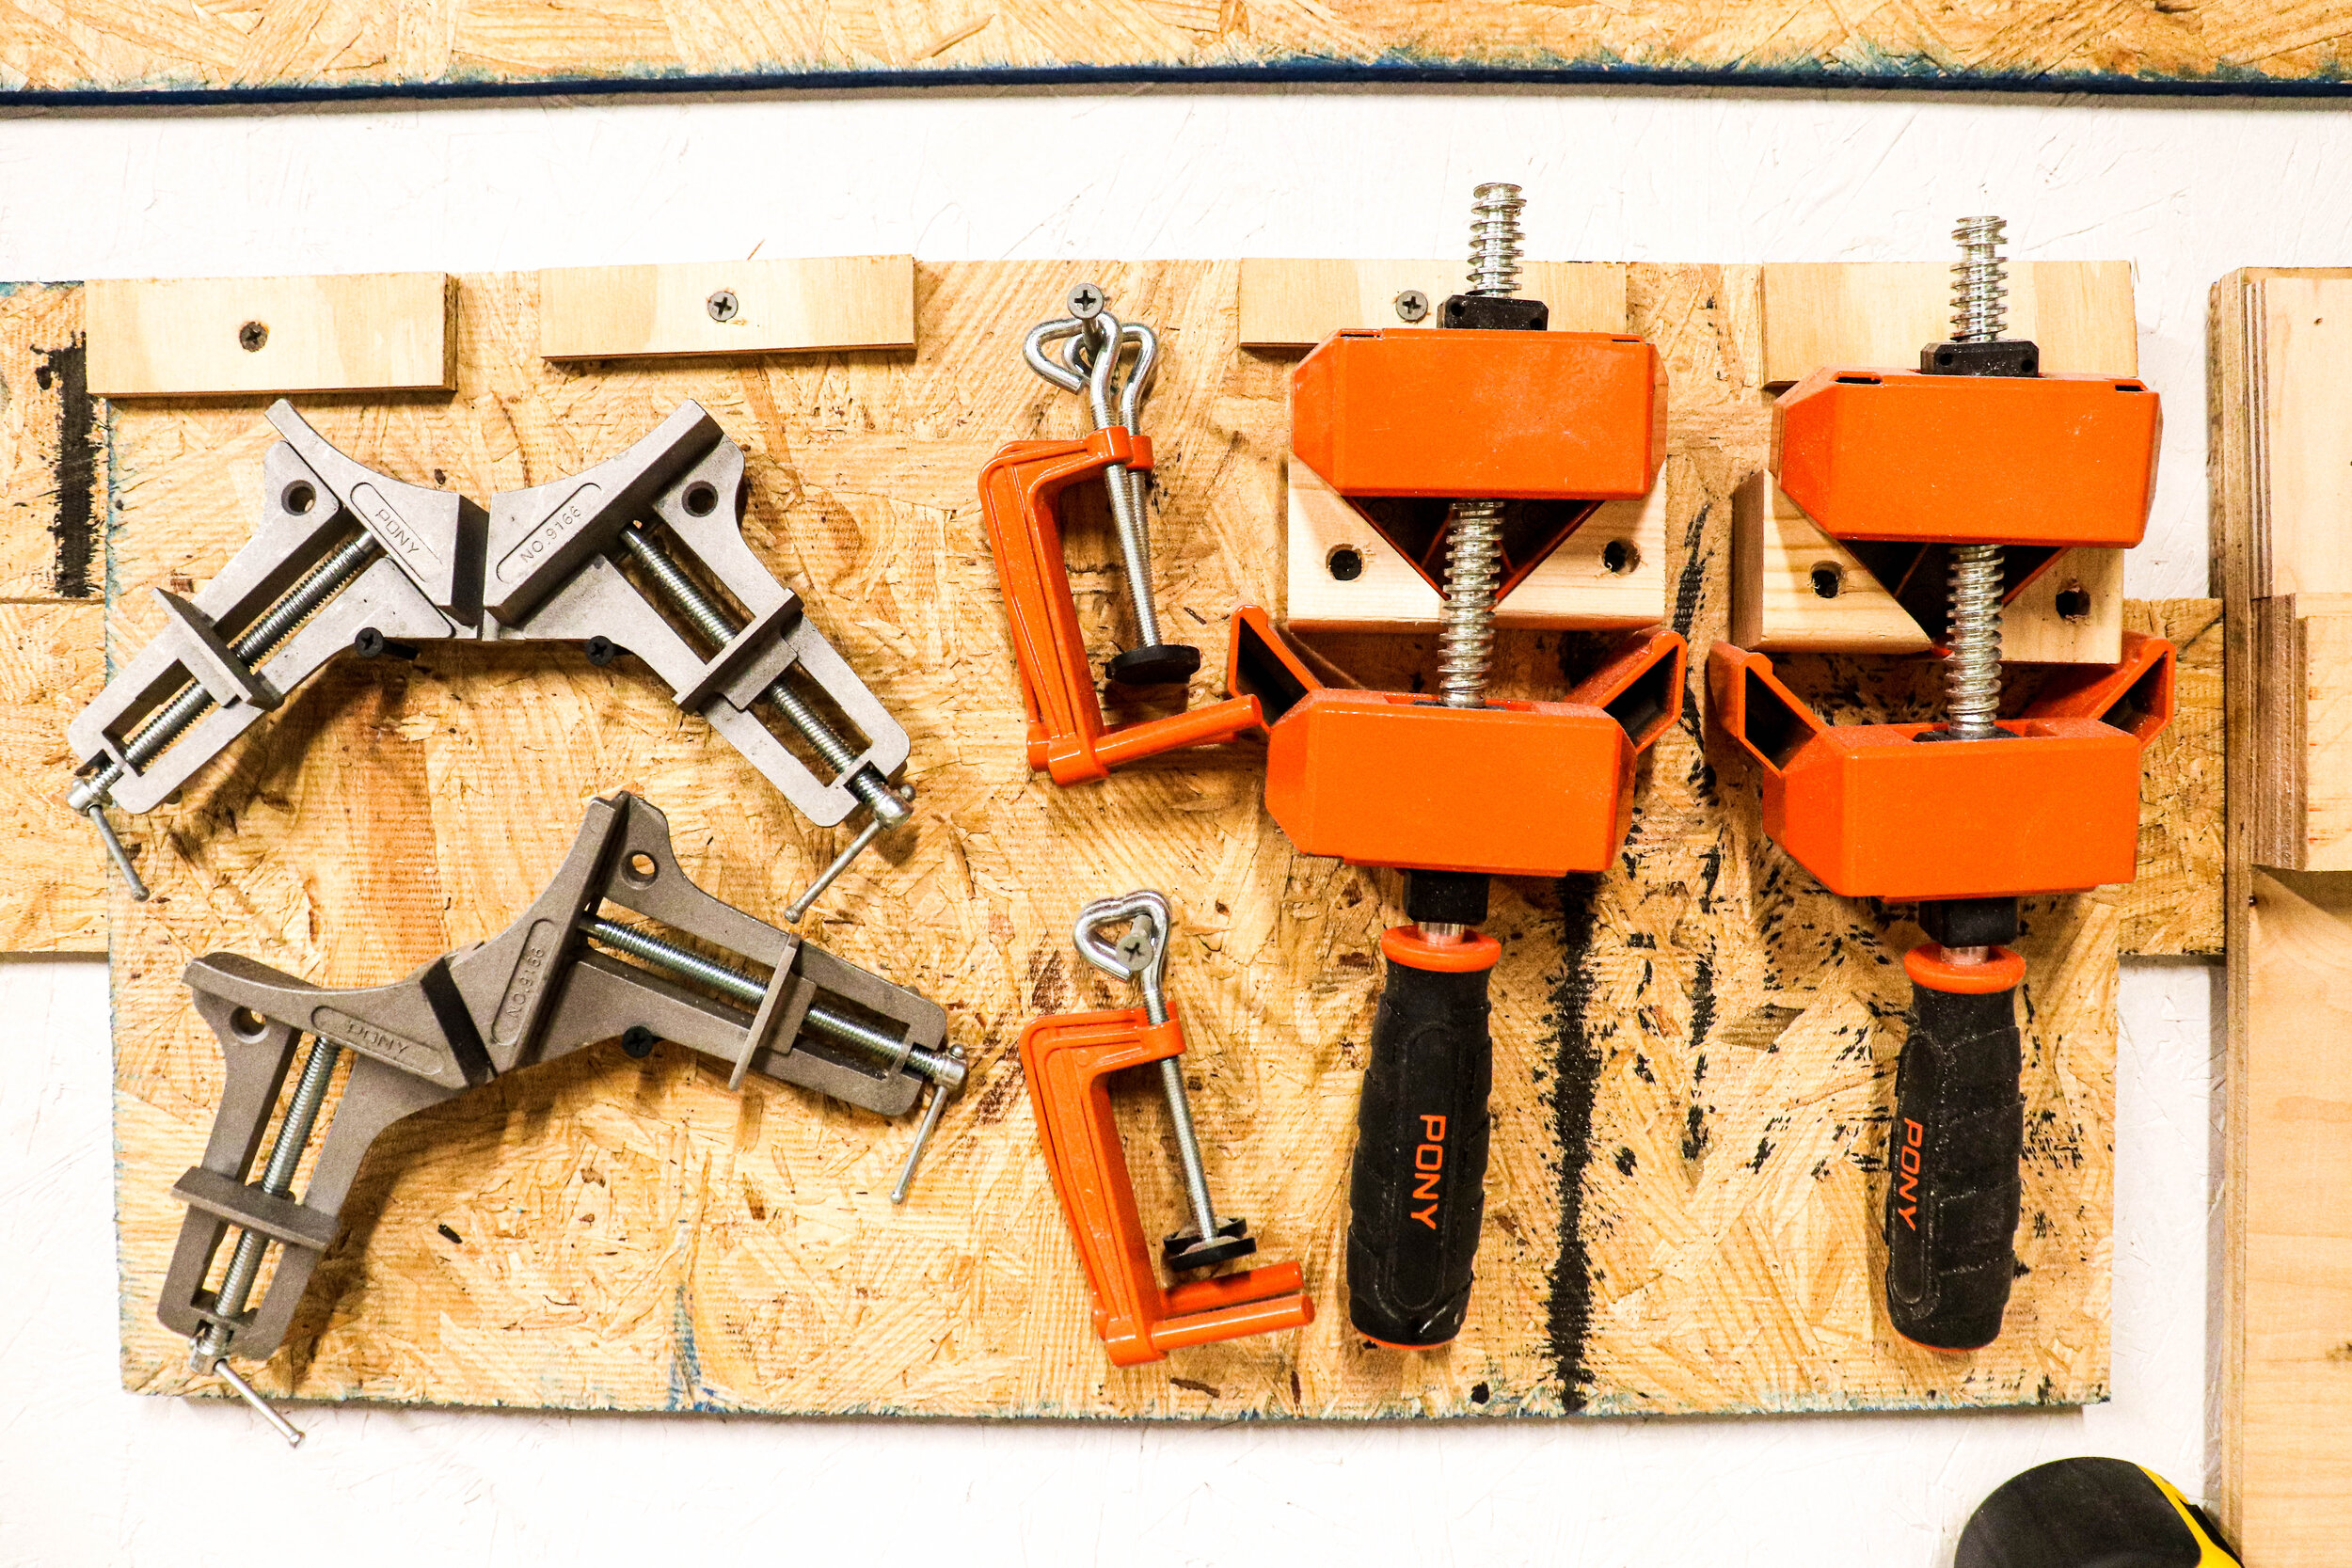
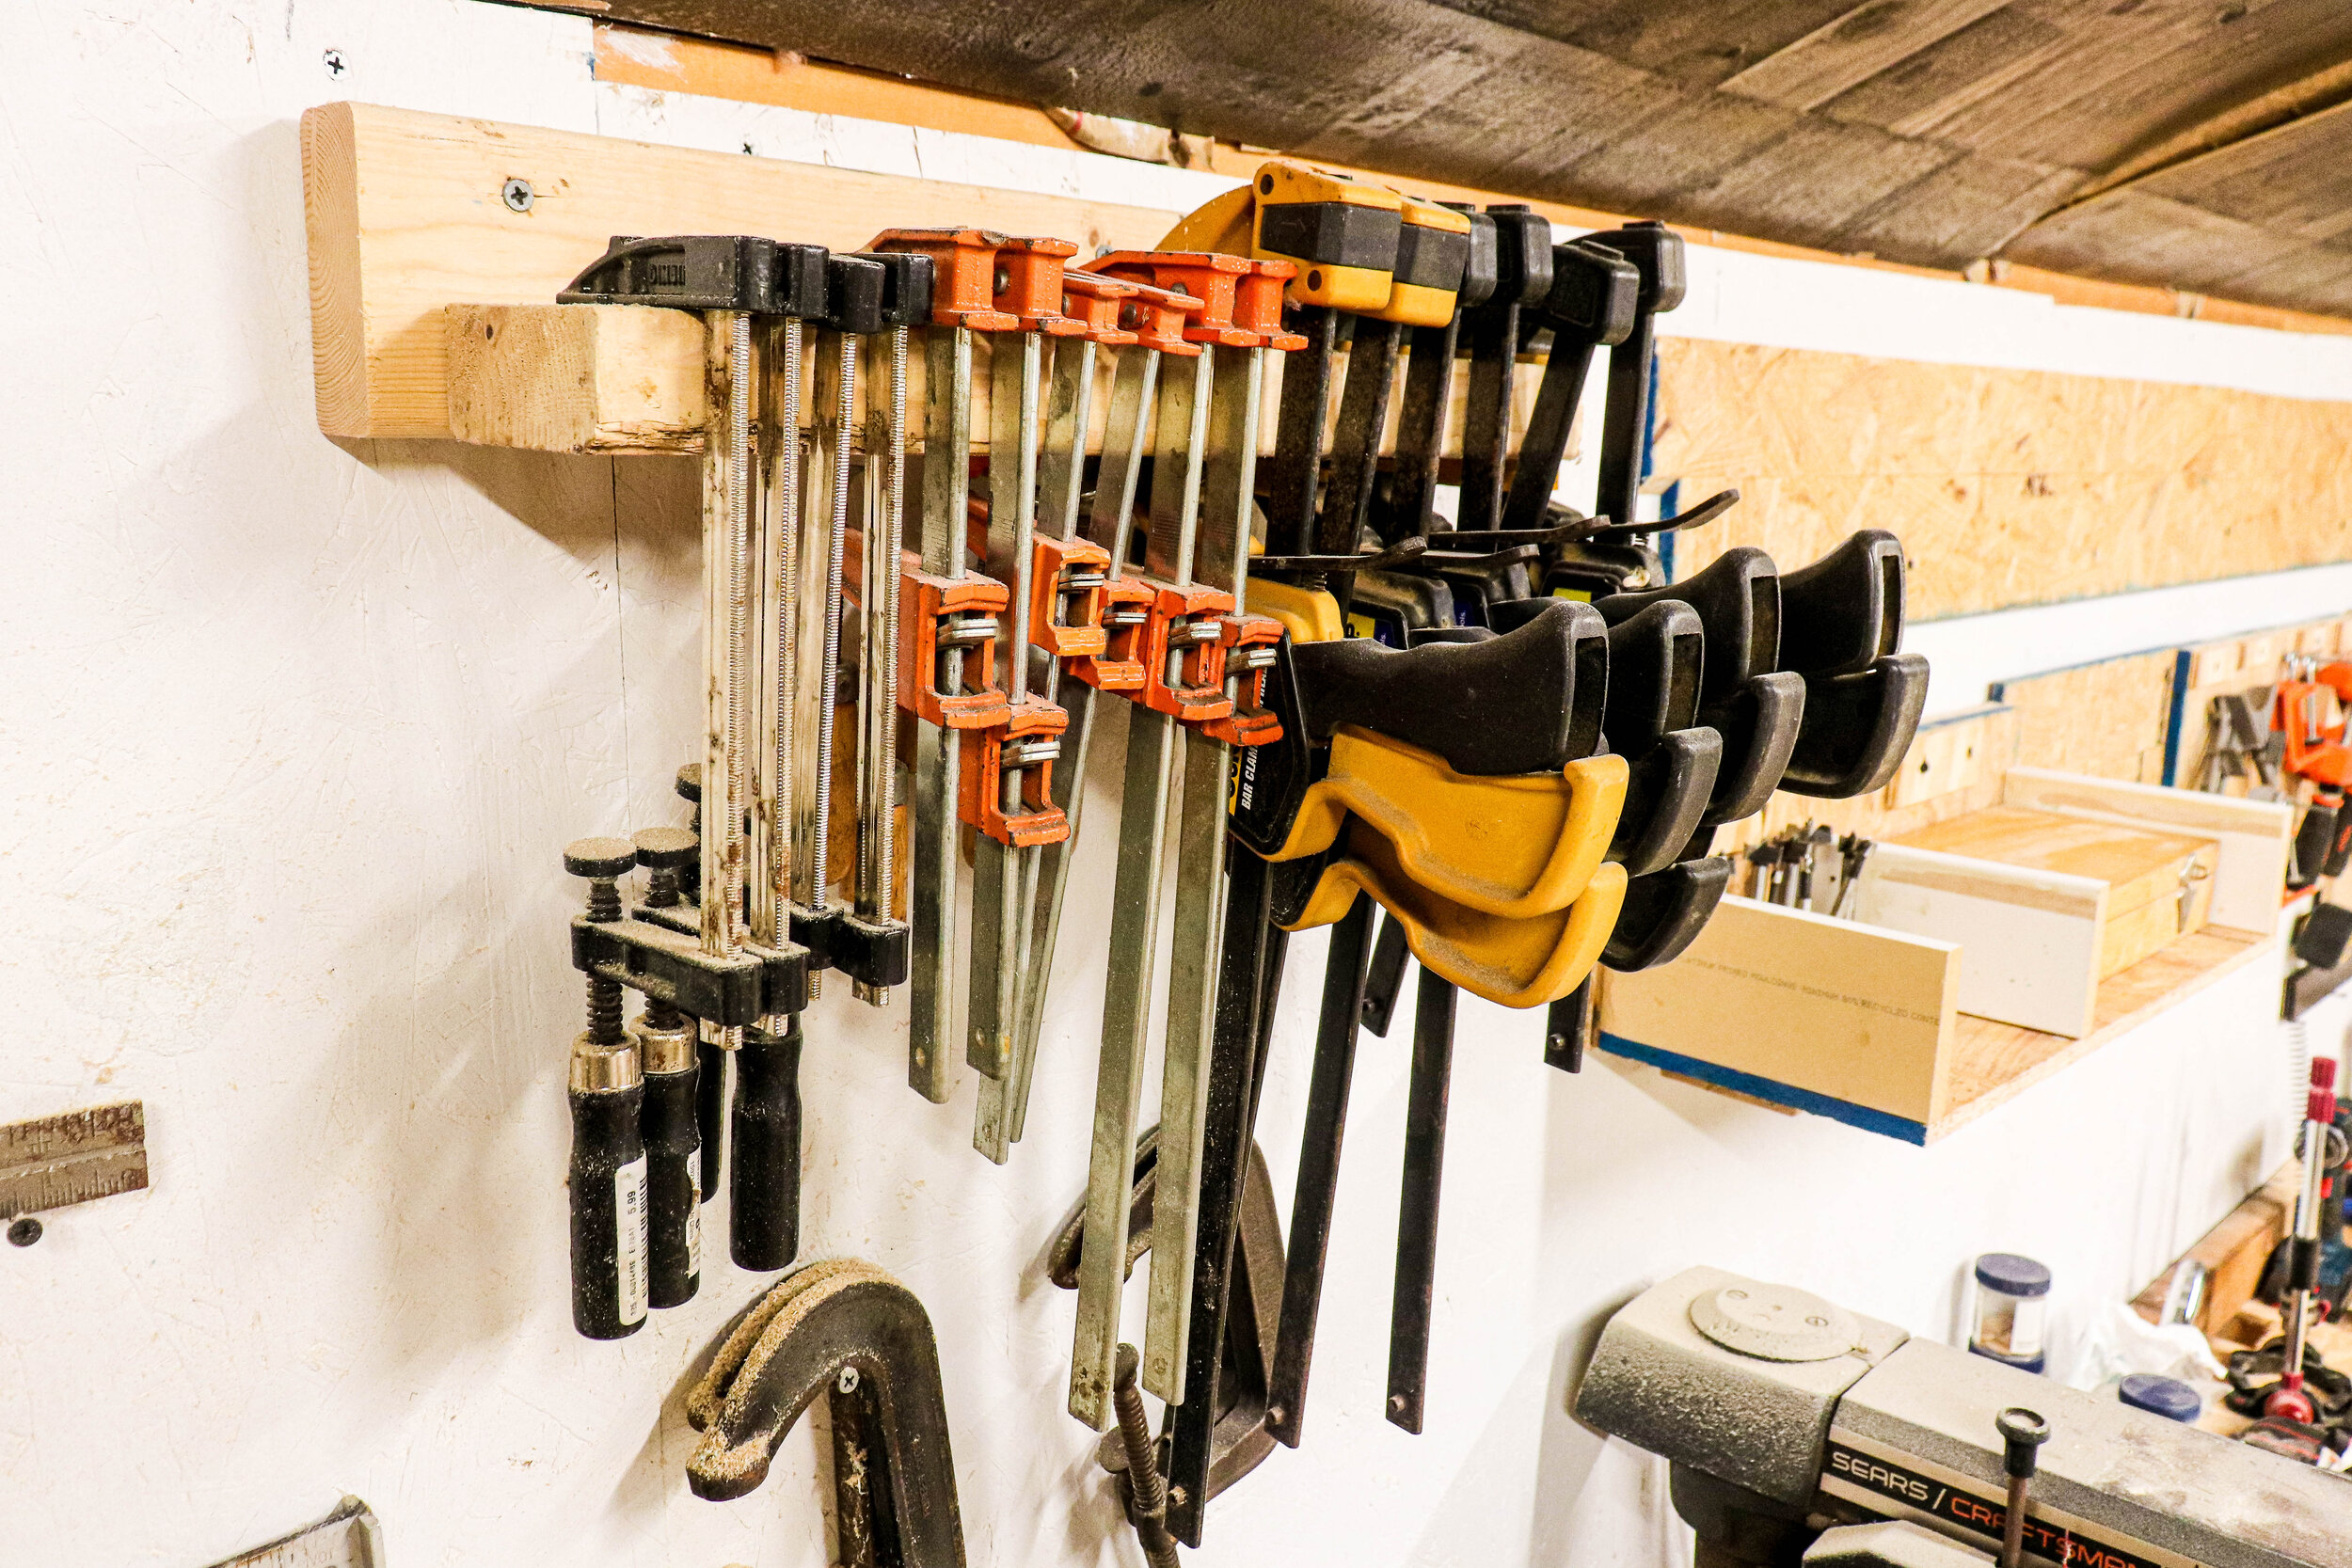
I realized I had a lot of clamps and they usually sit in a pile in the corner of the shop. With some scrap 2x4s I was able to make a rudimentary shelf to hang these from. I love how organized clamps look hanging on the wall!
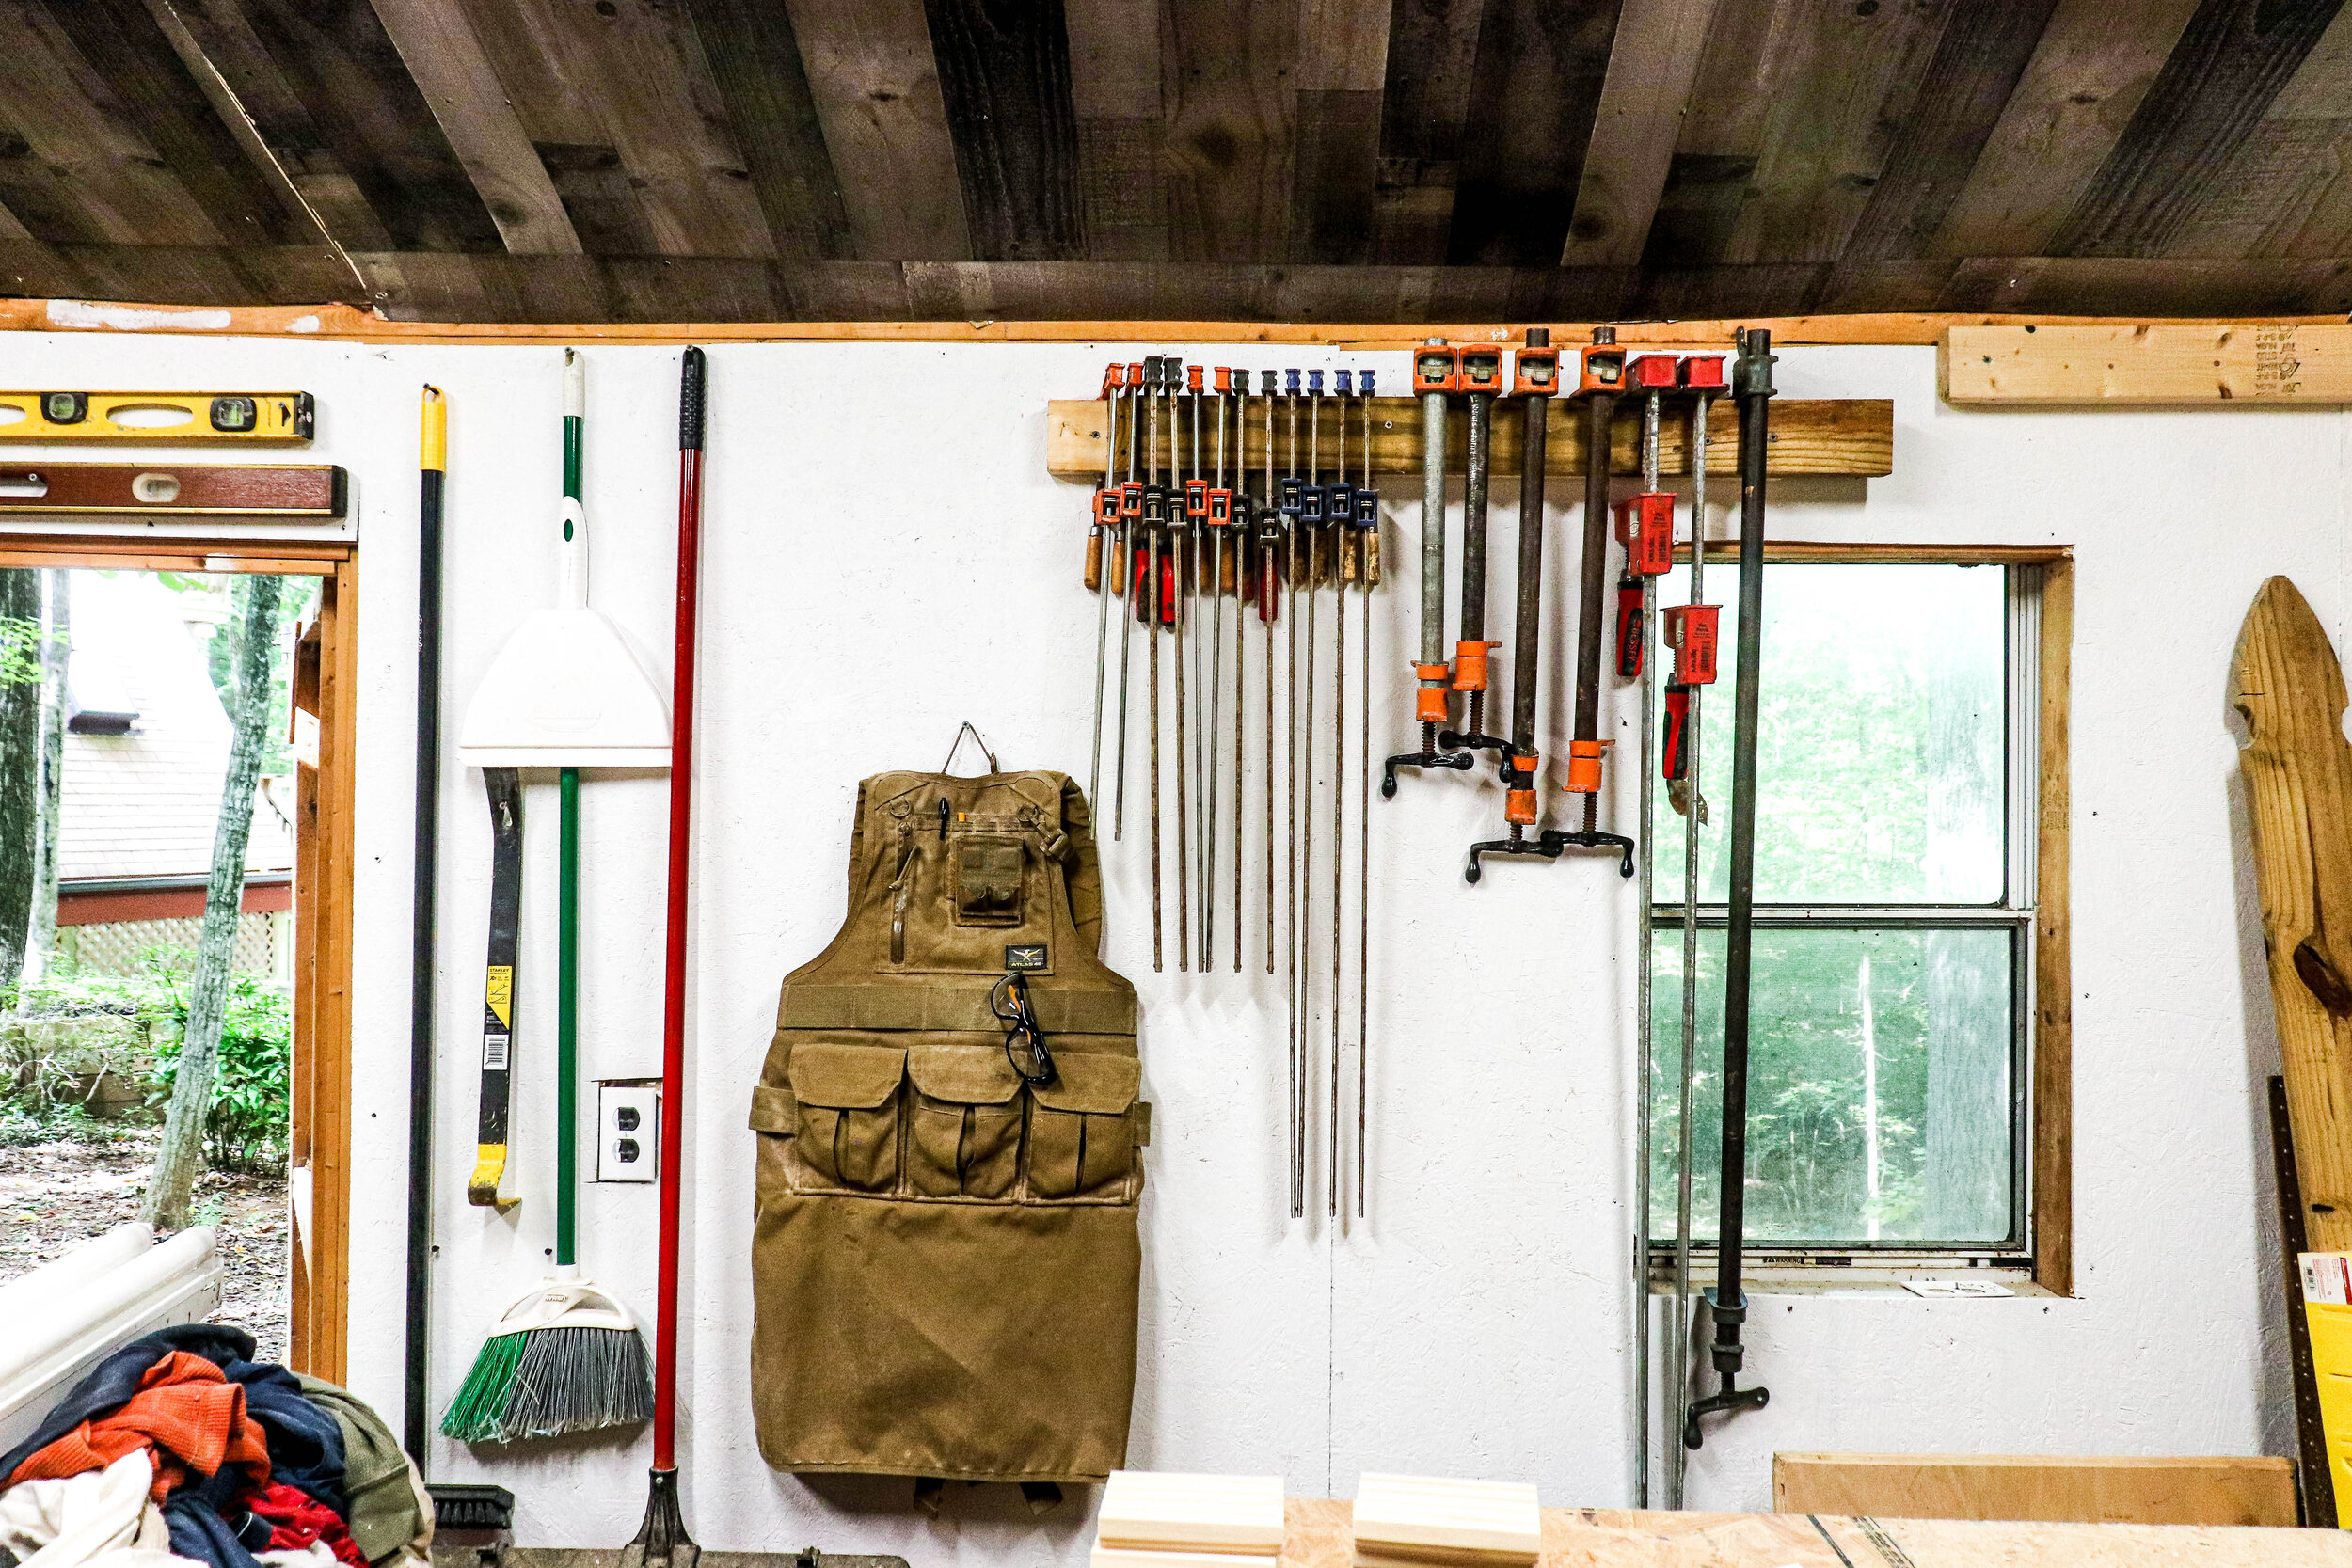
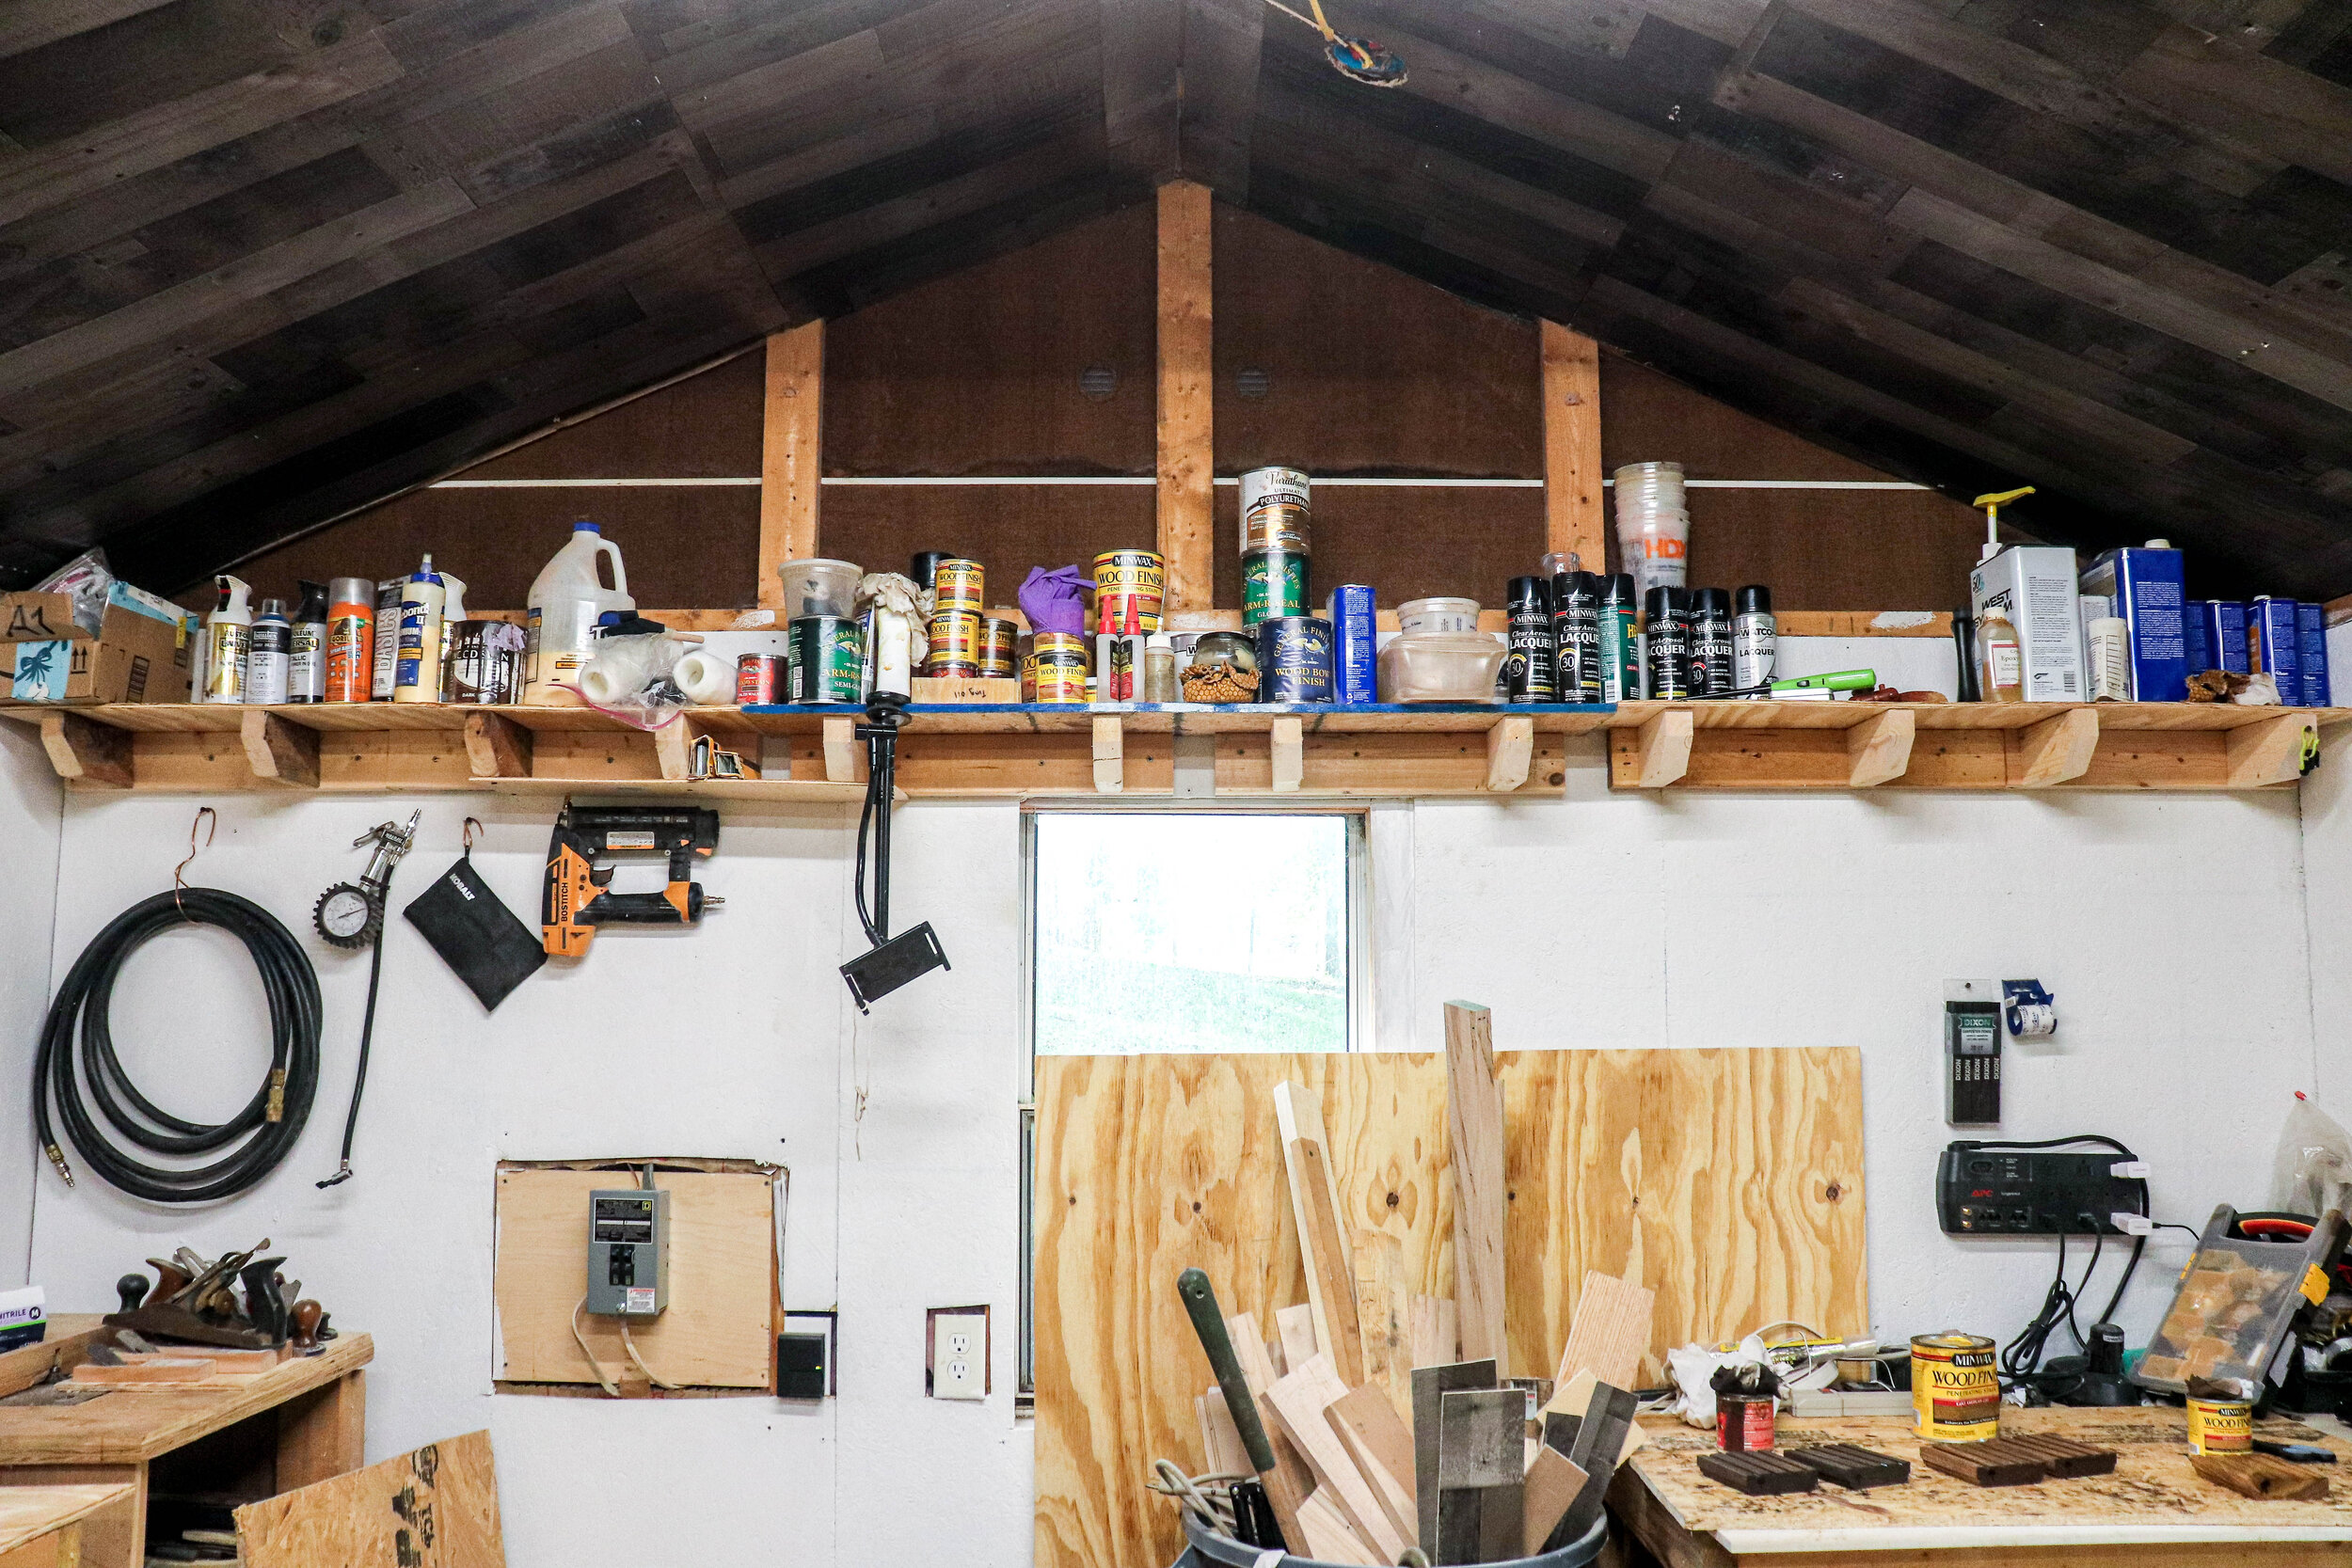
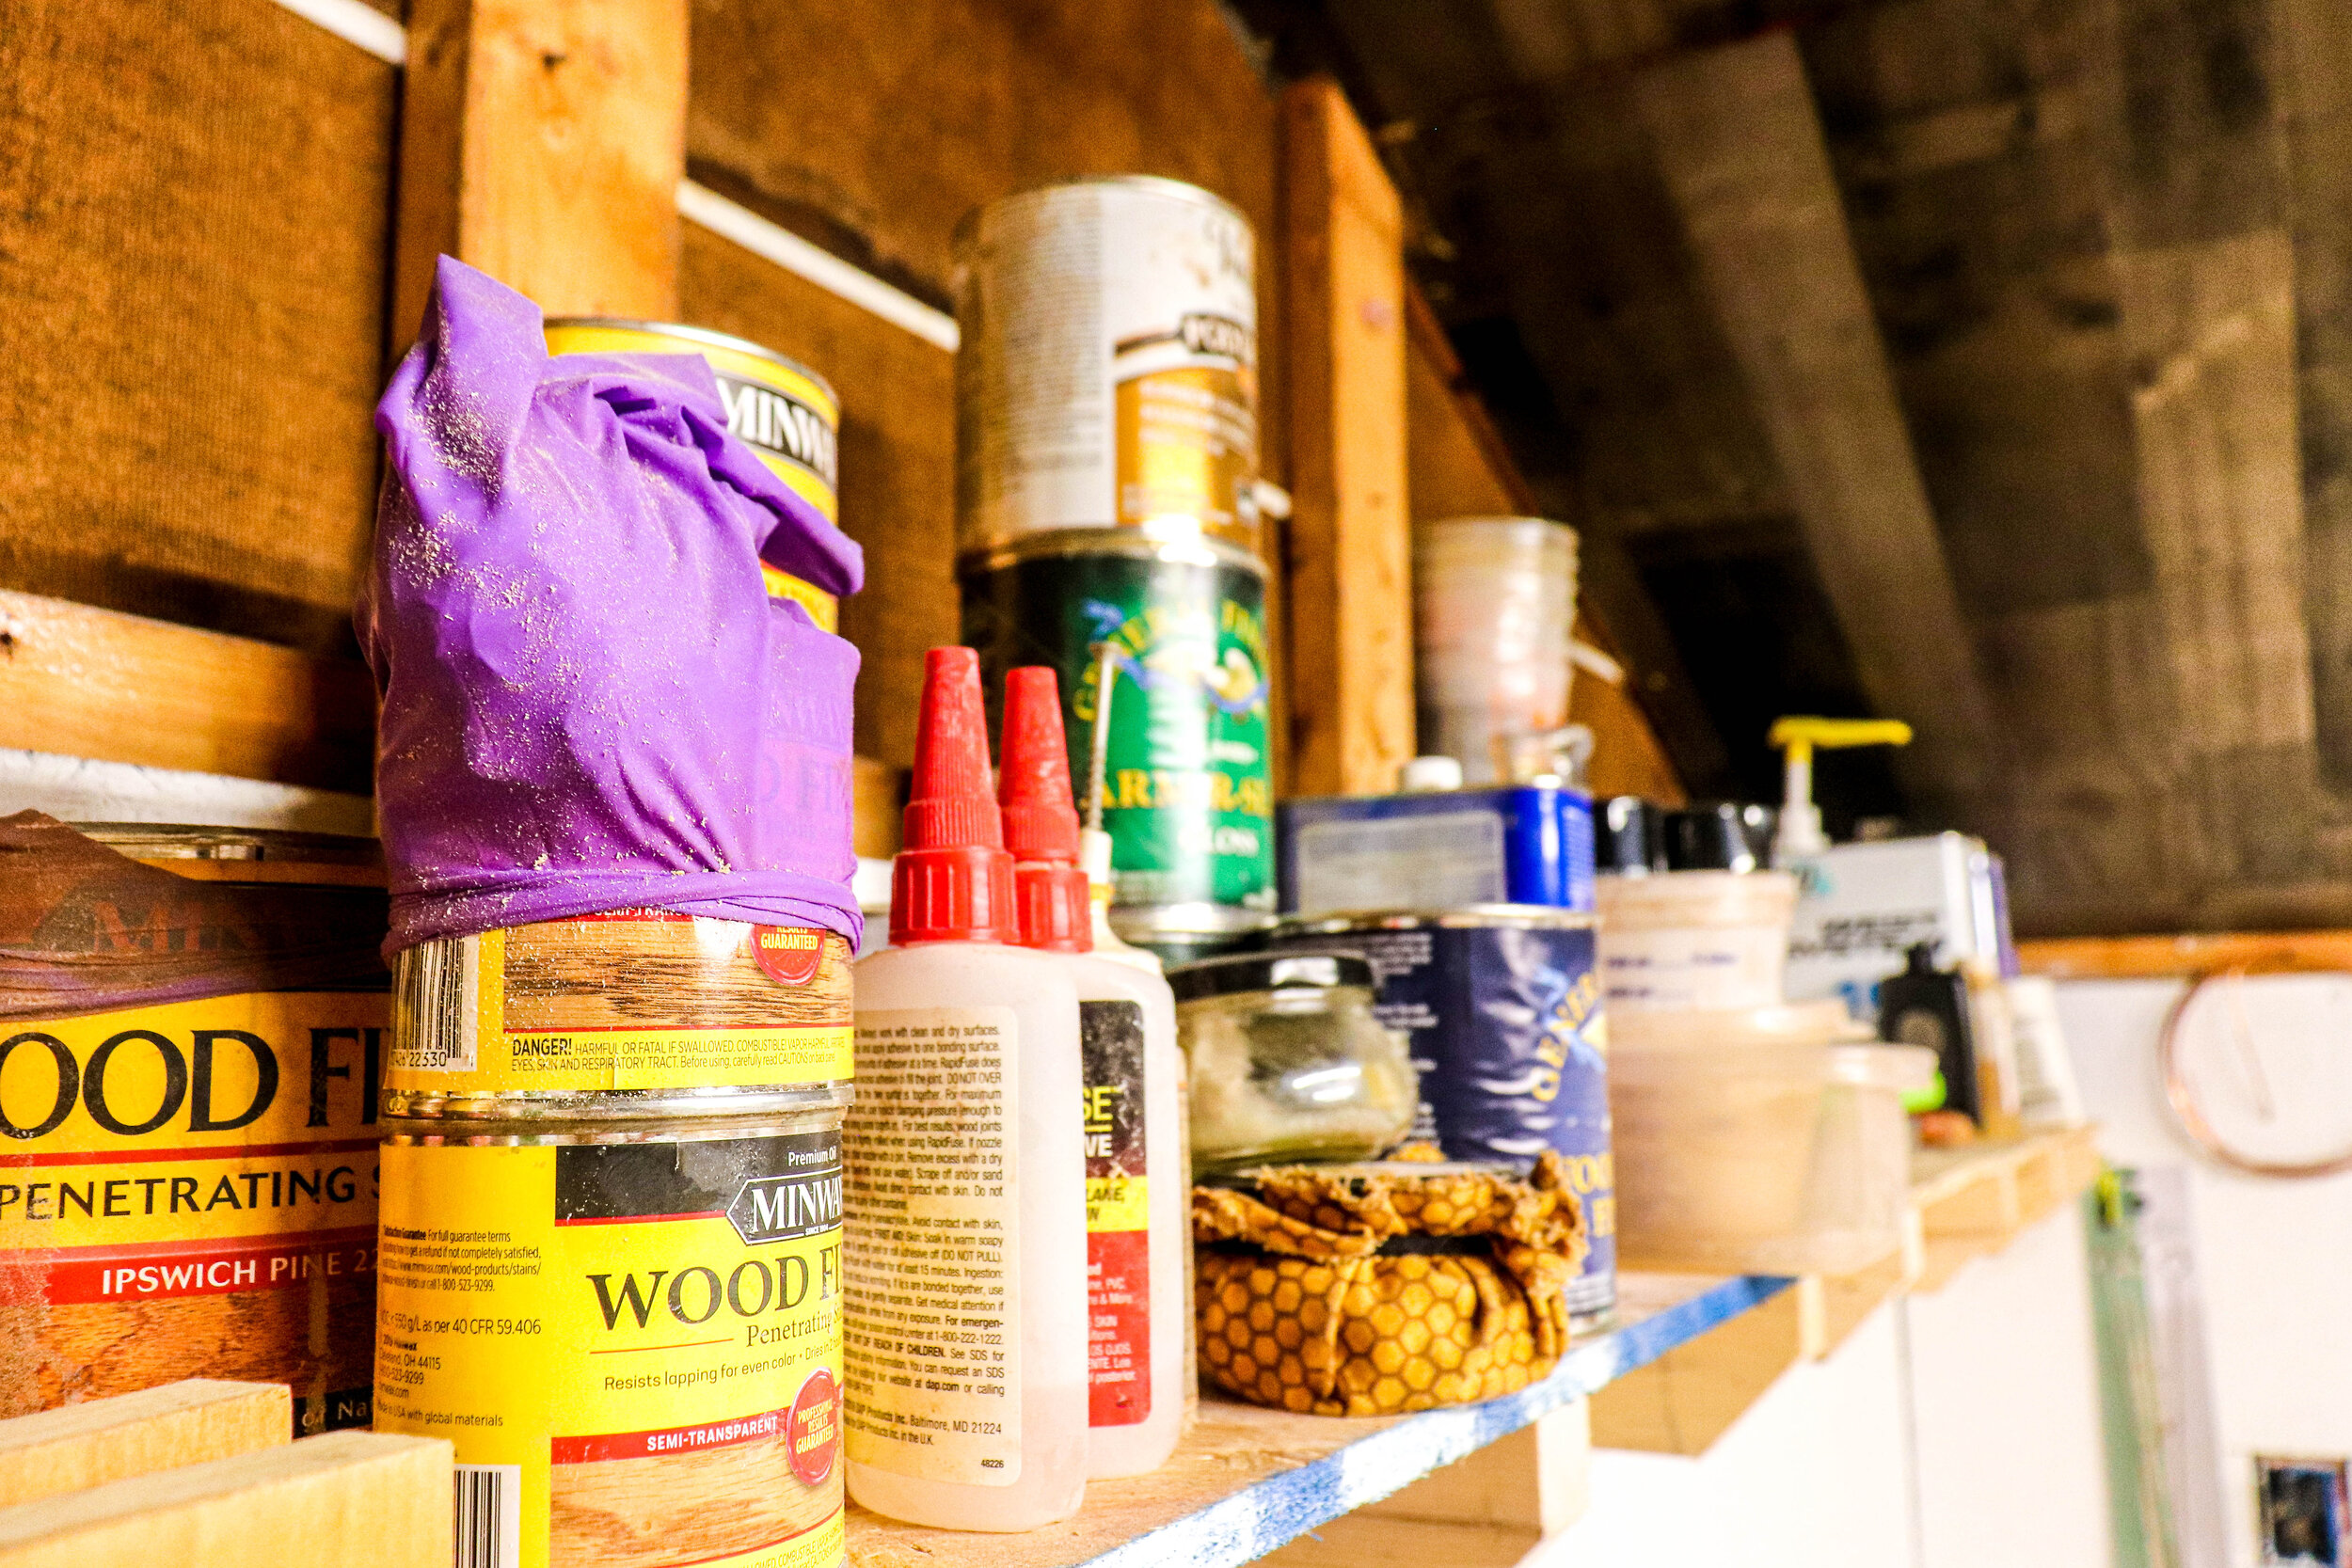
Many of my boxes contained various paints, stains, and finishes. I through up a shelf and placed these up there. I think it will work just fine, as it is very functional.
I still have some work to do. I need to build a charging station for my drills and Dremel. Also I have a box of various sandpapers I would like to organize. Finally, I have a few large bins of random items to go through and organize.
Bonus Phase: Shop upgrades
Some future upgrades which will include ac/heat, dust collection, and some cord wheels for further organization and function. One other item would be some shelving or drawers for all my power tools. Possibly a mechanic cabinet for all my random sockets, wrenches, etc would be ideal. Perhaps I could just build one of these. Adding these upgrades will be huge when it happens and I will keep you all posted for when it does!
I am so happy to have literally “set up shop” and am pumped to start making sawdust again!!!!!
