
How to Change the Blade on a Dewalt DW716 Miter Saw
Is your trusty DeWalt DW716 leaving behind splintered edges or smoking wood? It's not the saw's fault, it's time for a new blade! Running a dull blade is not only frustrating but also dangerous, as it makes the saw work harder and increases the risk of kickback.
Fortunately, changing the blade on the DW716 is a straightforward process. Grab your wrench and safety gear, because below are instructions walking you through how to safely replace your miter saw blade in just a few simple steps.
Materials Required
1/2 wrench
Large flathead screwdriver
a 12” saw blade
gloves (optional but useful when handling the blades)
Safety First
Unplug your saw
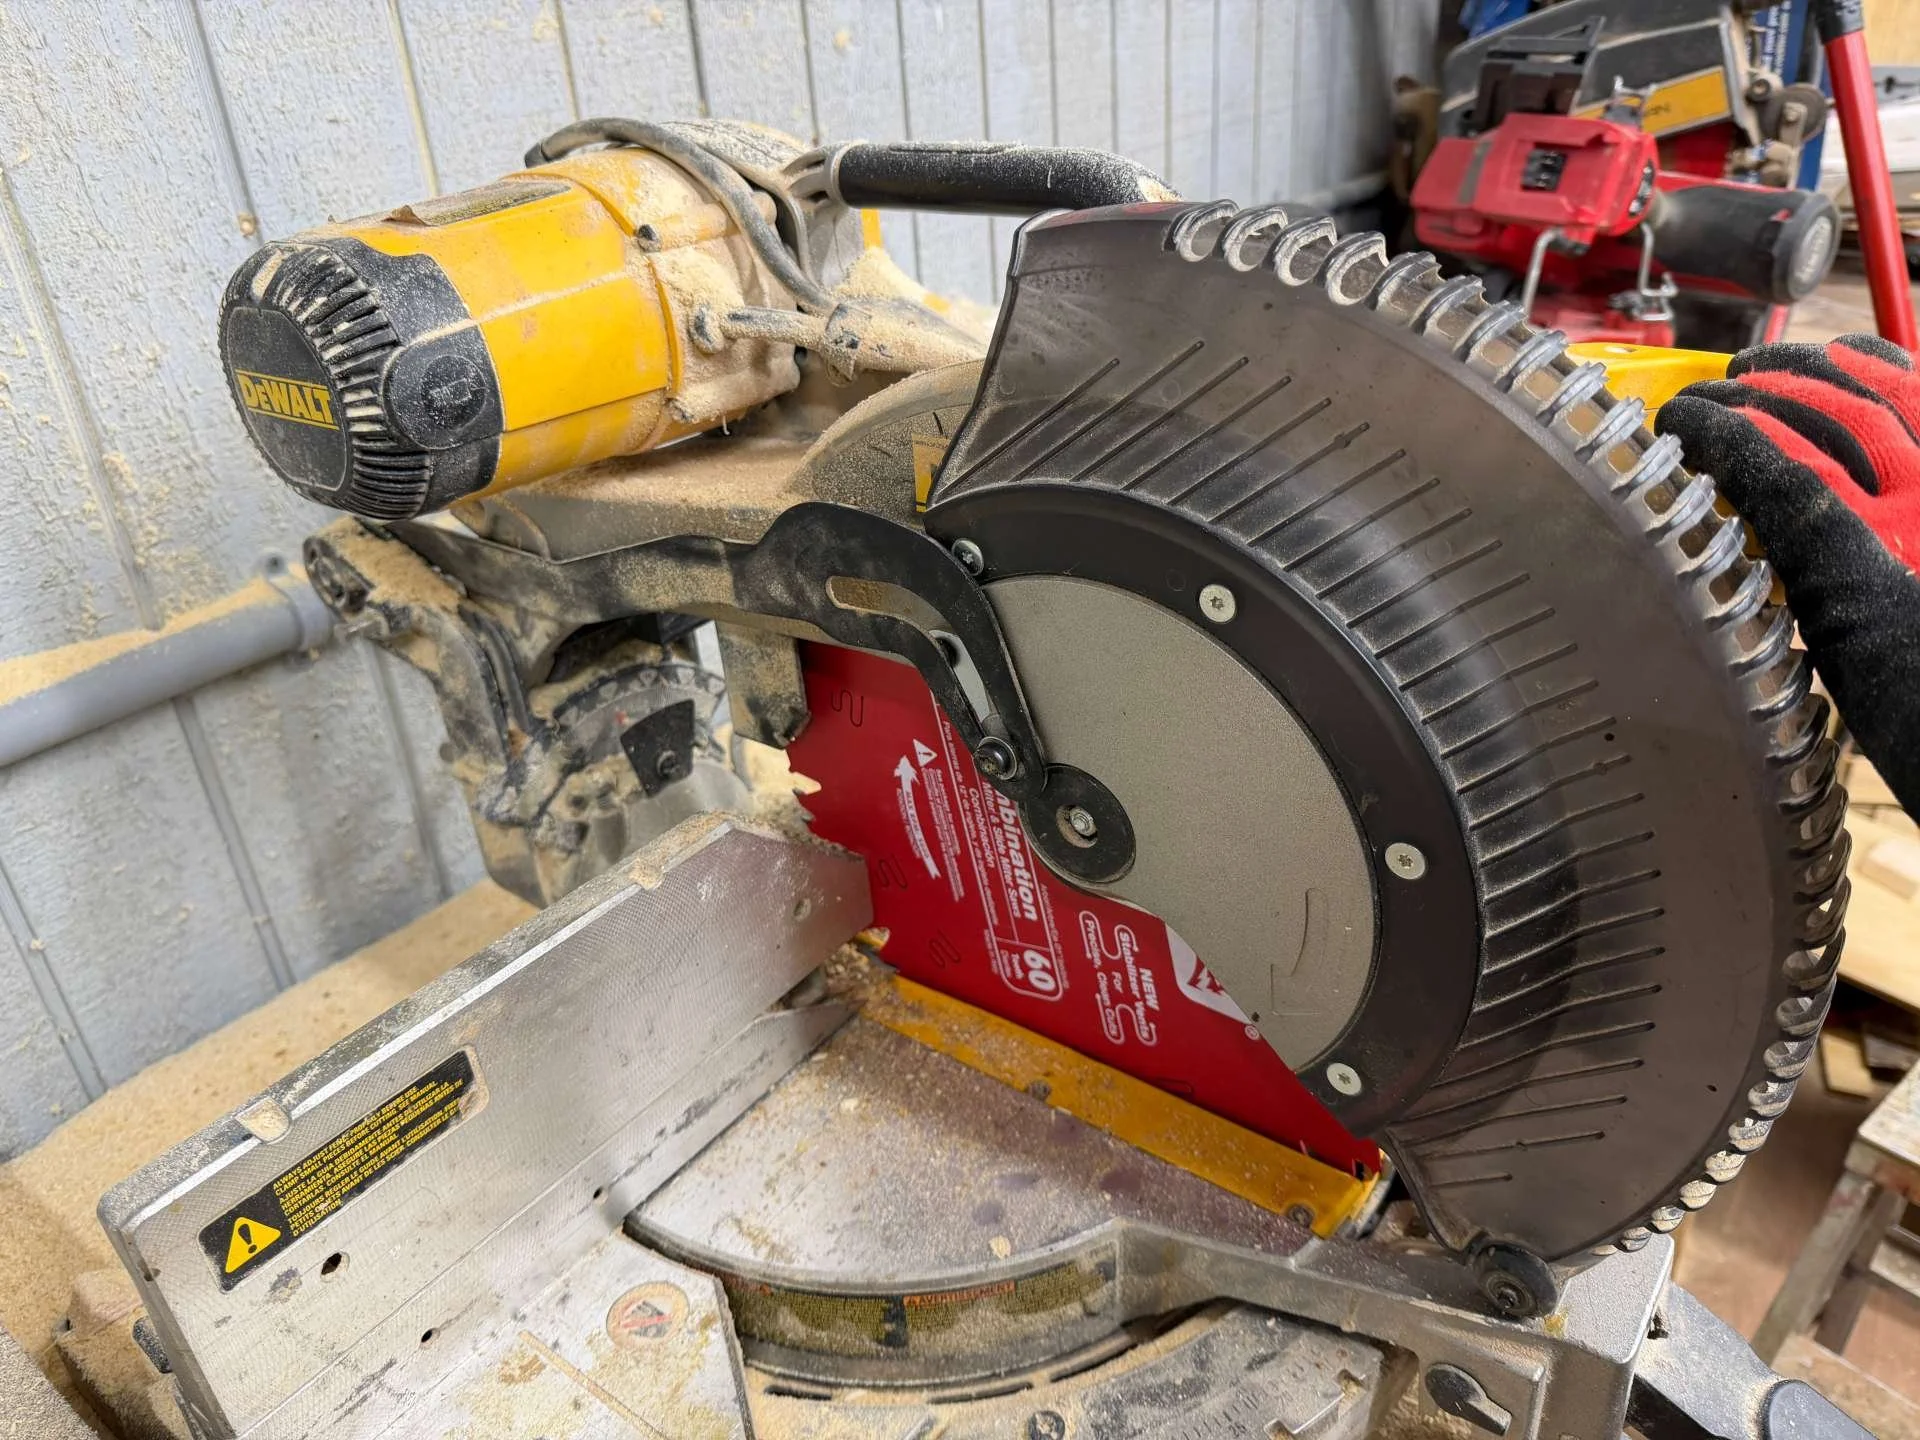
Step 1: Remove the shroud
aka the “lower guard assembly” according to ereplacementparts.com.
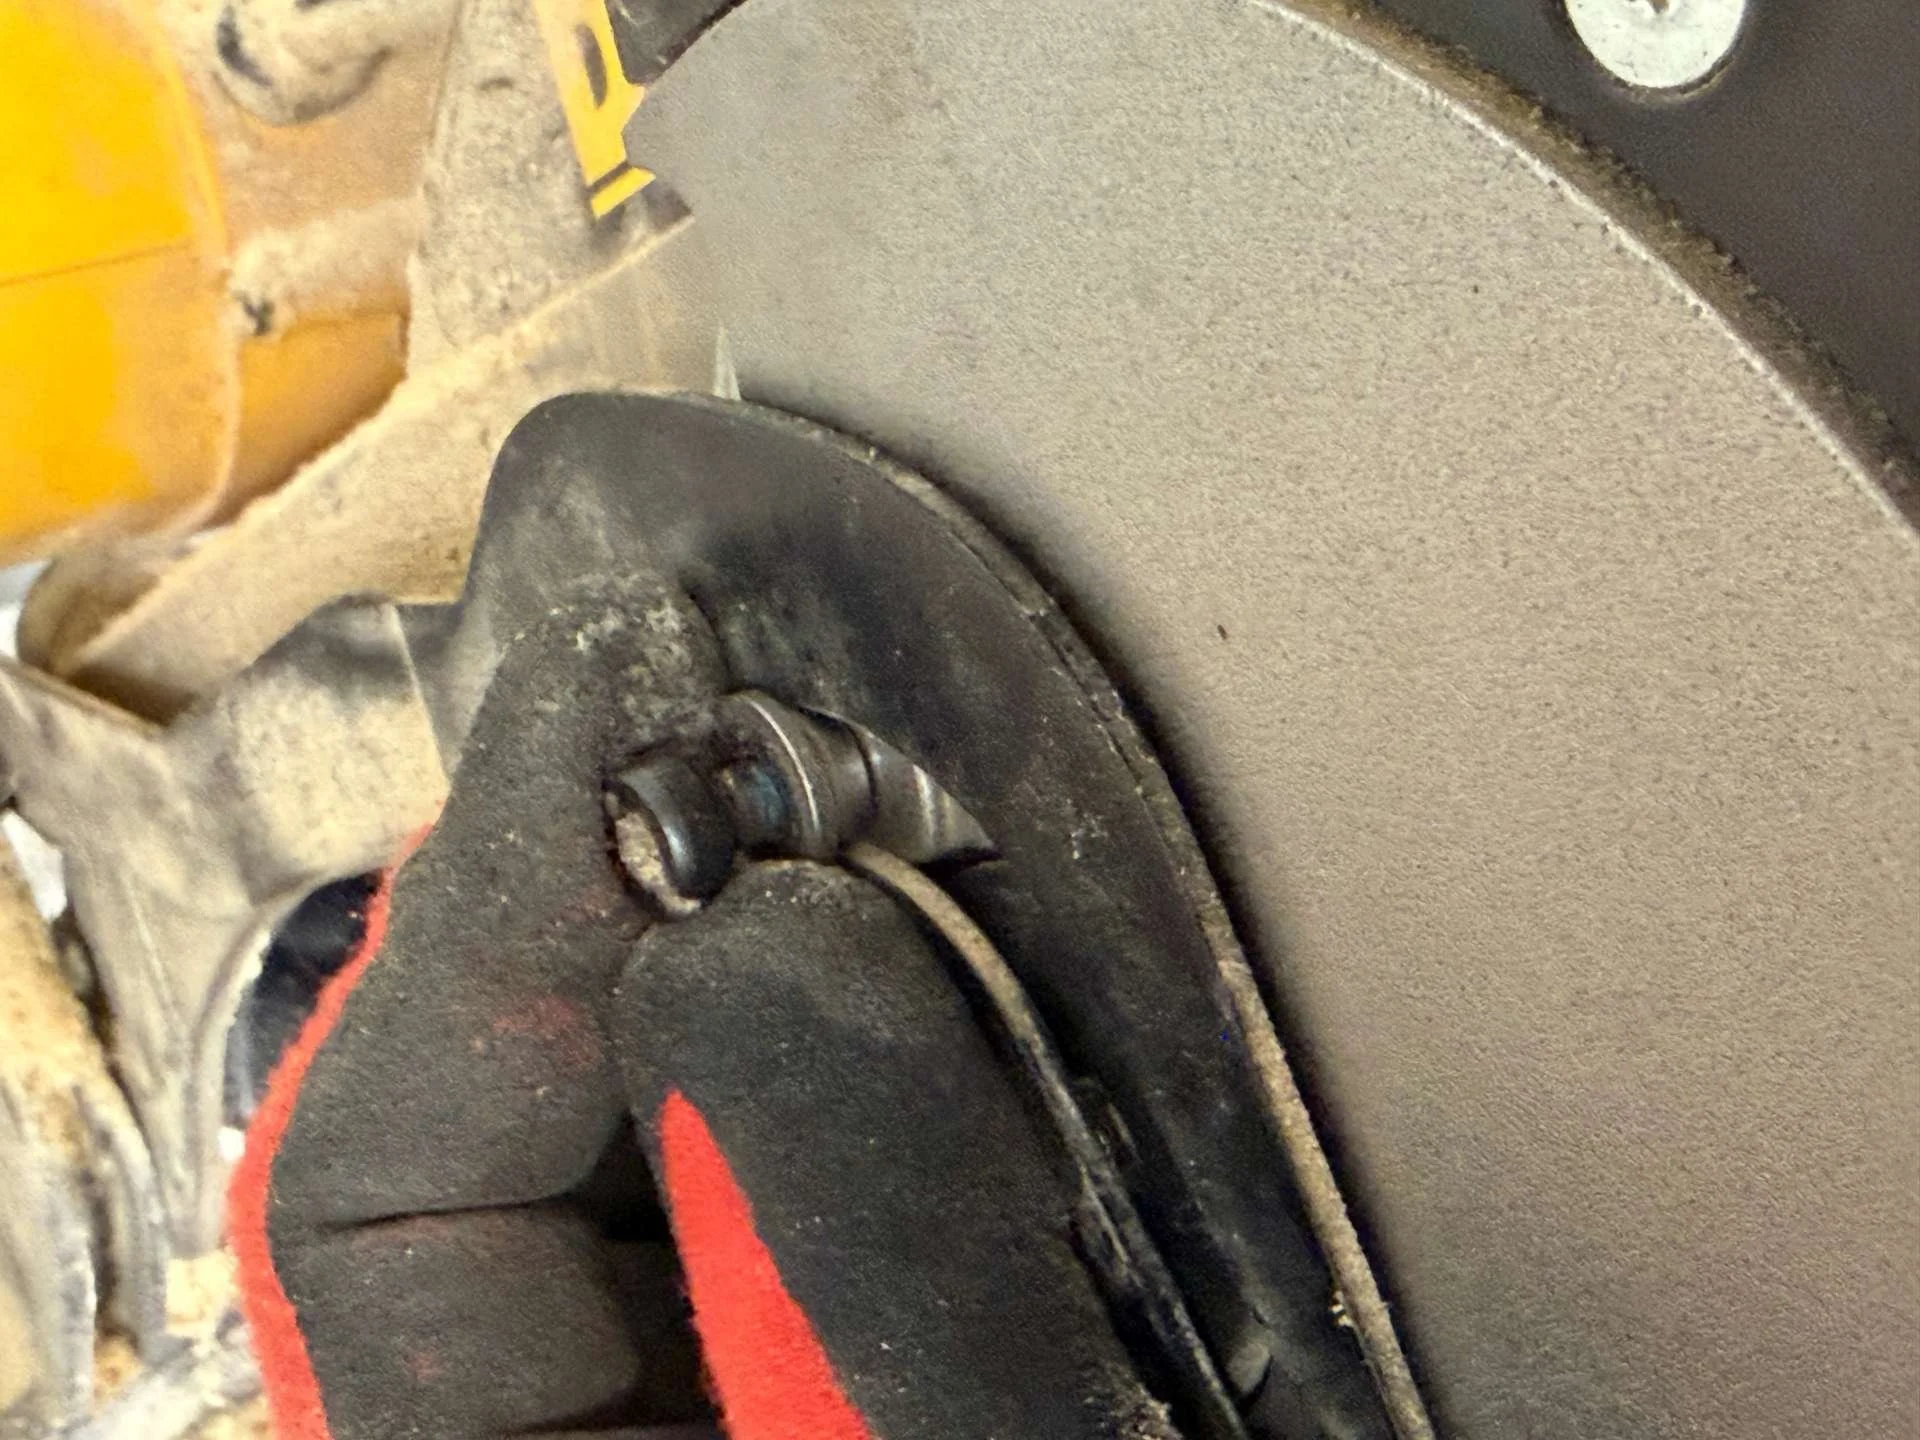
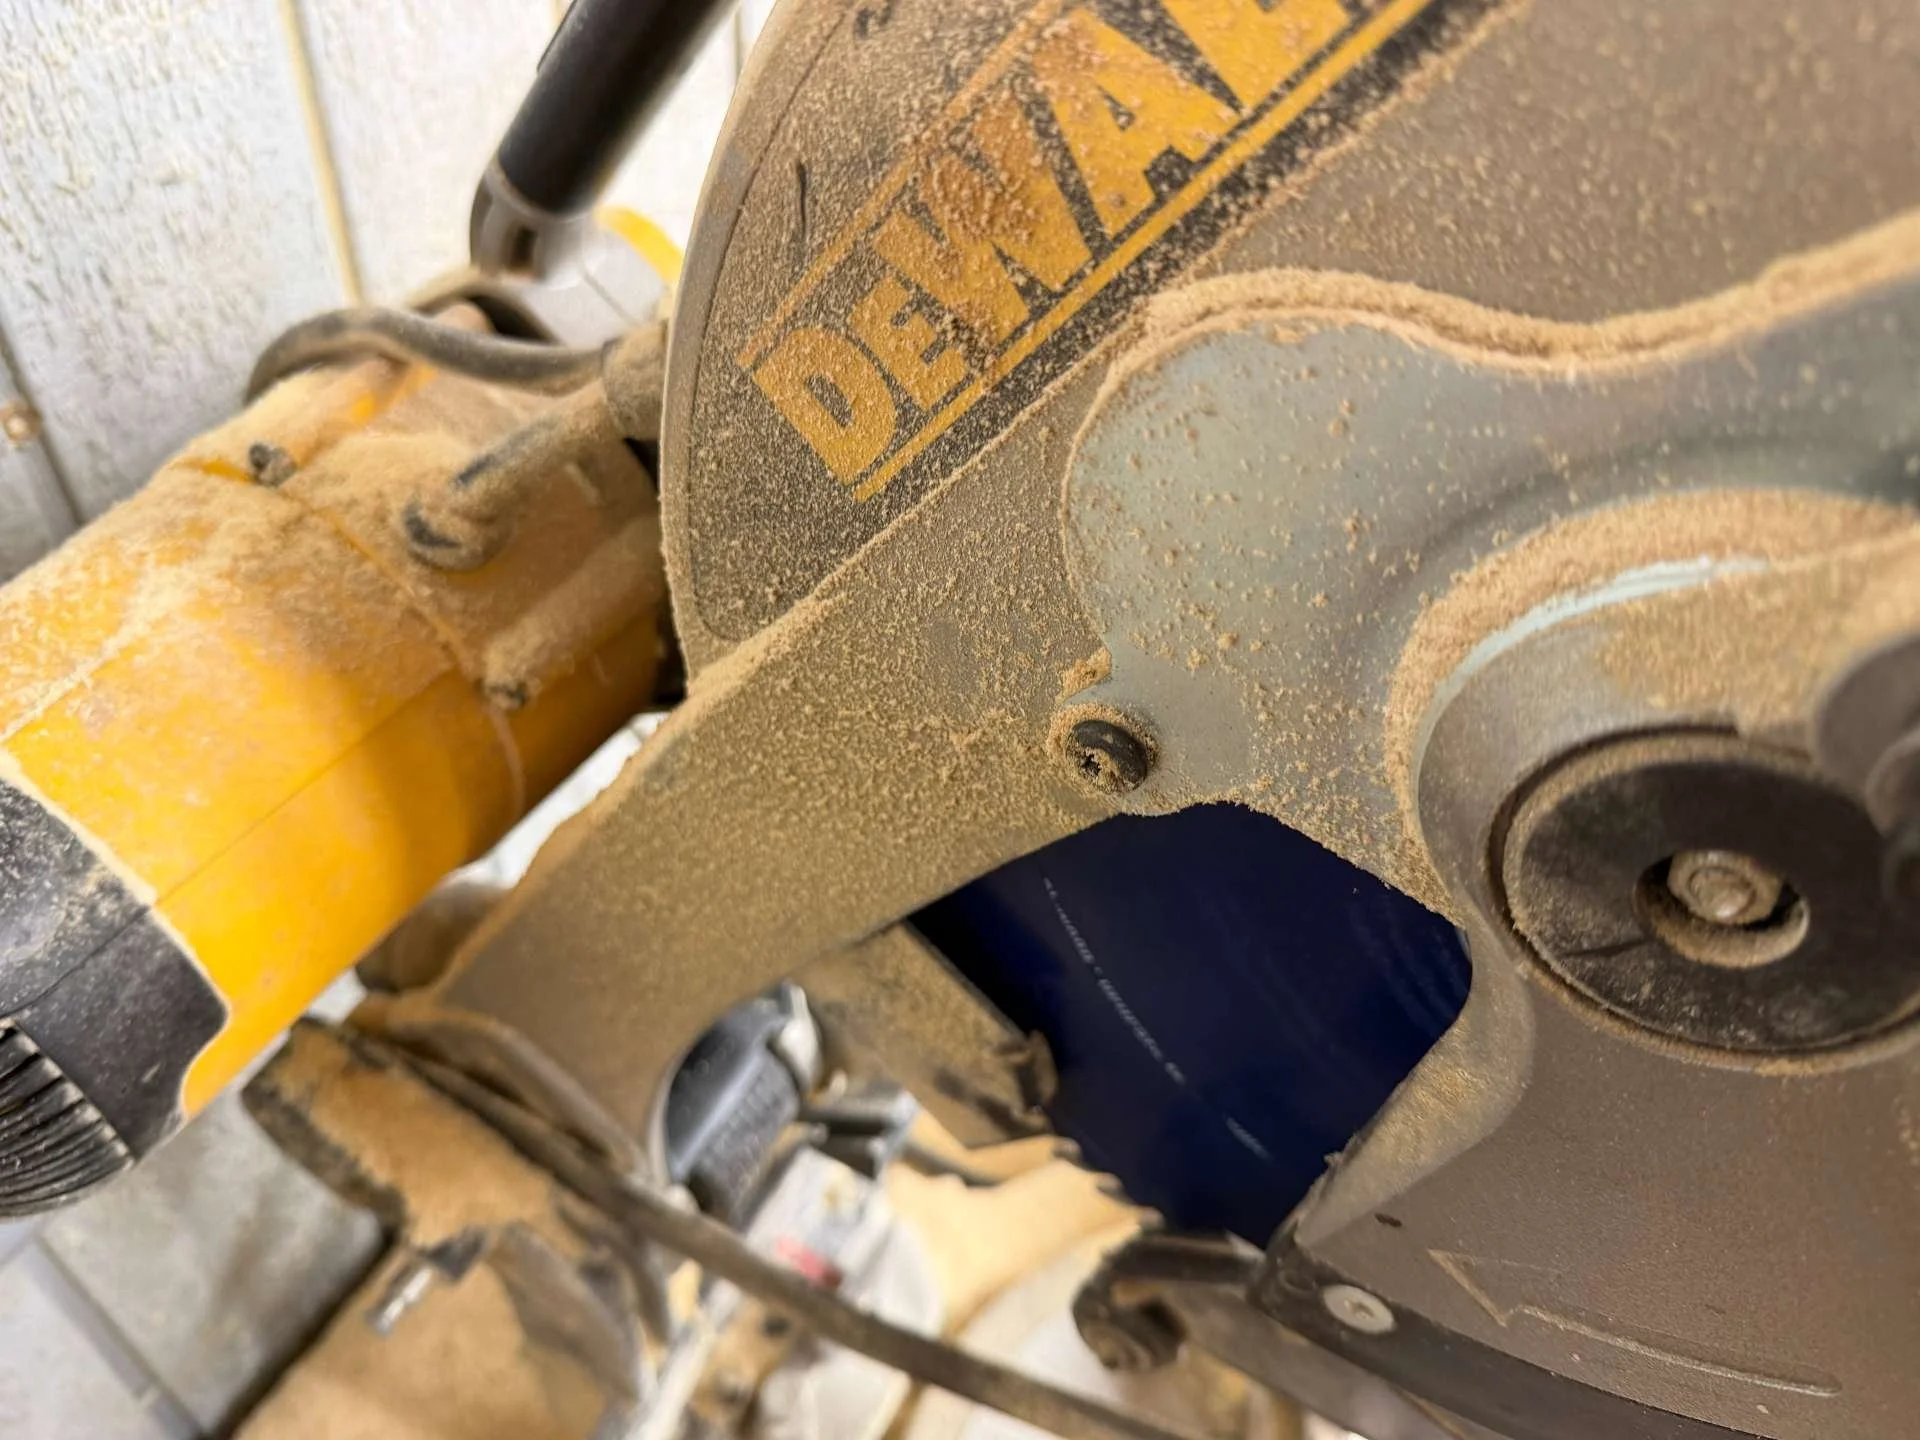
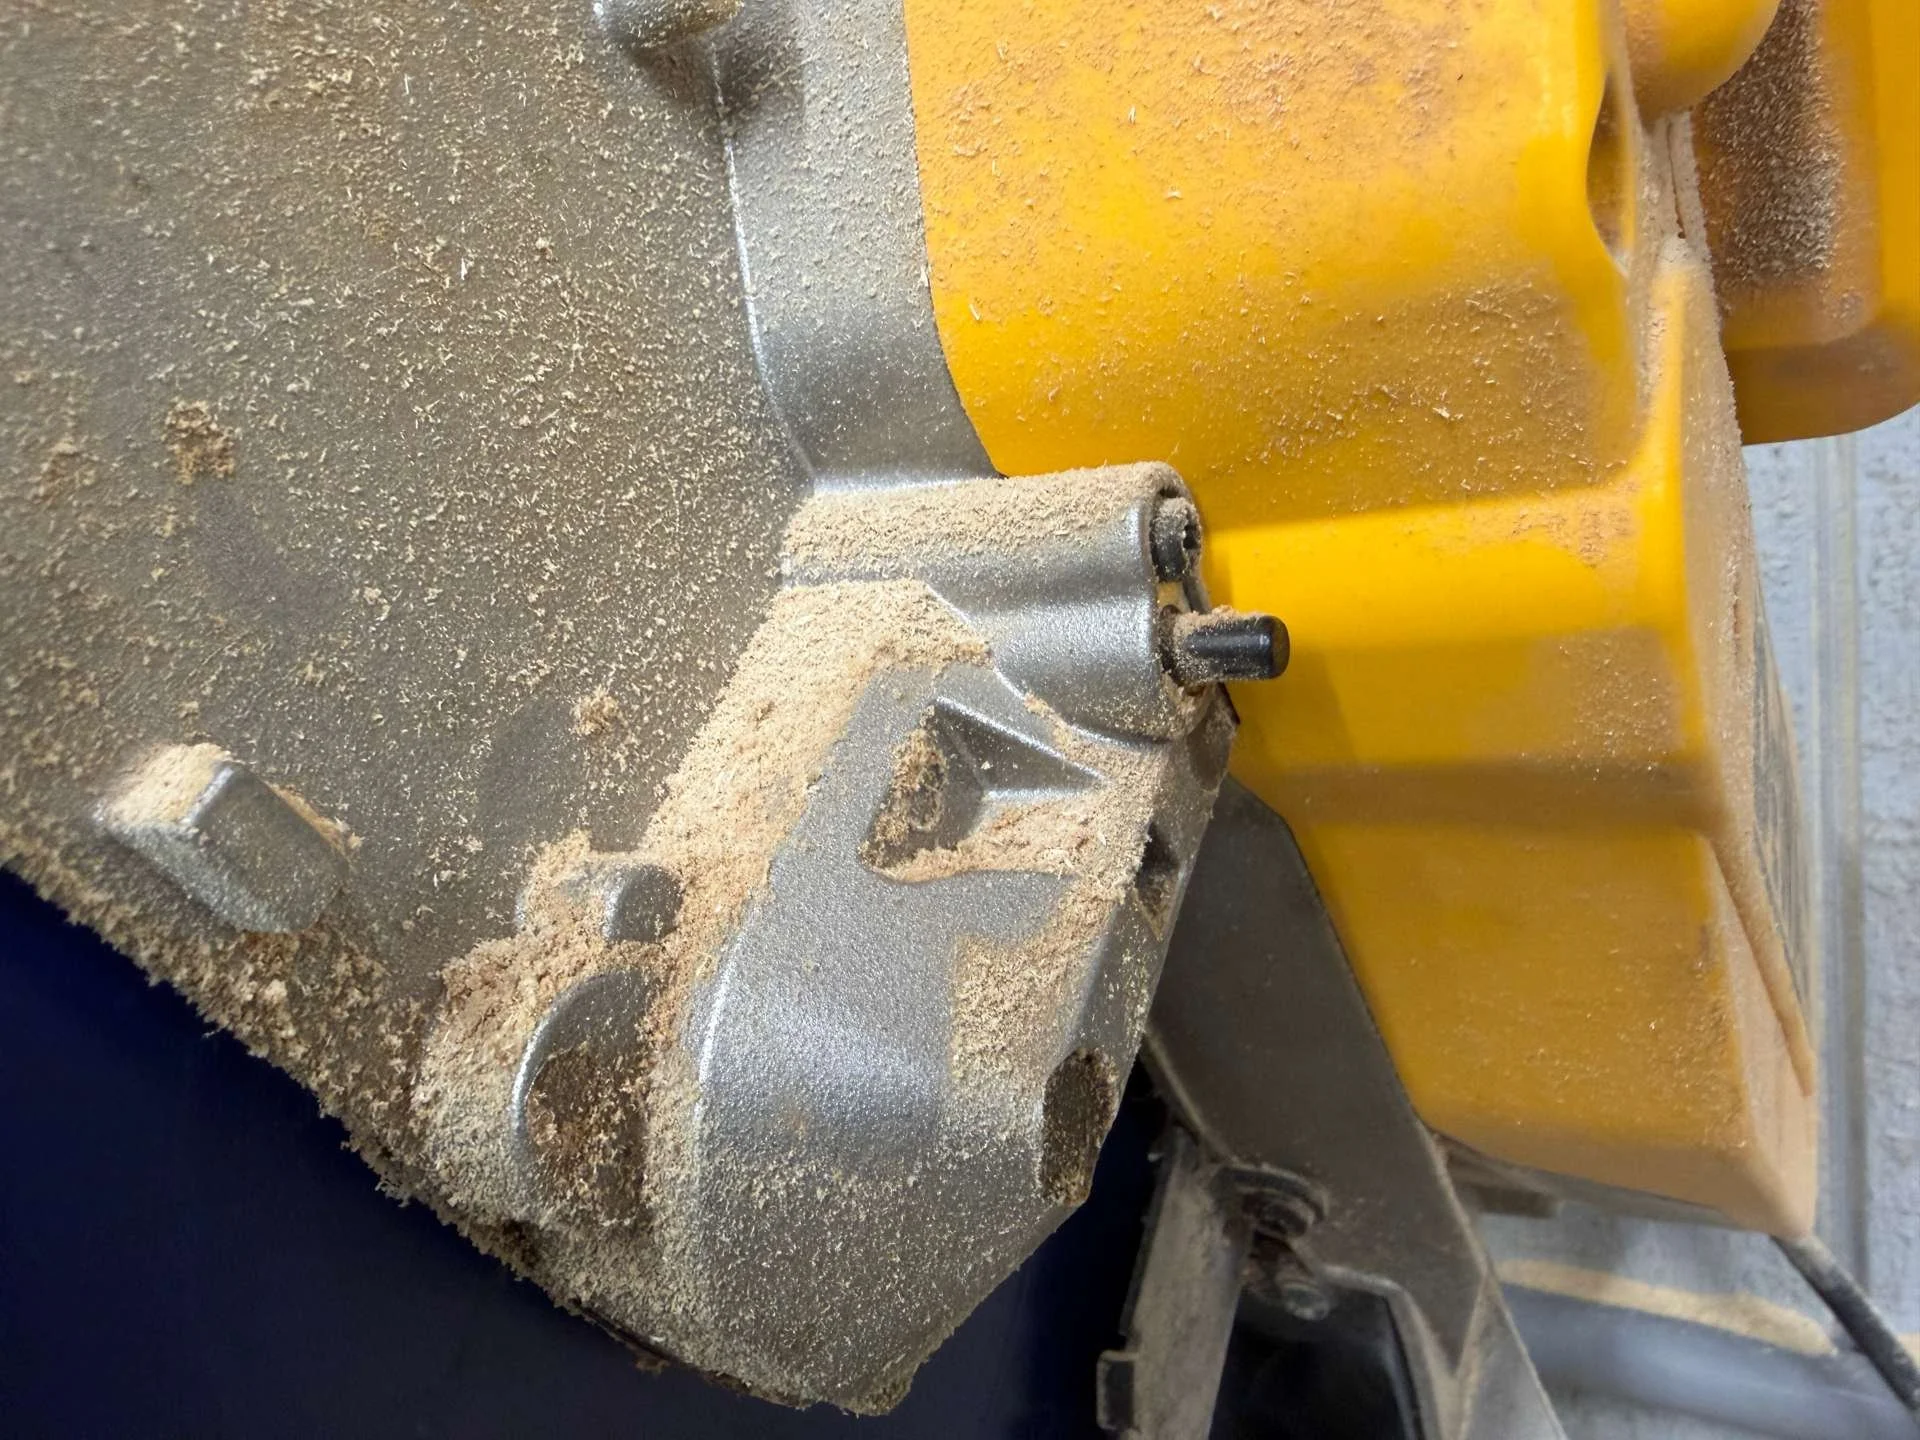
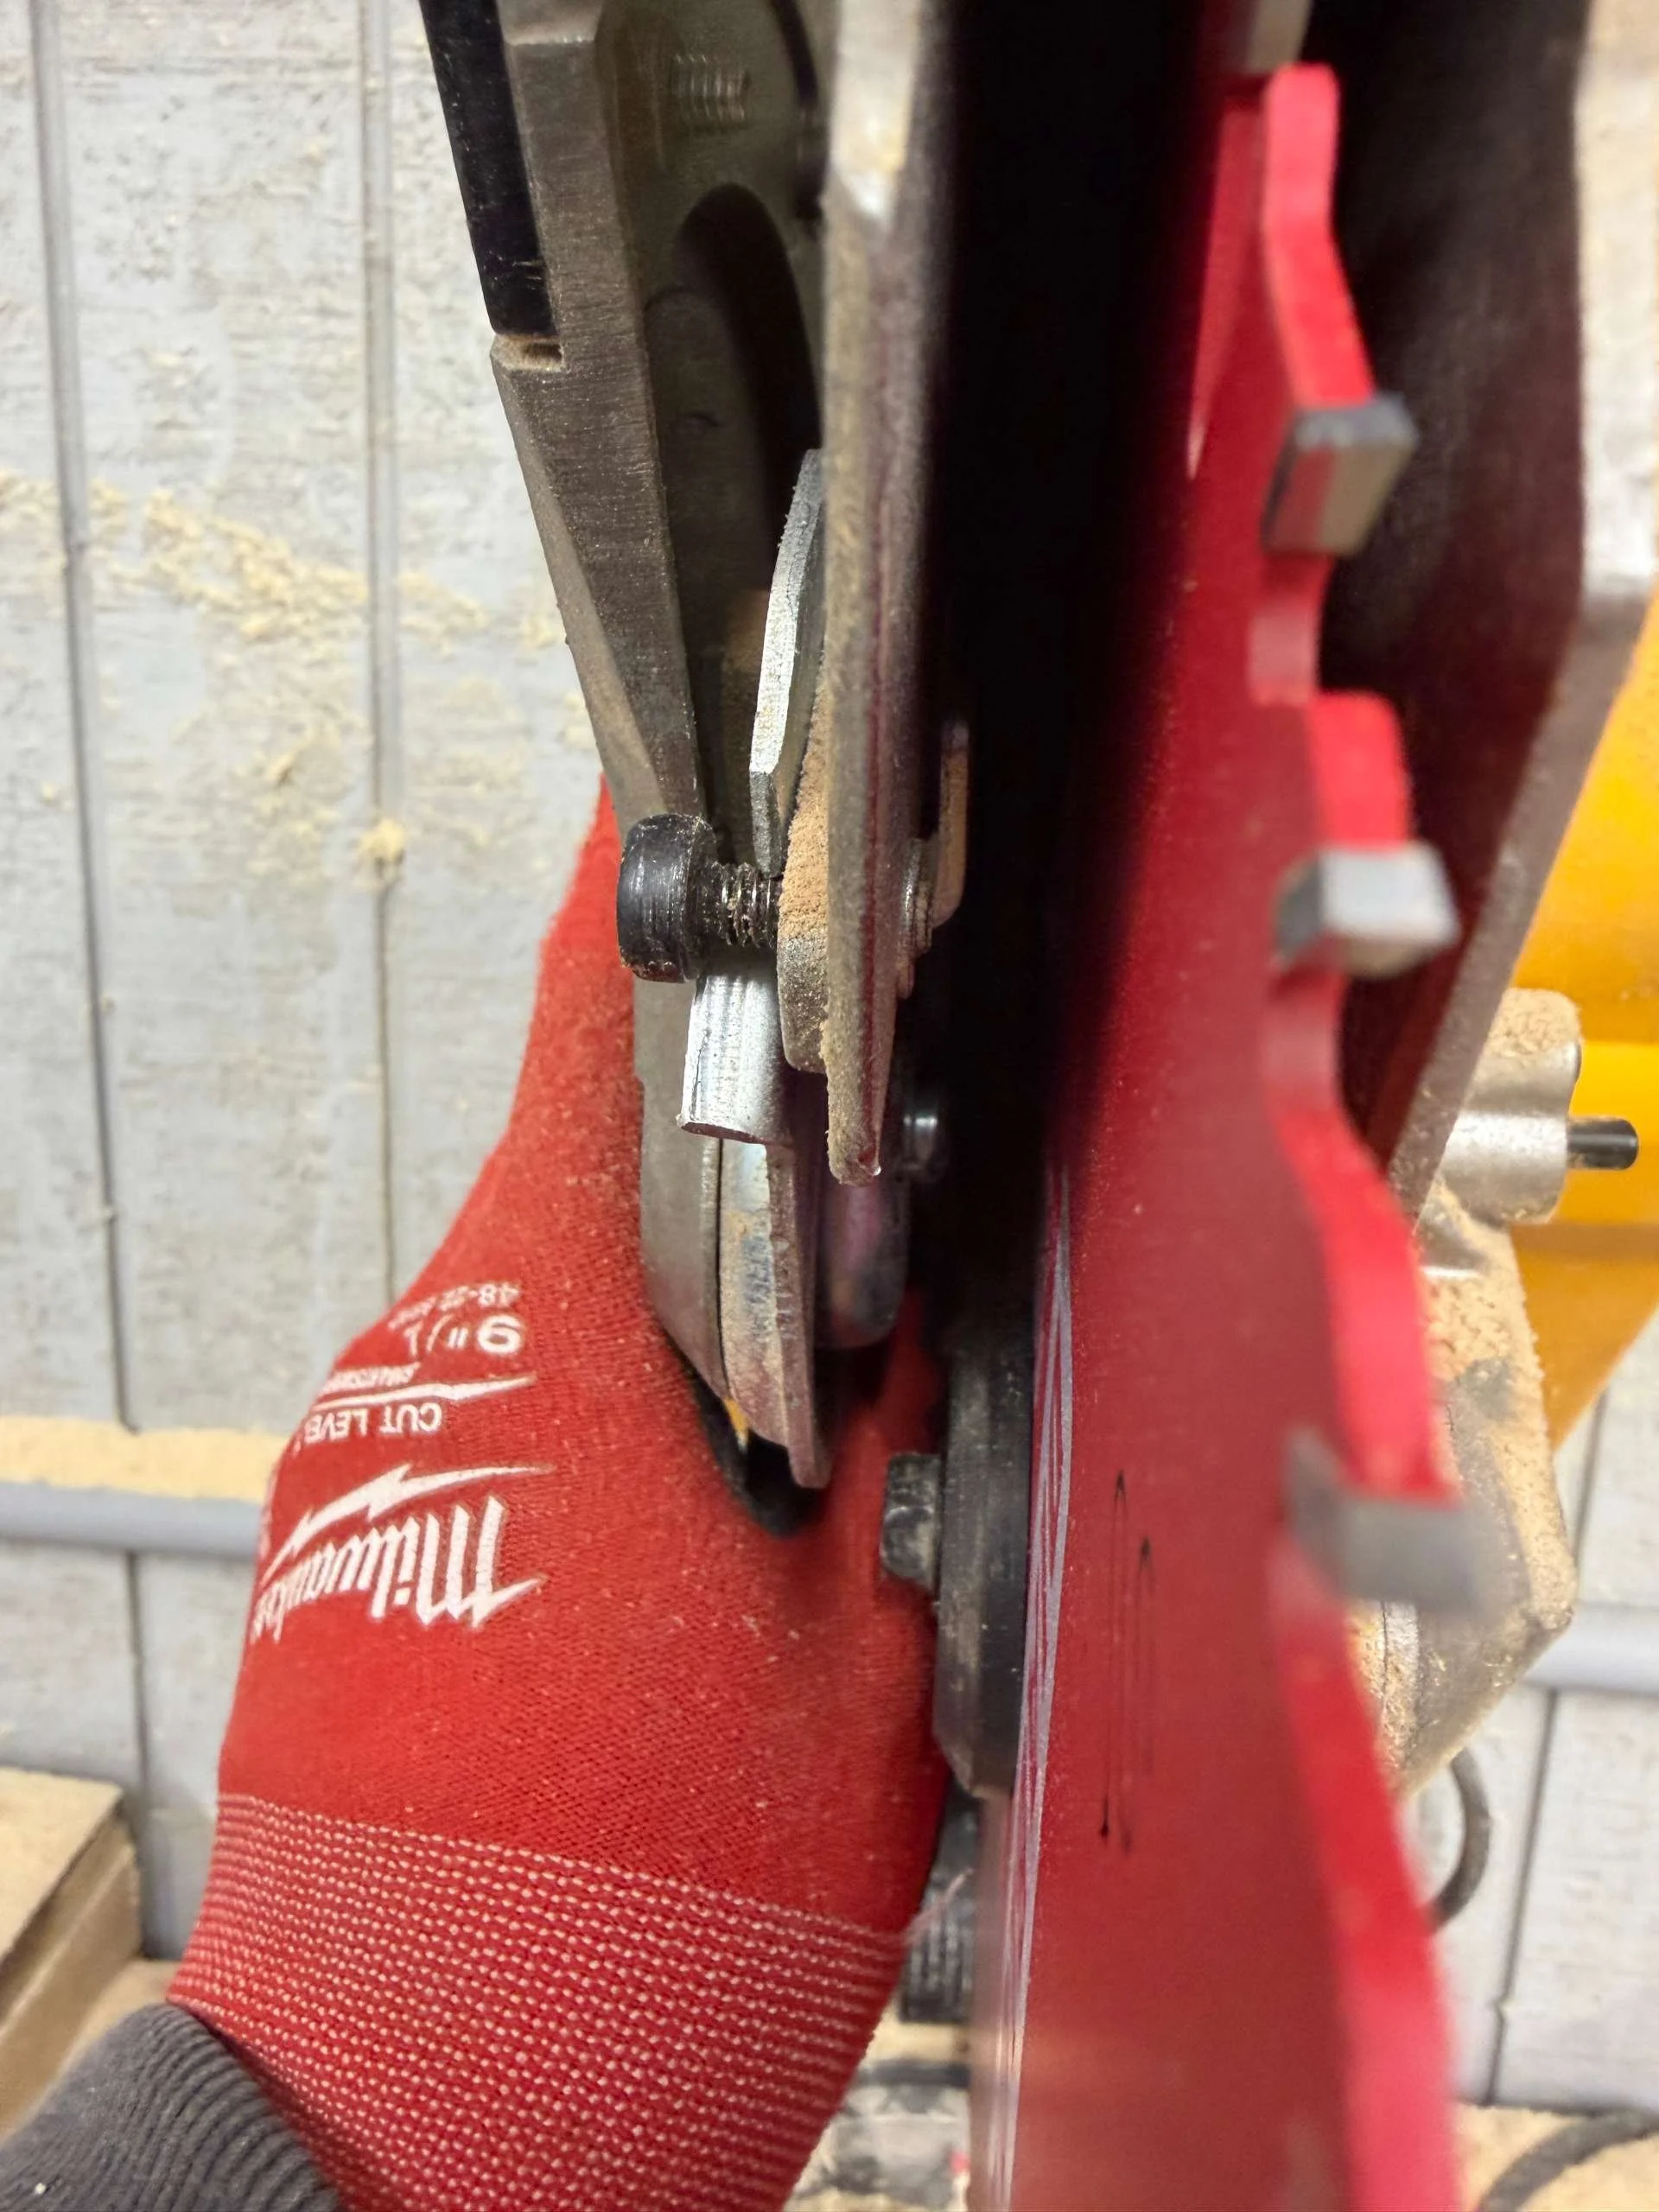
unscrew the shroud pivot screw, taking care to not lose the bushing.
unscrew the front pivot screw.
unscrew the rear pivot screw.
Remove the shroud

Step 2: Remove the Blade
Now is a good time to put your gloves as you will be handling the blade.
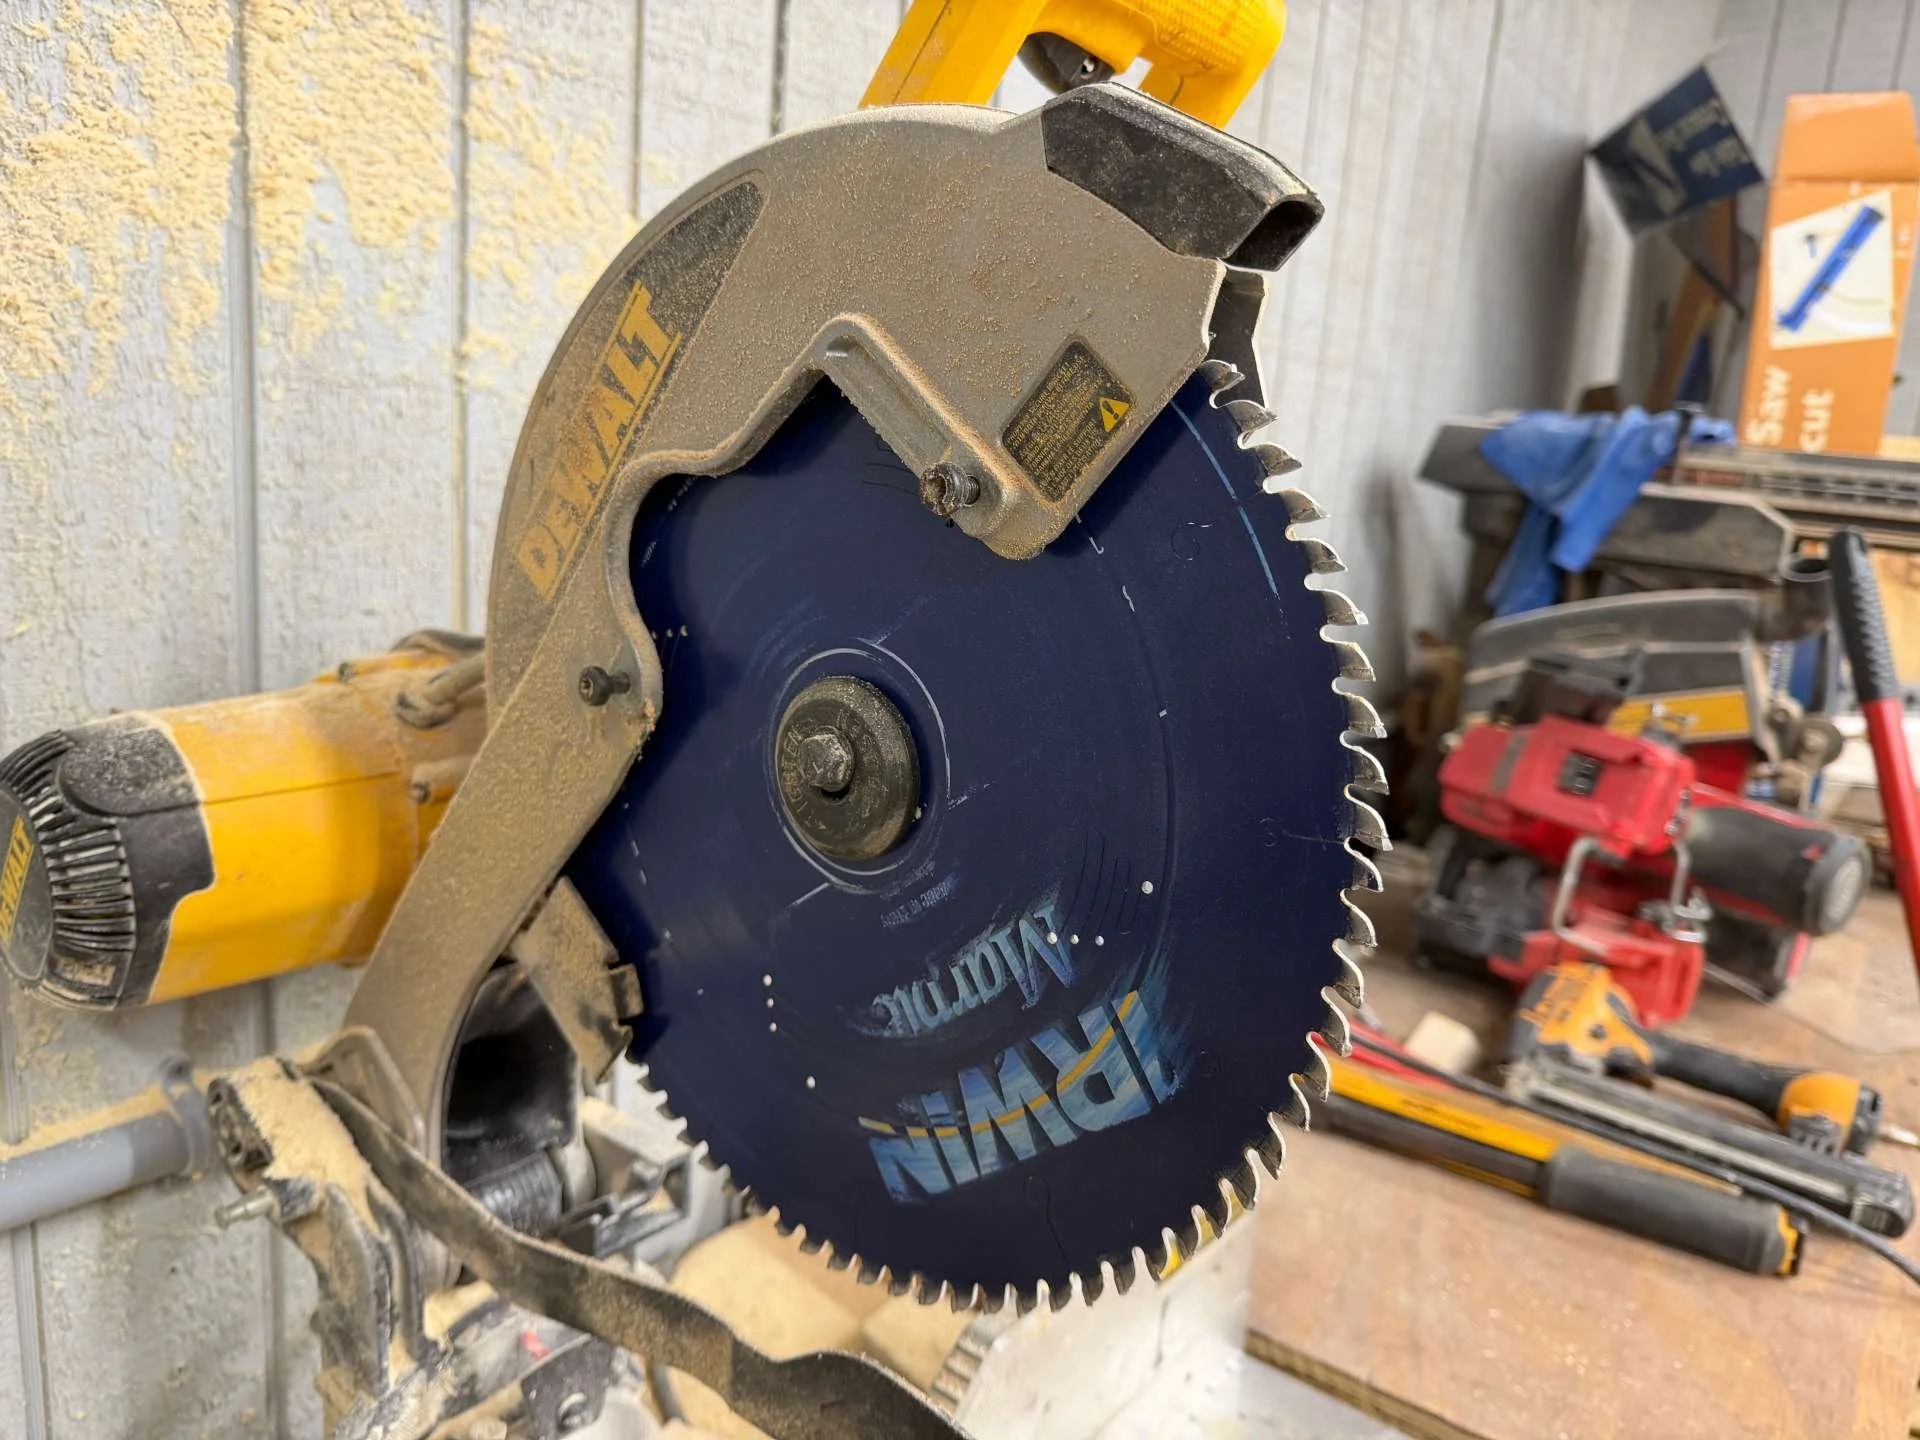
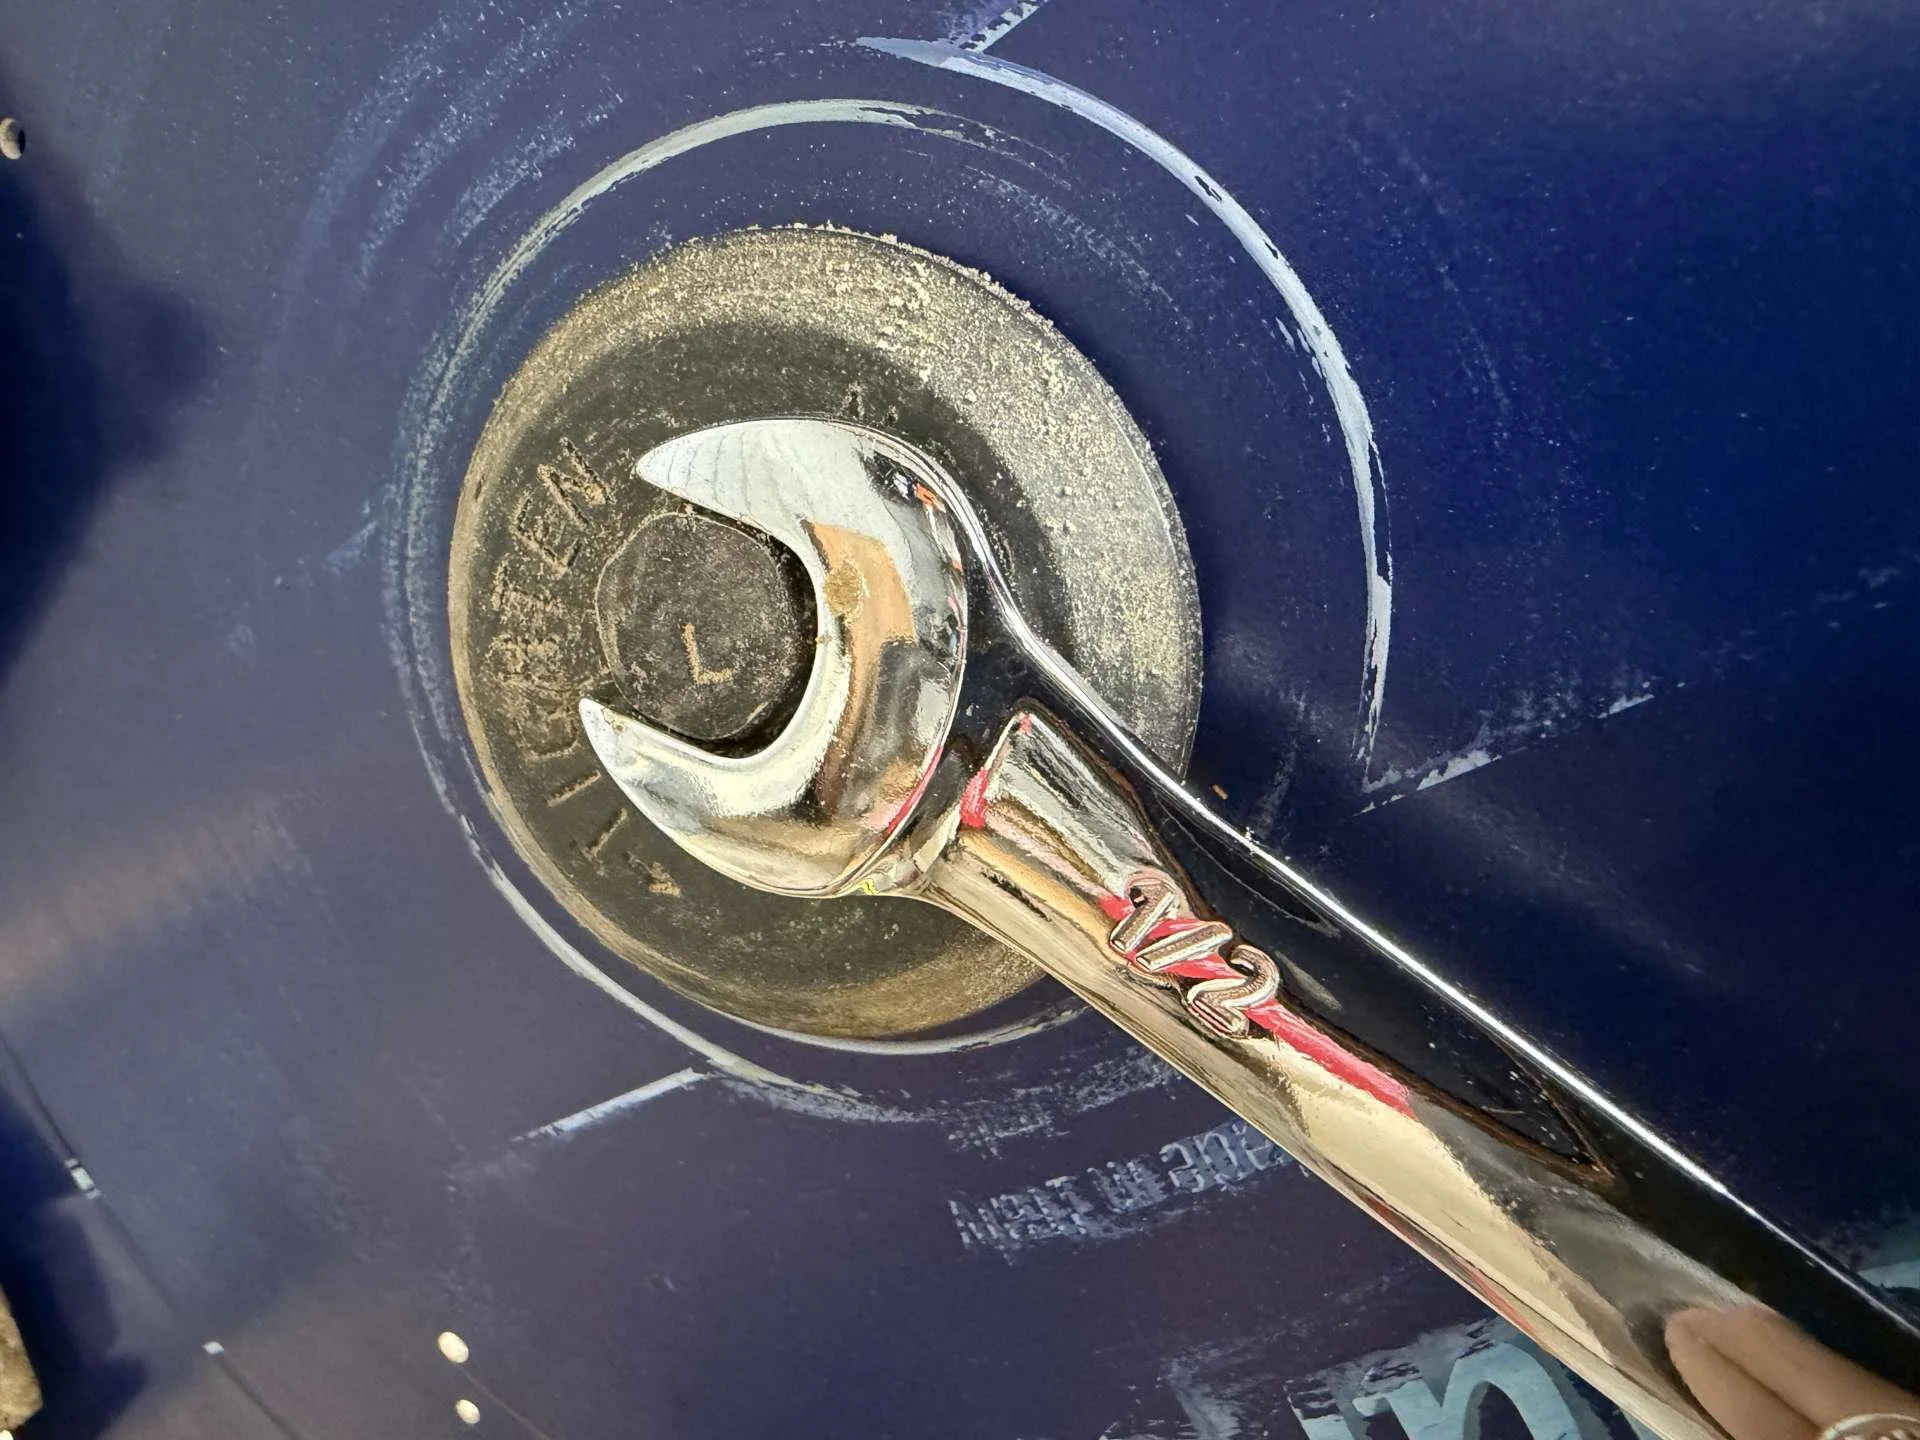
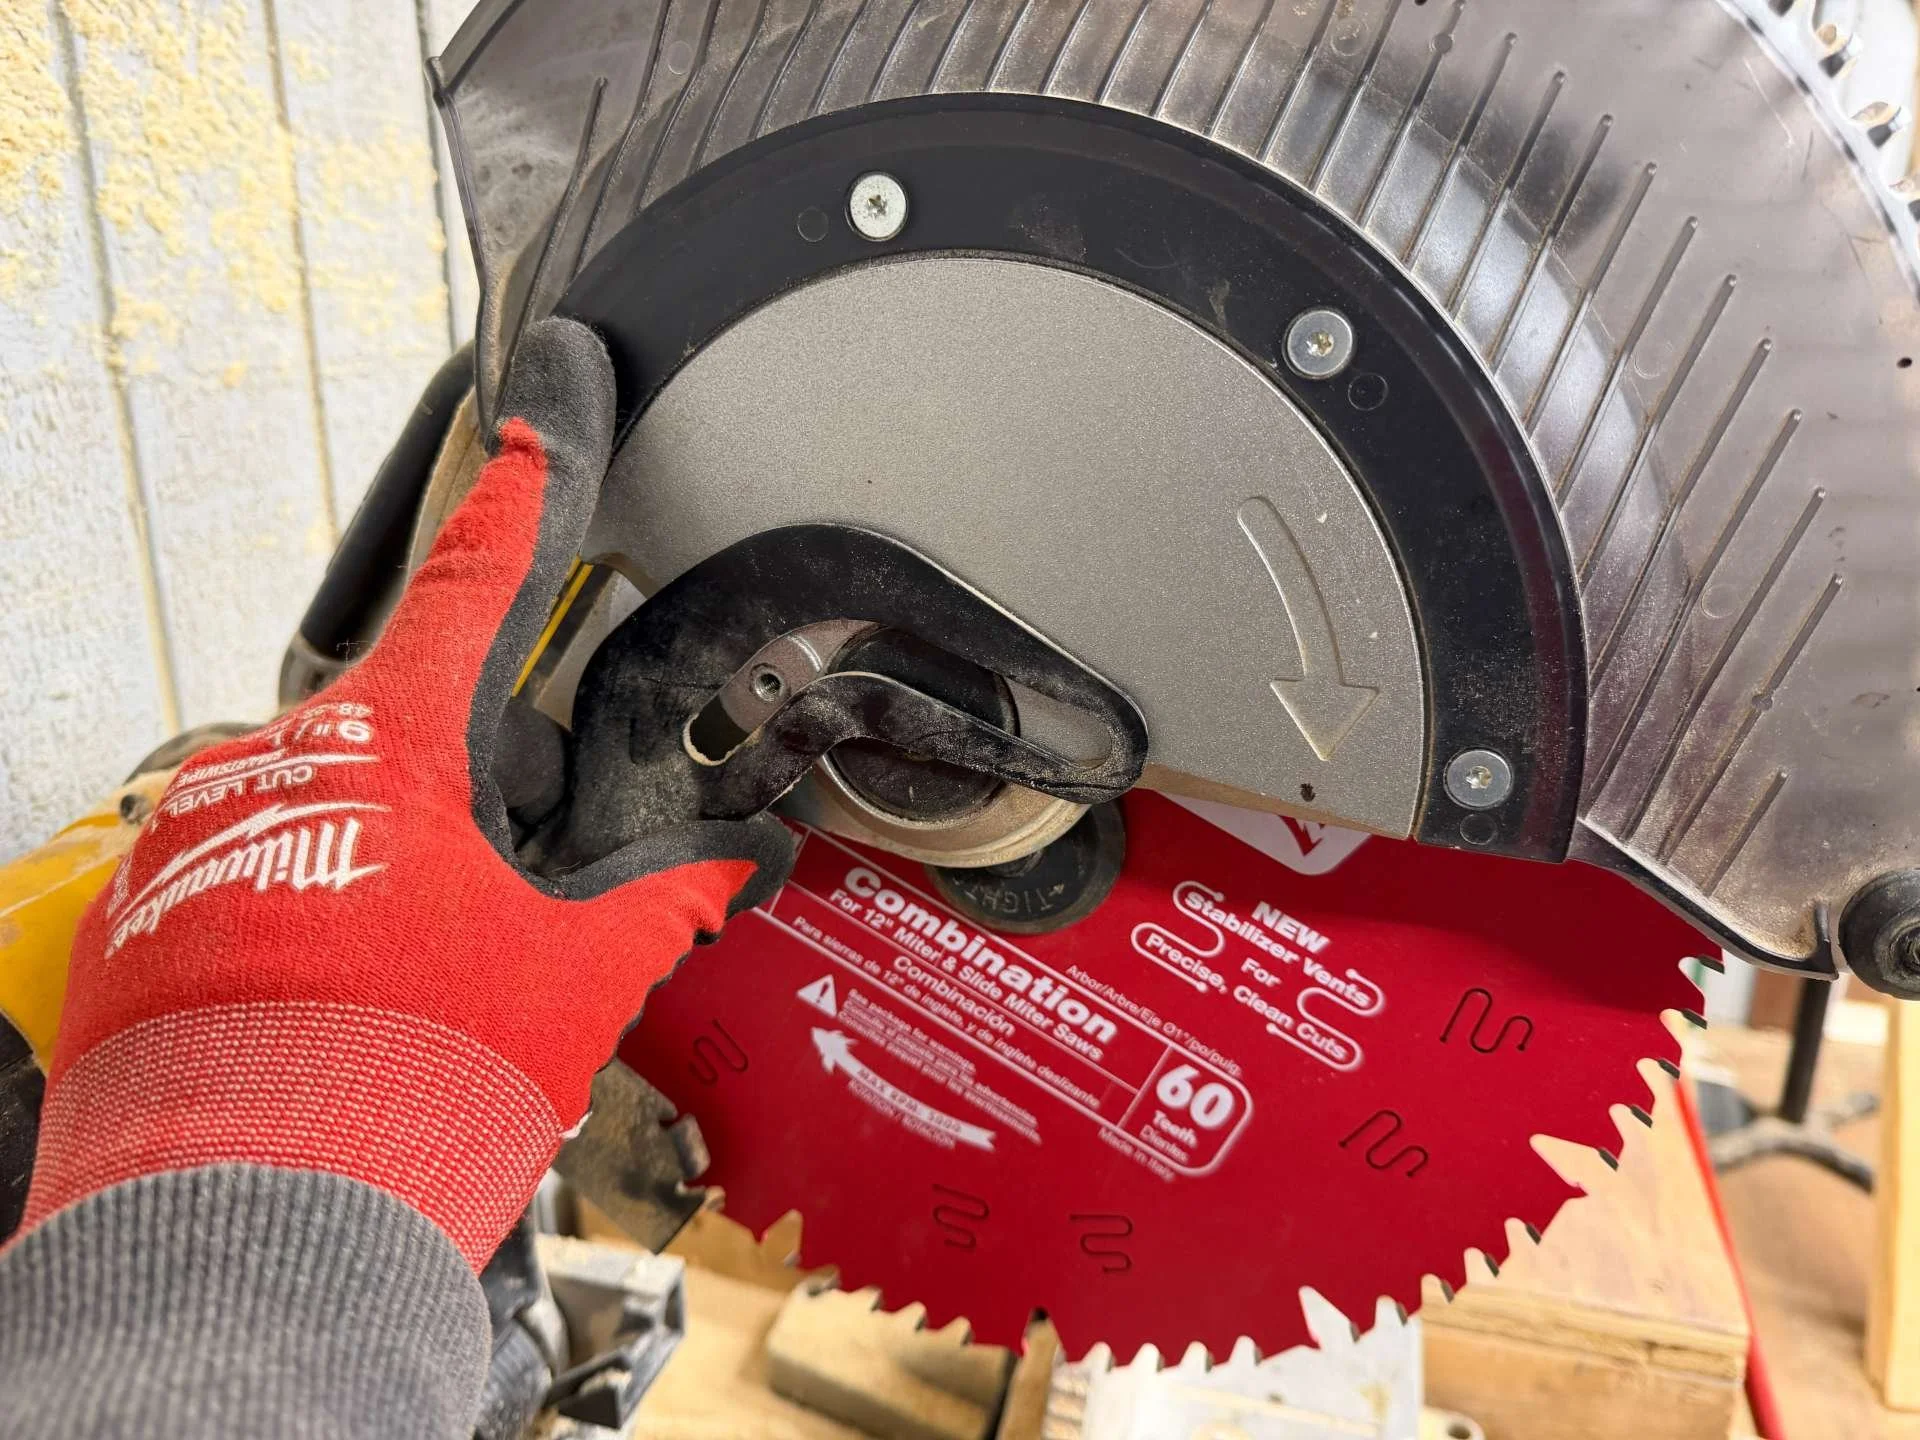
locate the spindle lock. It is a little black button on the right side of your saw. slowly spin the blade until the button pushed in and you are not able to spin the blade any more.
take your 1/2” socket, while the blade is locked, and loosen the arbor bolt. Take note this is a reverse threaded bolt so you need to turn your wrench clockwise.
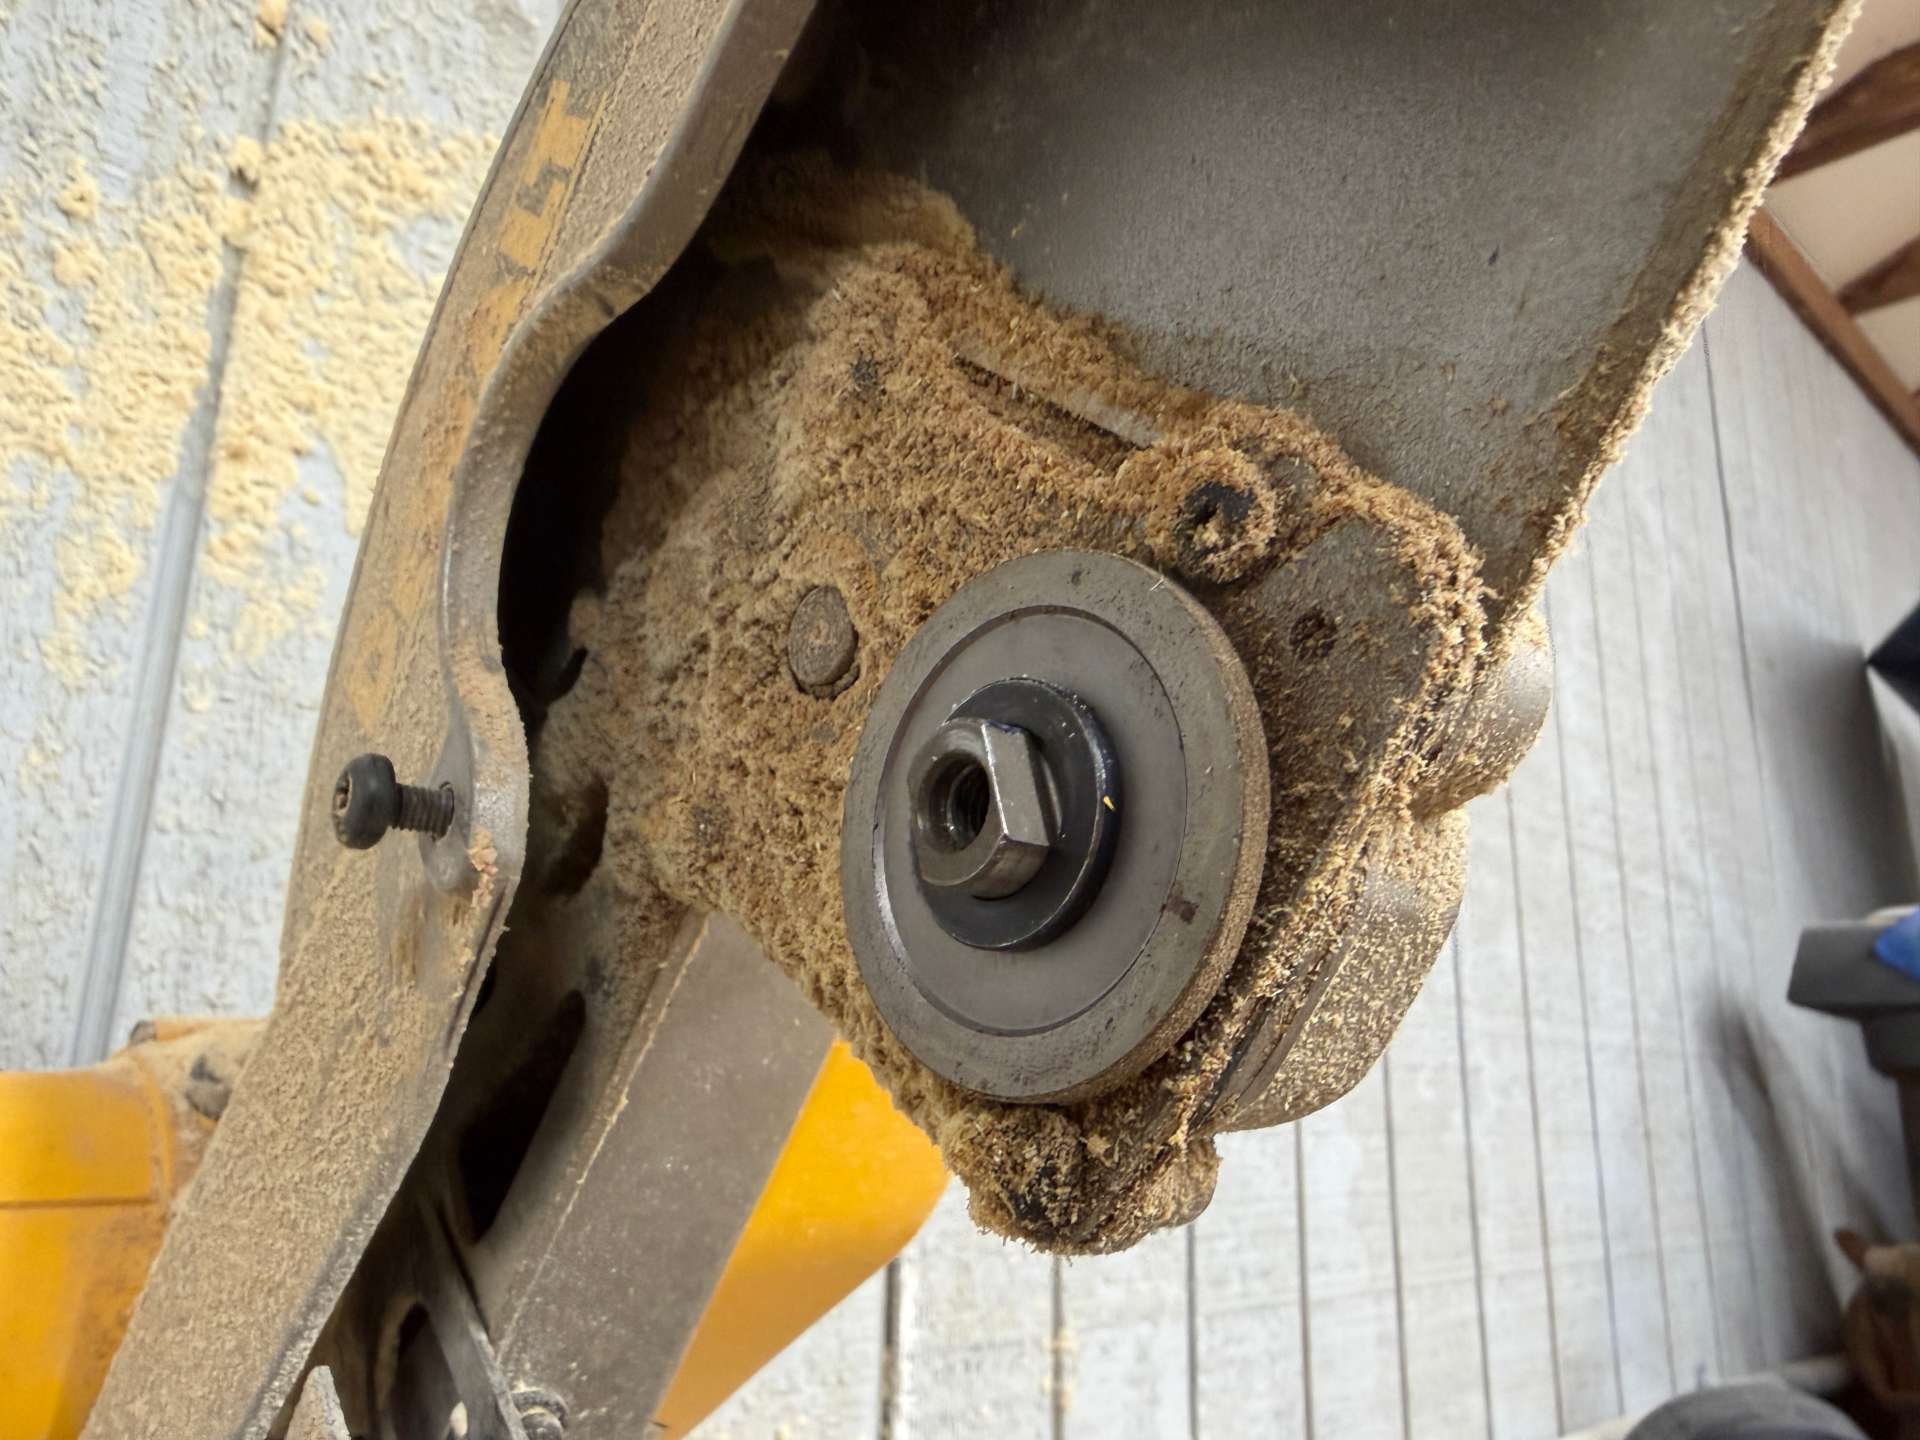
remove the arbor bolt and carefully remove the blade.
take note of the blade direction as you will be replacing your new blade the same way.
Now is a good time to clean out any old compacted sawdust in the blade housing.
Step 3: Install your new blade
With your new blade, ensuring the rotation is in the clockwise direction with the teeth facing cutting down toward the saw, position it on the spindle.
wrench the arbor nut counterclockwise while engaging the spindle lock button. Tighten the good and tight.
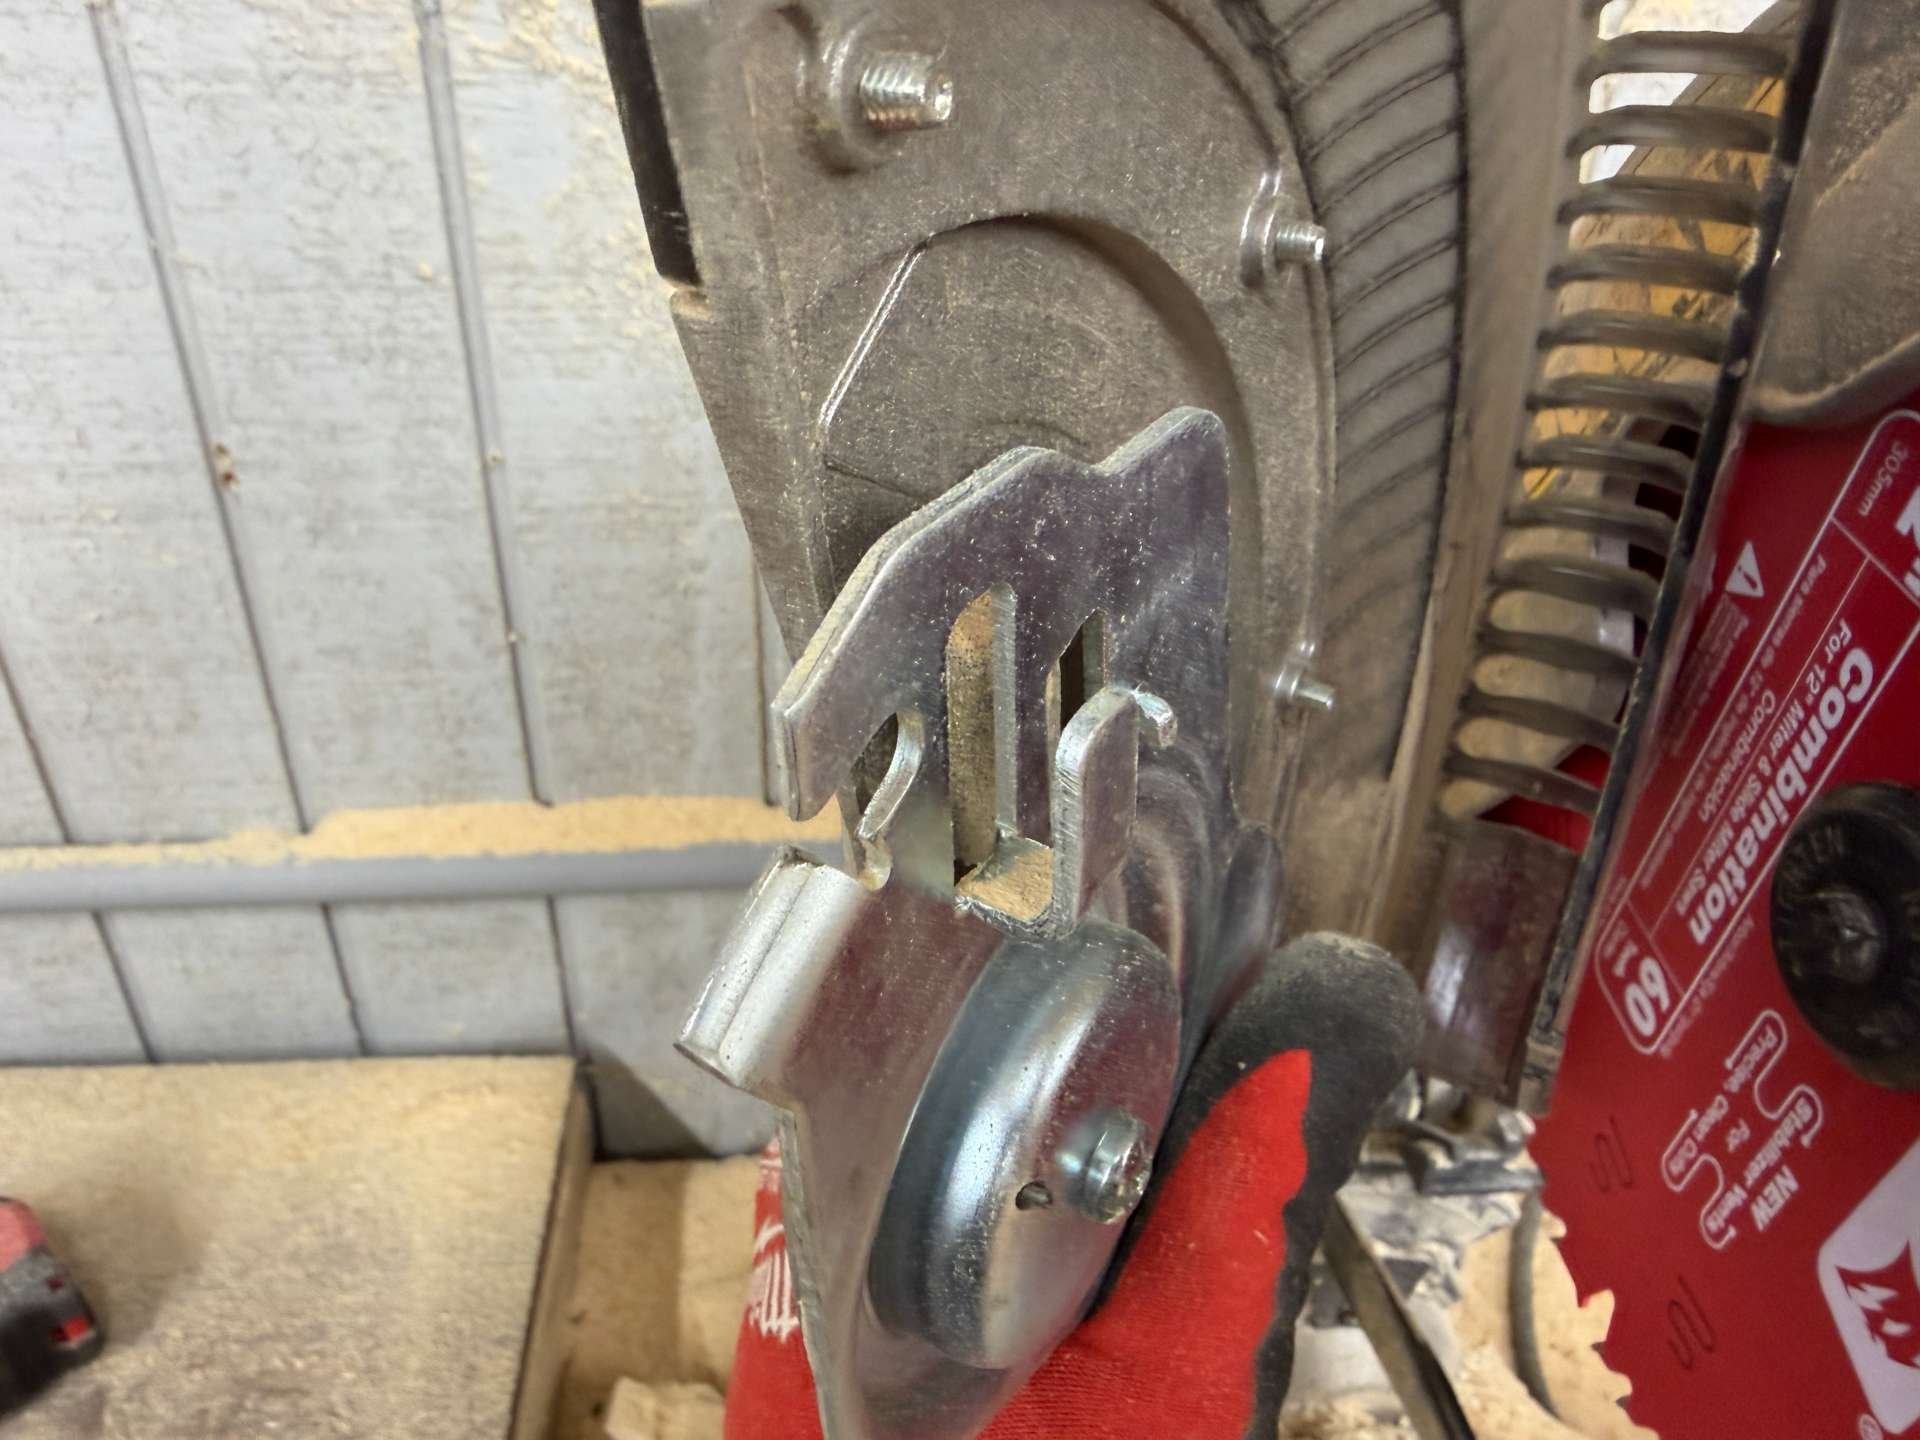
slide your shroud back over the blade. Take note of the small hook on the side of the shroud. This goes “inside” the arm.
insert and hand tighten the rear pivot screw.
position the shroud so the front pivot screw can insert into the shroud and into the arm.
tighten the front pivot screw and rear pivot screw.
Move the guard guide bracket over the screw and bushing hole.
insert and tighten the screw and bushing.
you should now be able to move the guard freely, and move the saw like you are cutting something with no resistance.
Step 4: Clean up
Clean you work space and put away those tools.
Plug the saw back in.
Now cut a piece of wood…like butter right?
Now is a good time to just ensure you blade is square to the fence as well.
That is all there is too it. Now your saw will cut cleanly with minimal burning or chipping. Not only does this new blade cut well, it is safer too. It reduces the probability of kick back.
Hopefully this was helpful for you.
Comment below if you have any questions!
🛠️ Don't Stop There! Keep All Your Woodworking Tools in Peak Condition.
Miter saws aren't the only tools that need a fresh edge to perform their best. If you also use a planer to dimension lumber for your projects, you know how quickly those knives can wear down when running knotty or tricky material. Especially if you hit a hidden nail. YIKES!
Keep your entire workshop running smoothly! Click the link below to check out my comprehensive, step-by-step tutorial on:
Replacing the blades in your Dewalt DW733 planer is not hard. Although tedious, as long as you take your time it is possible. I documented the process and hope this may assist someone. New planer blades will change your life!